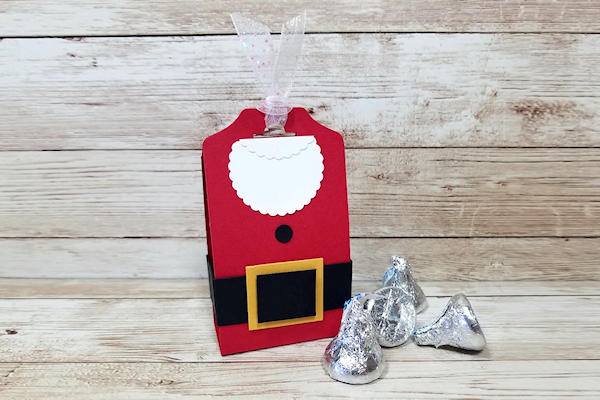
Santa Tag Treat Holder
by Twila Davis
Use punches and simple shapes to make a fun holiday favor.
Supplies
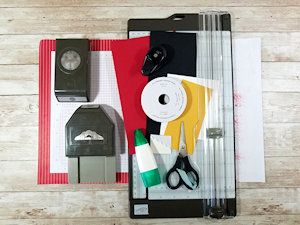
- Cardstock in red, black, white, yellow (scraps of Stampin' Up!® Real Red, Basic Black, Crushed Curry and Whisper White cardstocks used here)
- Ribbon (White Glittered Organdy Ribbon used here)
- Paper cutter
- Scissors
- Punches (SU Tag Topper, 1 3/8" Scallop Circle, 1/4" Circle used here)
- Adhesive (Mono Liquid Glue and Dimensionals used here)
- Treats and small bag to tuck inside
Step-by-Step
-
Step 1
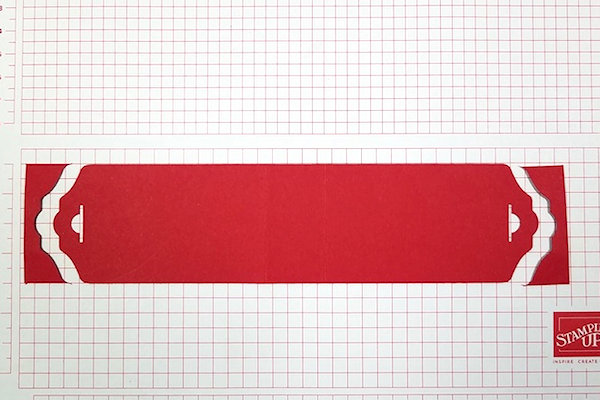
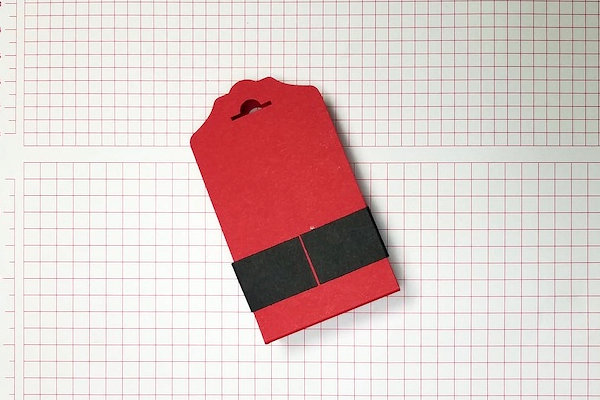
To make Santa's suit:
Cut red cardstock to 2" x 8 1/2". On the long side score at 3 3/4" and 4 3/4". Punch both long ends with a tag punch or cut with a tag or border die. -
Step 2
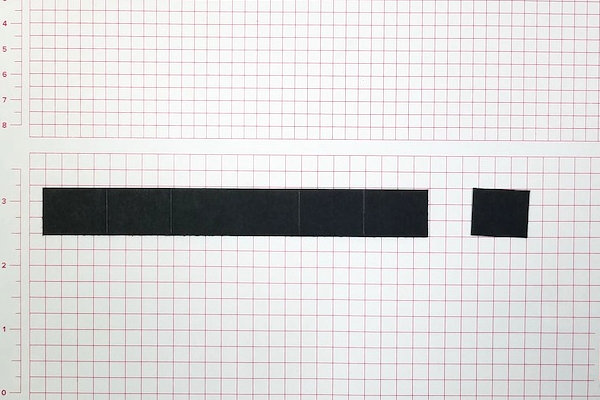
To make Santa's belt:
Cut black cardstock to 3/4" x 8 1/2". From this cut it down again to a 6" piece. Score at 1", 2", 4"and 5". From the remaining piece cut a piece to 7/8" x 3/4". -
Step 3
Adhere the belt to the suit as shown using glue or other adhesive.
-
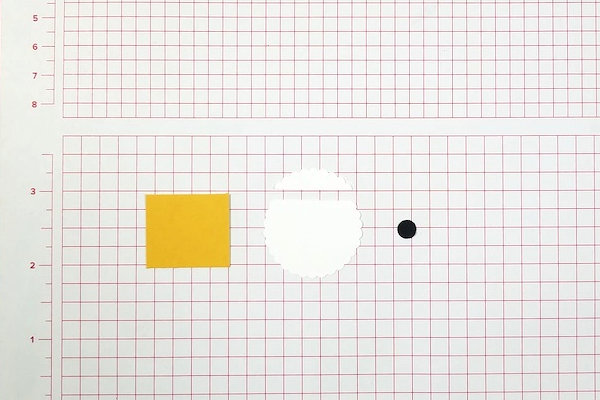
Step 4
Cut a piece of yellow cardstock to 1 1/8" x 1".
To make Santa's beard:
Punch a scalloped circle from white cardstock and cut some of the top off.
For a button, punch out a 1/4" circle with black cardstock. -
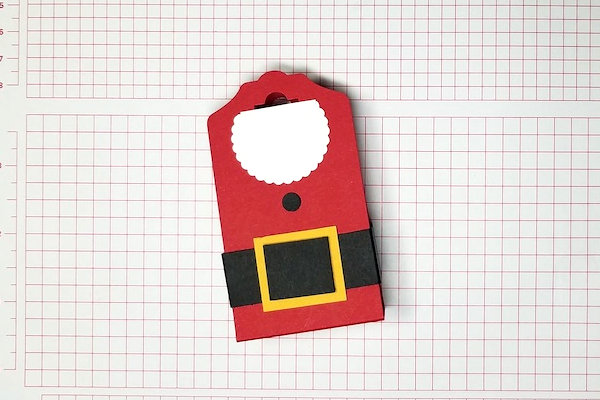
Step 5
Attach the yellow cardstock to the front of the belt and add the 7/8" x 3/4" piece of Black on top of the Yellow piece with a Dimensional.
Layer the two white cardstock pieces together with glue and adhere to the top of the suit underneath the small hole. -
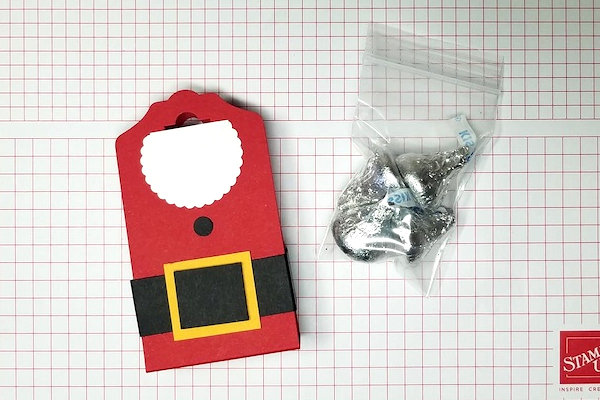
Step 6
Add some small treats to a bag and put inside treat holder. (The belt will hold treats in, thus bigger treats may not require a bag.)
-
Step 7
Cut a 5" piece of ribbon and tie it to the top to complete the project.
Video!
Your Turn
You've seen the tutorial, now you try it! We've got a section of the gallery set aside for Santa Tag Treat Holder. Try this technique, then upload your artwork to the gallery. Show us your creations!
***Please note - Internet Explorer/Edge is not a supported browser, and will not allow you to see the videos. Please use Chrome, Firefox or Safari to view our tutorial videos.

Questions and Comments
We'd love to get your feedback or questions. Leave your comment below.
Page 1 of 1 pages