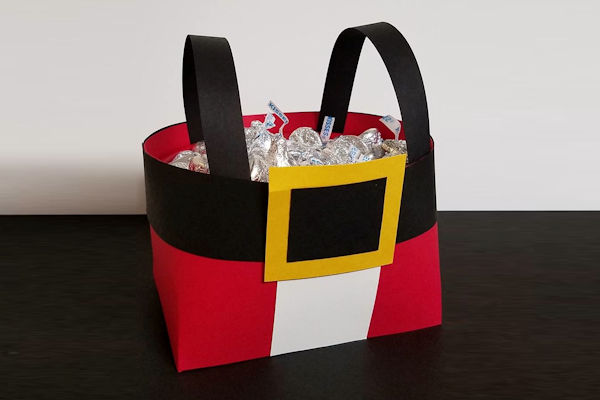
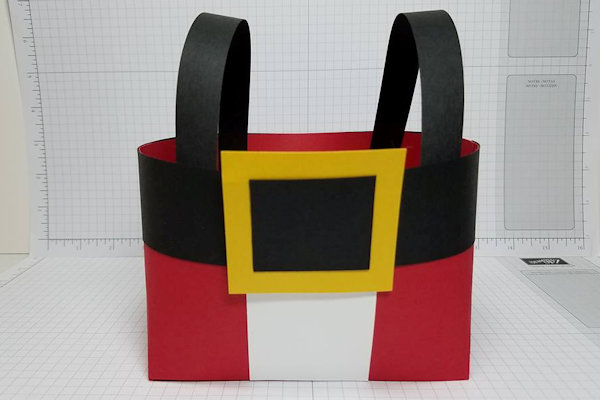
Santa Pants Basket
by Twila Davis
Create a cute Christmas basket with a Santa theme.
Supplies
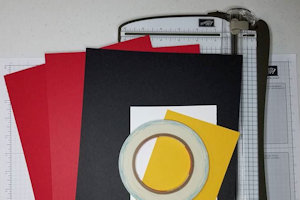
- Cardstock: red (2 sheets), black (1 sheet), white and yellow scraps
- Paper trimmer
- Scoring tool
- Scissors
- Double-sided adhesive (Tear-n-Tape used here)
Step-by-Step
-
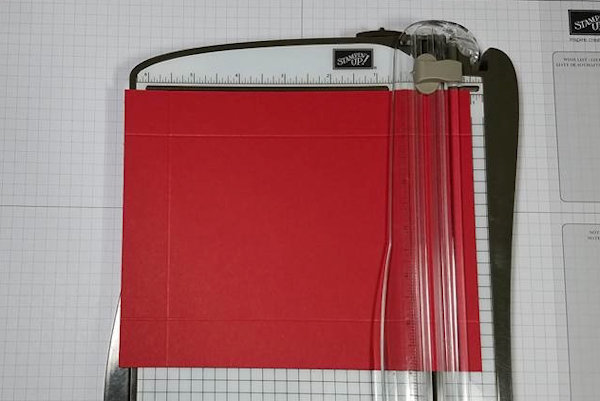
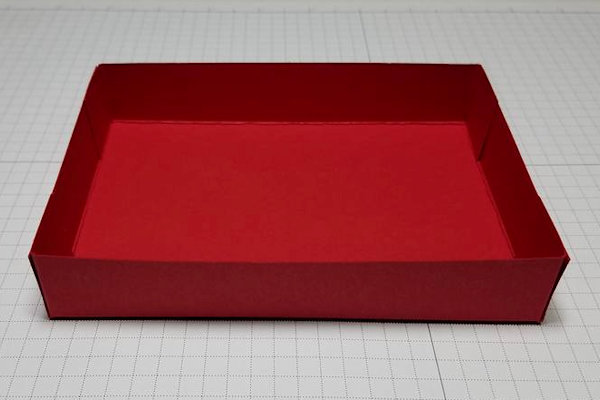
Step 1
To make the basket base, cut red cardstock to 6" x 7 1/2".
Score on the horizontal at 1" and 6 1/2". Turn and score on the vertical at 1" and 5". -
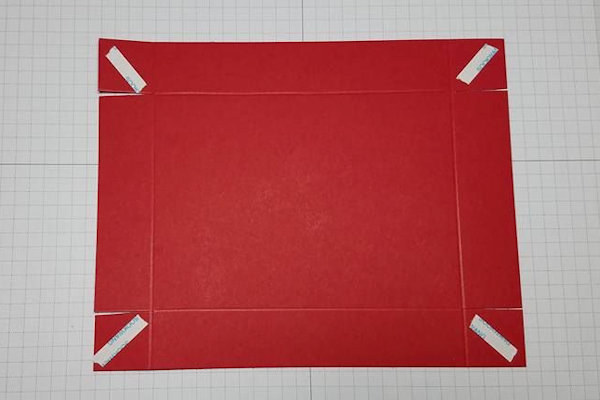
Step 2
Using scissors, cut the score lines on the horizontal to where they meet the vertical on both ends. Add adhesive to the tabs.
-
Step 3
Fold up all ends and adhere them together, forming the basket base.
-
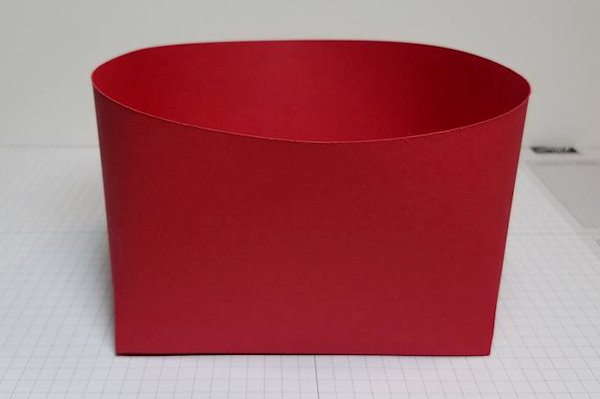
Step 4
To create the basket body, cut one piece of red cardstock at 3 3/4" x 10" and another piece at 3 3/4" x 9 3/4". Attach them together, making one long strip. Add adhesive to the bottom and one side.
-
Step 5
Attach the basket body to the base by starting in the middle of one side and wrapping all the way around. (This leaves a seam on each side.)
-
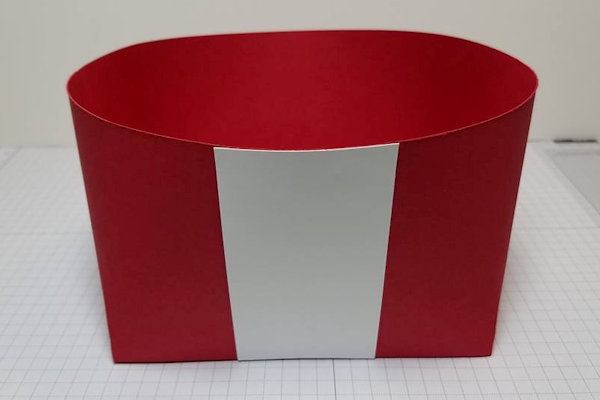
Step 6
To decorate the front of the basket, cut a piece of white cardstock to 2" x 3 3/4". Attach it to the center front of the basket body.
-
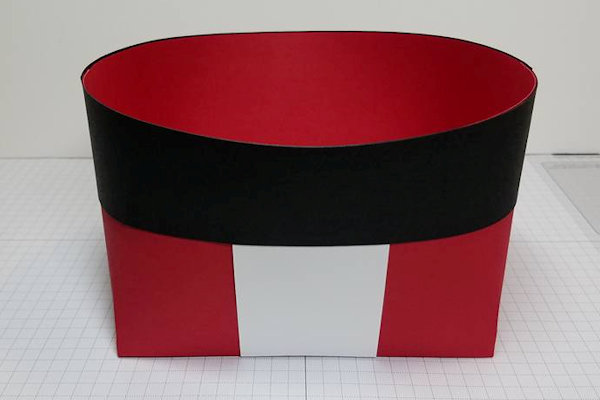
Step 7
Cut a black cardstock belt at 1 1/2" x 10" and another at 1 1/2" x 9 3/4". Attach them together with adhesive, making one long strip. Add one strip of adhesive to the bottom of the belt and also down one side.
-
Step 8
Attach the belt to the top of the basket body, starting in the middle of one side and wrapping all the way around.
-
Step 9
For the buckle, cut a piece of yellow cardstock 2 1/4" x 2 1/2" and a black piece of cardstock 1 1/2" x 1 3/4". Attach the black on top of the yellow as shown. Attach the buckle to the front of the basket over the belt. (The buckle will hang over the top of basket about 1/2".)
-
Step 10
To make the suspender handles, cut two black pieces of cardstock at 3/4" x 9". Add double sided adhesive to the ends of the strips.
-
Step 11
Attach the handles to the sides of the basket.
-
Step 12
Complete the project. For the sample, a red plastic bowl was added to the inside of the basket, filled with Hershey Kisses.


Video!
Variations
-
Make a mini basket!
Basket Base: Red 4" x 4 1/2" score at 3/4" on all sides
Basket Body: Red 2 1/4" x 11 3/4"
White: 1 1/4" x 2 1/4"
Belt: Black 3/4" x 11 3/4"
Handles: Black (2) 3/4" x 5 1/2"
Belt Buckle: Yellow 1 1/4" x 1 1/2"
Black 1/2" x 1"

Your Turn
You've seen the tutorial, now you try it! We've got a section of the gallery set aside for Santa Pants Basket. Try this technique, then upload your artwork to the gallery. Show us your creations!
***Please note - Internet Explorer/Edge is not a supported browser, and will not allow you to see the videos. Please use Chrome, Firefox or Safari to view our tutorial videos.

Questions and Comments
We'd love to get your feedback or questions. Leave your comment below.
Thanks!
In case someone else likes that idea, here are the measurements that I used. The base is 3"x4", scored at 1/2" on each side. The side piece is 2-1/2"x11. The belt is 1"x11". The white strip is 1"x2-1/2". The buckle - 1-1/2"x1-3/4" with the black center - 1"x1-1/4". Suspenders are 3/4"x6".
Melody, thanks for Adding those smaller dimensions. I made one of those too.
Basket Base: Real Red 4" x 4 1/2" score at 3/4" on all sides
Basket Body: Real Red 2 1/4" x 11 3/4"
Fur: Whisper White 1 1/4" x 2 1/4"
Belt: Basic Black 3/4" x 11 3/4"
Handles: Basic Black (2) 3/4" x 5 1/2"
Belt Buckle: Crushed Curry 1 1/4" x 1 1/2"
Basic Black 1/2" x 1"
Page 1 of 1 pages