Rolled Flower Dies
by Kittie Caracciolo
Learn tips and tricks for creating realistic flowers with rolled die cuts.
Supplies
- Cardstock
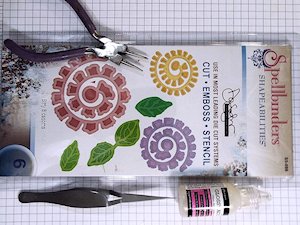
- Rolled/spiral flower die (Spellbinders Bitty Blossoms dies used here, others available from My Favorite Things, Impression Obsession)
- Tweezers
- Round nose pliers
- Glue (Glossy Accents used here)
- Other supplies as needed to complete the project (used here: Impression Obsession dies (All-in-One Frames Oval, Branch, Spiral Flowers, Large Spiral Flowers, Wide Tree), foam mounting tape, Susan’s Garden Tool Kit)
Step-by-Step
-
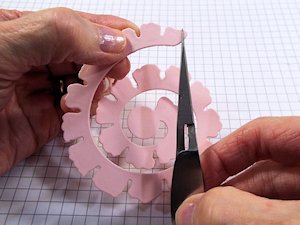
Step 1
Die cut a spiral flower from cardstock. Grab the tip of the die cut with tweezers and clamp tightly to hold in place.
-
Step 2
Turn the tweezers to begin rolling the flower.

-
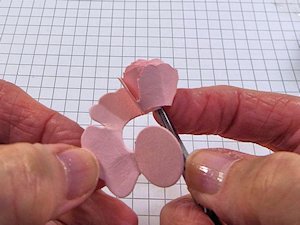
Step 3
Keep the bottom of the spiral straight and level as you continue to roll.

-
Step 4
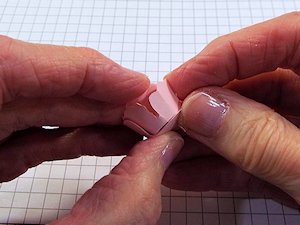
Hold the roll tight as you bring the tab end of the rose around to finish.
-
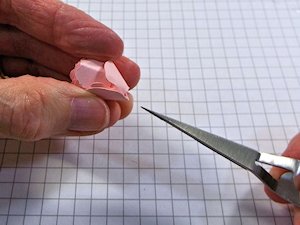
Step 5
Hold the flower firmly in place as you pull the tweezers away.
-
Step 6
Hold the outer petals of the flower in place and allow the flower to loosen.
-
Step 7
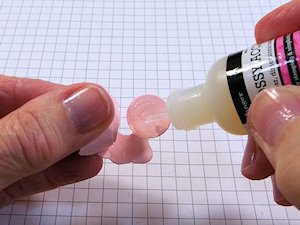
Apply glue to the tab and the last petal.
-
Step 8
Attach the tab to the bottom of the flower and hold in place until secure.
-
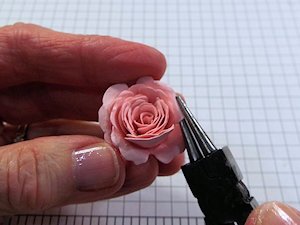
Step 9
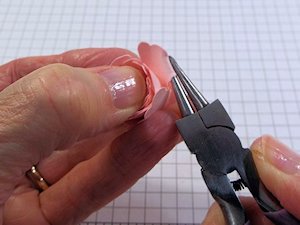
Starting with the outside layer of petals begin rolling the petals back with the pliers.
-
Step 10
Continue to roll the petals back as you move around the flower and work your way in to the inner petals.
-
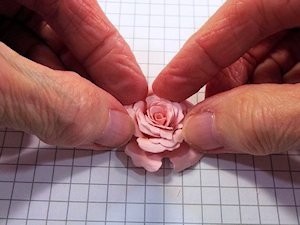
Step 11
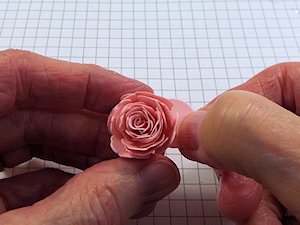
Lay the flower down and lightly push back the petals with your fingers to form and open the flower.
-
Step 12
Use the completed flower to decorate a project.

Video!
Your Turn
You've seen the tutorial, now you try it! We've got a section of the gallery set aside for Rolled Flower Dies. Try this technique, then upload your artwork to the gallery. Show us your creations!
***Please note - Internet Explorer/Edge is not a supported browser, and will not allow you to see the videos. Please use Chrome, Firefox or Safari to view our tutorial videos.

Questions and Comments
We'd love to get your feedback or questions. Leave your comment below.
Page 1 of 1 pages