Retiform (Grid Technique)
by Beate Johns
Grab some scrap paper and sponges to create this special card.
Supplies
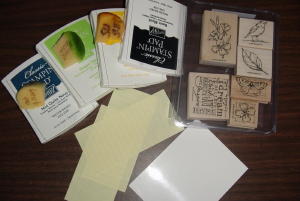
- Glossy Cardstock or regular neutral cardstock
- 2-3 colors of classic ink
- Black classic ink
- Sponges
- Scrap paper
Step-by-Step
-
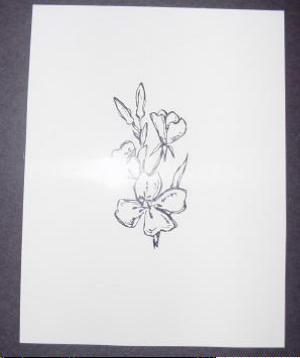
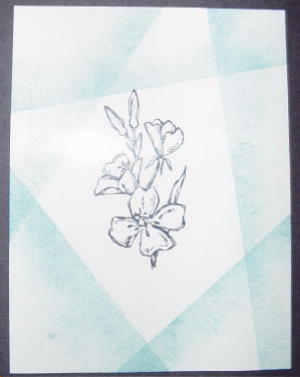
Step 1
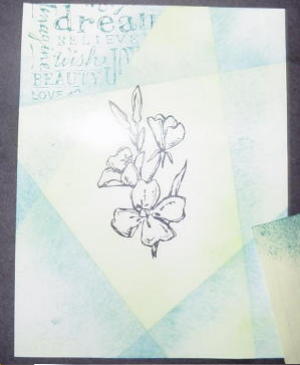
Stamp your main image in the center of the glossy cardstock with black ink. Let dry.
-
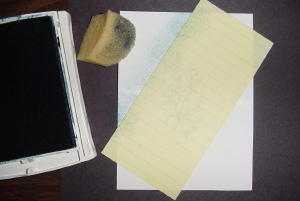
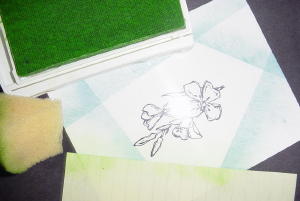
Step 2
Take one of your scrap pieces of paper and cover your image. Ink your sponge with one of the classic inks and create a sponged line by sponging onto your cardstock along the line created by your scrap paper.
.
-
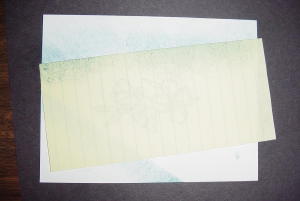
Step 3
Turn your cardstock a 1/4 turn and repeat Step 2.
.
-
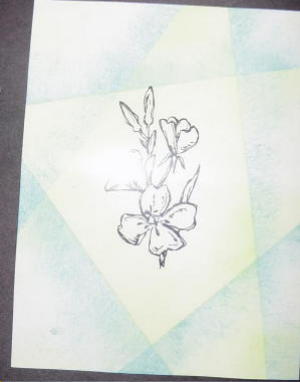
Step 4
Continue to turn your cardstock, mask your image and add sponged lines until you have a grid you like.
.
-
Step 5
With your scrap paper, cover one of the sponged lines. Using a different color ink, sponge away from your line in the opposite direction.
.
-
Step 6
Repeat Step 5, "mirroring" all your existing lines.
-
Step 7
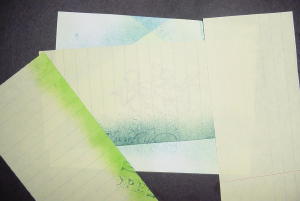
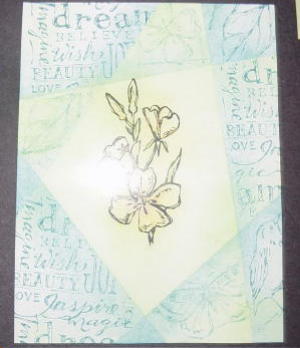
Once your grid is finished, take several pieces of scrap paper and cover all but one grid piece.
-
Step 8
Stamp an image into that grid piece. I stamped my Not Quite Navy™ ink off twice before adding it to the grid. You want to have a soft image, so it doesn't take away from the center image.
-
Step 9
Repeat Step 8 with all the empty grid spaces until your grid is completely filled.
-
Step 10
Finish your card.

Video!
Variations
-
Try a Different Surface
Try this technique with non-glossy cardstock.
Adjust the Angles
Try different grid layouts for a different look.
Doesn't have to be just straight lines
Try sponging your main image with an oval or circle reverse mask for a different look.
Your Turn
You've seen the tutorial, now you try it! We've got a section of the gallery set aside for Retiform (Grid Technique). Try this technique, then upload your artwork to the gallery. Show us your creations!
***Please note - Internet Explorer/Edge is not a supported browser, and will not allow you to see the videos. Please use Chrome, Firefox or Safari to view our tutorial videos.
Questions and Comments
We'd love to get your feedback or questions. Leave your comment below.
Thanks so much for this creative masterpiece.
Happy stamping!
V
Page 1 of 1 pages