Punch Board Snowman
by Jackie Topa
Use a punch board to shape this adorable snowman treat holder.

Supplies
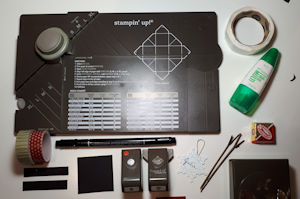
- Cardstock (Stampin' Up® Thick Whisper White, Garden Green, Cherry Cobbler, Pumpkin Pie, and Basic Black cardstock used here)
- Gift Bag or Envelope Punch Board
- Punches (Stampin' Up's 1/4" Circle Punch, Corner Rounder, Blossom Builder Punch used here)
- Glue Dots
- Scoring tool
- Multipurpose Liquid Glue
- Other supplies as needed to complete the project (Basic Black Marker, Washi Tape, two small twigs (optional), Snowflake Die Cut and Thread (optional). Candy or Peppermint Patty)
Step-by-Step
-
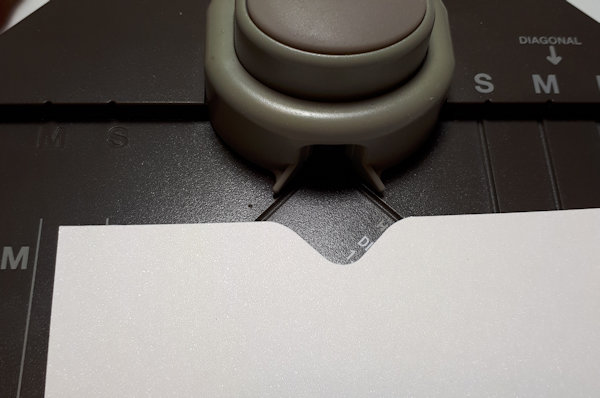
Step 1
Cut a piece of heavy white cardstock to 2 1/8" x 11". Punch a divot 2 1/8" from each end on both sides using the Punch Board.
-
Step 2
Score the white cardstock at 5 1/8" and 5 7/8".
-
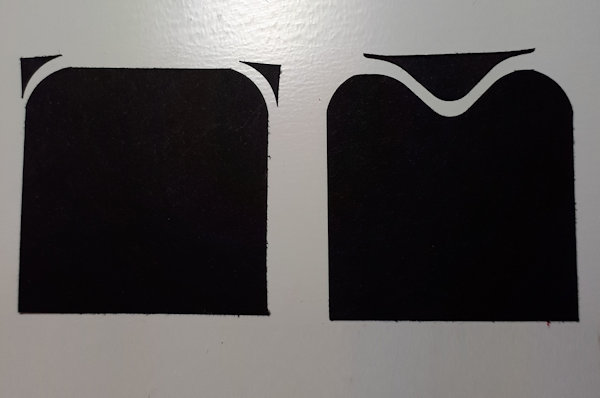
Step 3
Cut 2 pieces of black cardstock to 1/2" x 2 1/2" and round all 4 corners (pictured in step 6 below).
Cut a piece of black cardstock 2" square. Make a divot in the centre of the top and round the two top corners using a corner rounder (save the scraps for the face). -
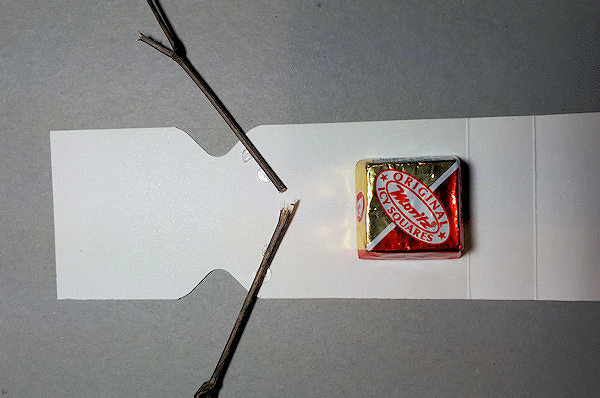
Step 4
Glue the candy and the arms in place. Glue dots work best.
-
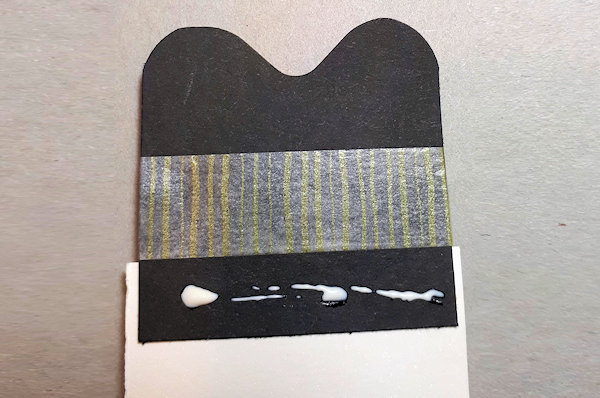
Step 5
Wrap some washi tape around the hat and glue it to the base of the snowman. Put some glue on the front of the hat bottom and fold up the snowman, sandwiching the bottom of the hat between the front and back of the snowman.
-
Step 6
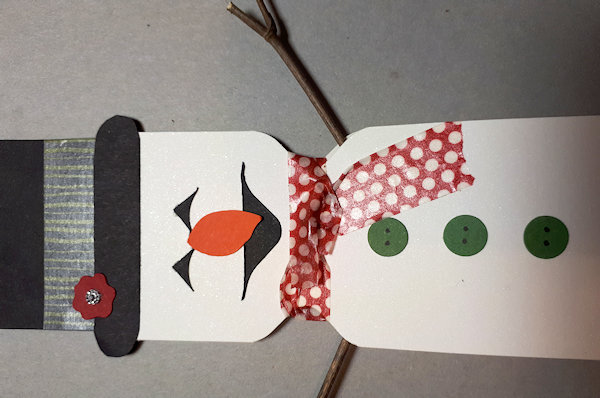
Glue the scraps of black cardstock (left over from the hat) in place to make the face. Punch out some flowers for the hat and some circles for buttons. Use a black marker to make dots for button holes.
-
Step 7
Wrap some washi tape around the neck to look like a scarf.
-
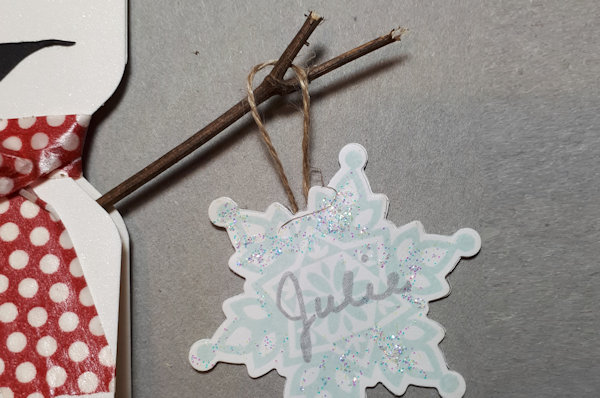
Step 8 (Optional)
Make a tag to hang on the snowman's hand. Cut two and make a loop from thread or ribbon. Sandwich the loop between the two cut-outs.
-
Step 9
Complete the project.


Video!
Your Turn
You've seen the tutorial, now you try it! We've got a section of the gallery set aside for Punch Board Snowman. Try this technique, then upload your artwork to the gallery. Show us your creations!
***Please note - Internet Explorer/Edge is not a supported browser, and will not allow you to see the videos. Please use Chrome, Firefox or Safari to view our tutorial videos.

Questions and Comments
We'd love to get your feedback or questions. Leave your comment below.
These would be great for place cards, too. TFS
Gracias por el tutorial.
Page 1 of 1 pages