Pop Stars
by Cindy Cade
Create stars out of soda cans.
Supplies
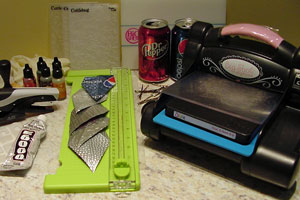
- Sizzix Bigz Die - Star, 5 Point 3-D
- Clean aluminum pop cans
- Old scissors
- Die cutting machine with appropriate mats (electric Big Shot used here)
- Embossing folders
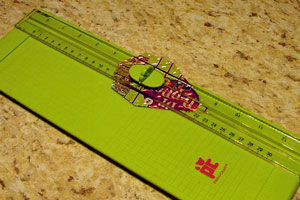
- Scoring tool (Provocraft cutter with score blade used here)
- Tim Holtz’s Tiny Attacher and/or bobby pins
- Alcohol inks and applicator (Ranger supplies used here)
- Rubber gloves
- Tags or wire for hanging
Step-by-Step
-
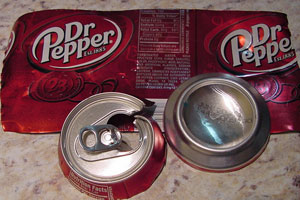
Step 1
Carefully cut your pop cans so you can get as large a flat piece as possible. Be careful as edges can be sharp.
-
Step 2
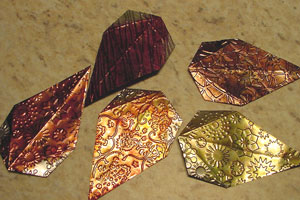
Cut the pieces using the Sizzix 5 point star die in die cut machine.
You can get two pieces from each can. It takes five pieces per star or 2 ½ cans.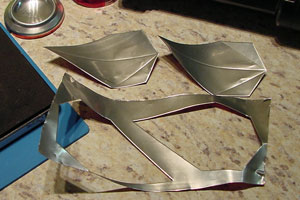
-
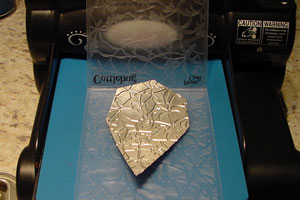
Step 3
Emboss star pieces with the Embossing folders.
-
Step 4
Since the score lines disappear when textured you will need to rescore. After using several score boards and a simple stylus with straight edge, I found that a simple cutter like the Provocraft or Fiskars with the score blade, works best on the rough textures. Score the folding lines on the back of the pieces. Usually you do this on the front side but with the aluminum this won't work as well.
-
Step 5
Color the pieces with alcohol ink and allow to dry or heat set.
-
Step 6
Assemble the stars folding the “wings” back and gluing with E6000, contact cement or similar and use a bobby pin or binder clip to hold until set. Punch a hole to hang or tape a loop to the back.
Hint:
I found that using a small stapler (Tim’s Tiny Attacher) very near the score lines worked pretty well. Finally I ended up doing gluing and stapling.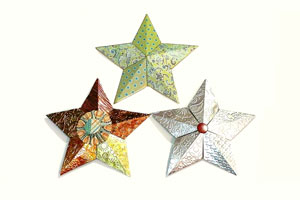
Video!
Your Turn
You've seen the tutorial, now you try it! We've got a section of the gallery set aside for Pop Stars. Try this technique, then upload your artwork to the gallery. Show us your creations!
***Please note - Internet Explorer/Edge is not a supported browser, and will not allow you to see the videos. Please use Chrome, Firefox or Safari to view our tutorial videos.

Questions and Comments
We'd love to get your feedback or questions. Leave your comment below.
Thanks again for a great tutorial!
Will try to get it to upload to SCAL and see if the Cricut will cut it out. That way I can make them any size that I want.
katie
I have redone the template. It is supposed to print out at 4.75 inches. I hope it works for you.
http://www.splitcoaststampers.com/gallery/showgallery.php?cat=20294
Page 1 of 1 pages