Poinsettia Ornament
by Charmaine Ikach
Create a Poinsettia ornament out of a paper roll and paper.
Supplies
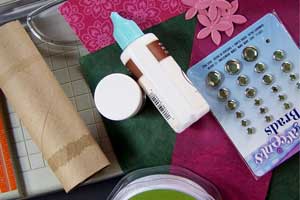
- Tabletop trimmer (scissors work too, but harder to get straight cuts)
- Half of a paper towel roll (5.5” long)
- 5.5” square piece of patterned paper
- Red and Green pieces of Mulberry paper
- Dazzling Diamonds Glitter™
- Glitter Glue
- Glue Dots
- Sticky Strip™ or Mod Podge™
- Ribbon
- Hole punch
- Embellishments of choice
Step-by-Step
-
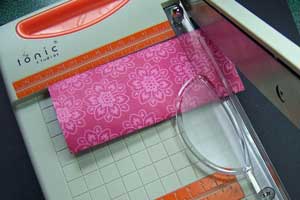
Step 1
Apply Sticky Strip™ (or Mod Podge™ ) to the back of your patterned paper.
If you use Mod Podge™, you’ll have to wait for it to dry before continuing to next step 4.
-
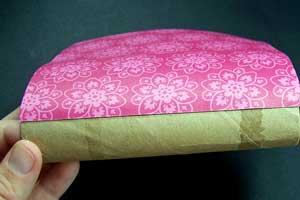
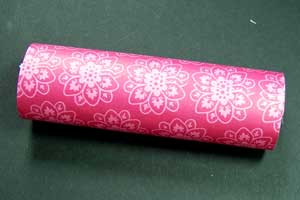
Step 2
Attach patterned paper onto paper towel roll.
-
-
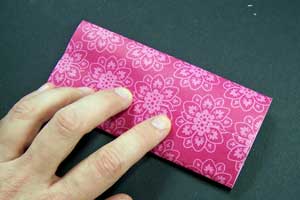
Step 3
Flatten the paper towel roll.
-
Step 4
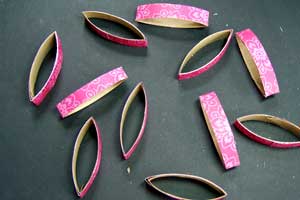
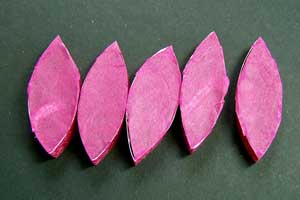
Cut your paper towel roll into ½” slices.
-
You will get 11 pieces (or petals) from half of a paper towel roll, which is enough to make 2 poinsettia ornaments.
-
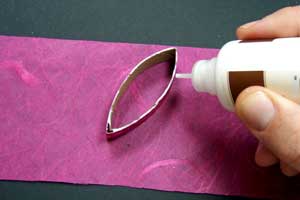
Step 5
Apply glue to the edges of one side of the petals and place down on red mulberry paper.
-
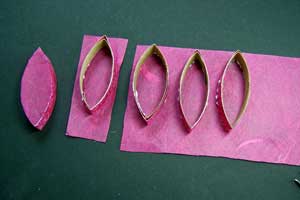
Step 6
Cut and trim each petal.
Repeat Step 5 for the other side of the petals.
-
-
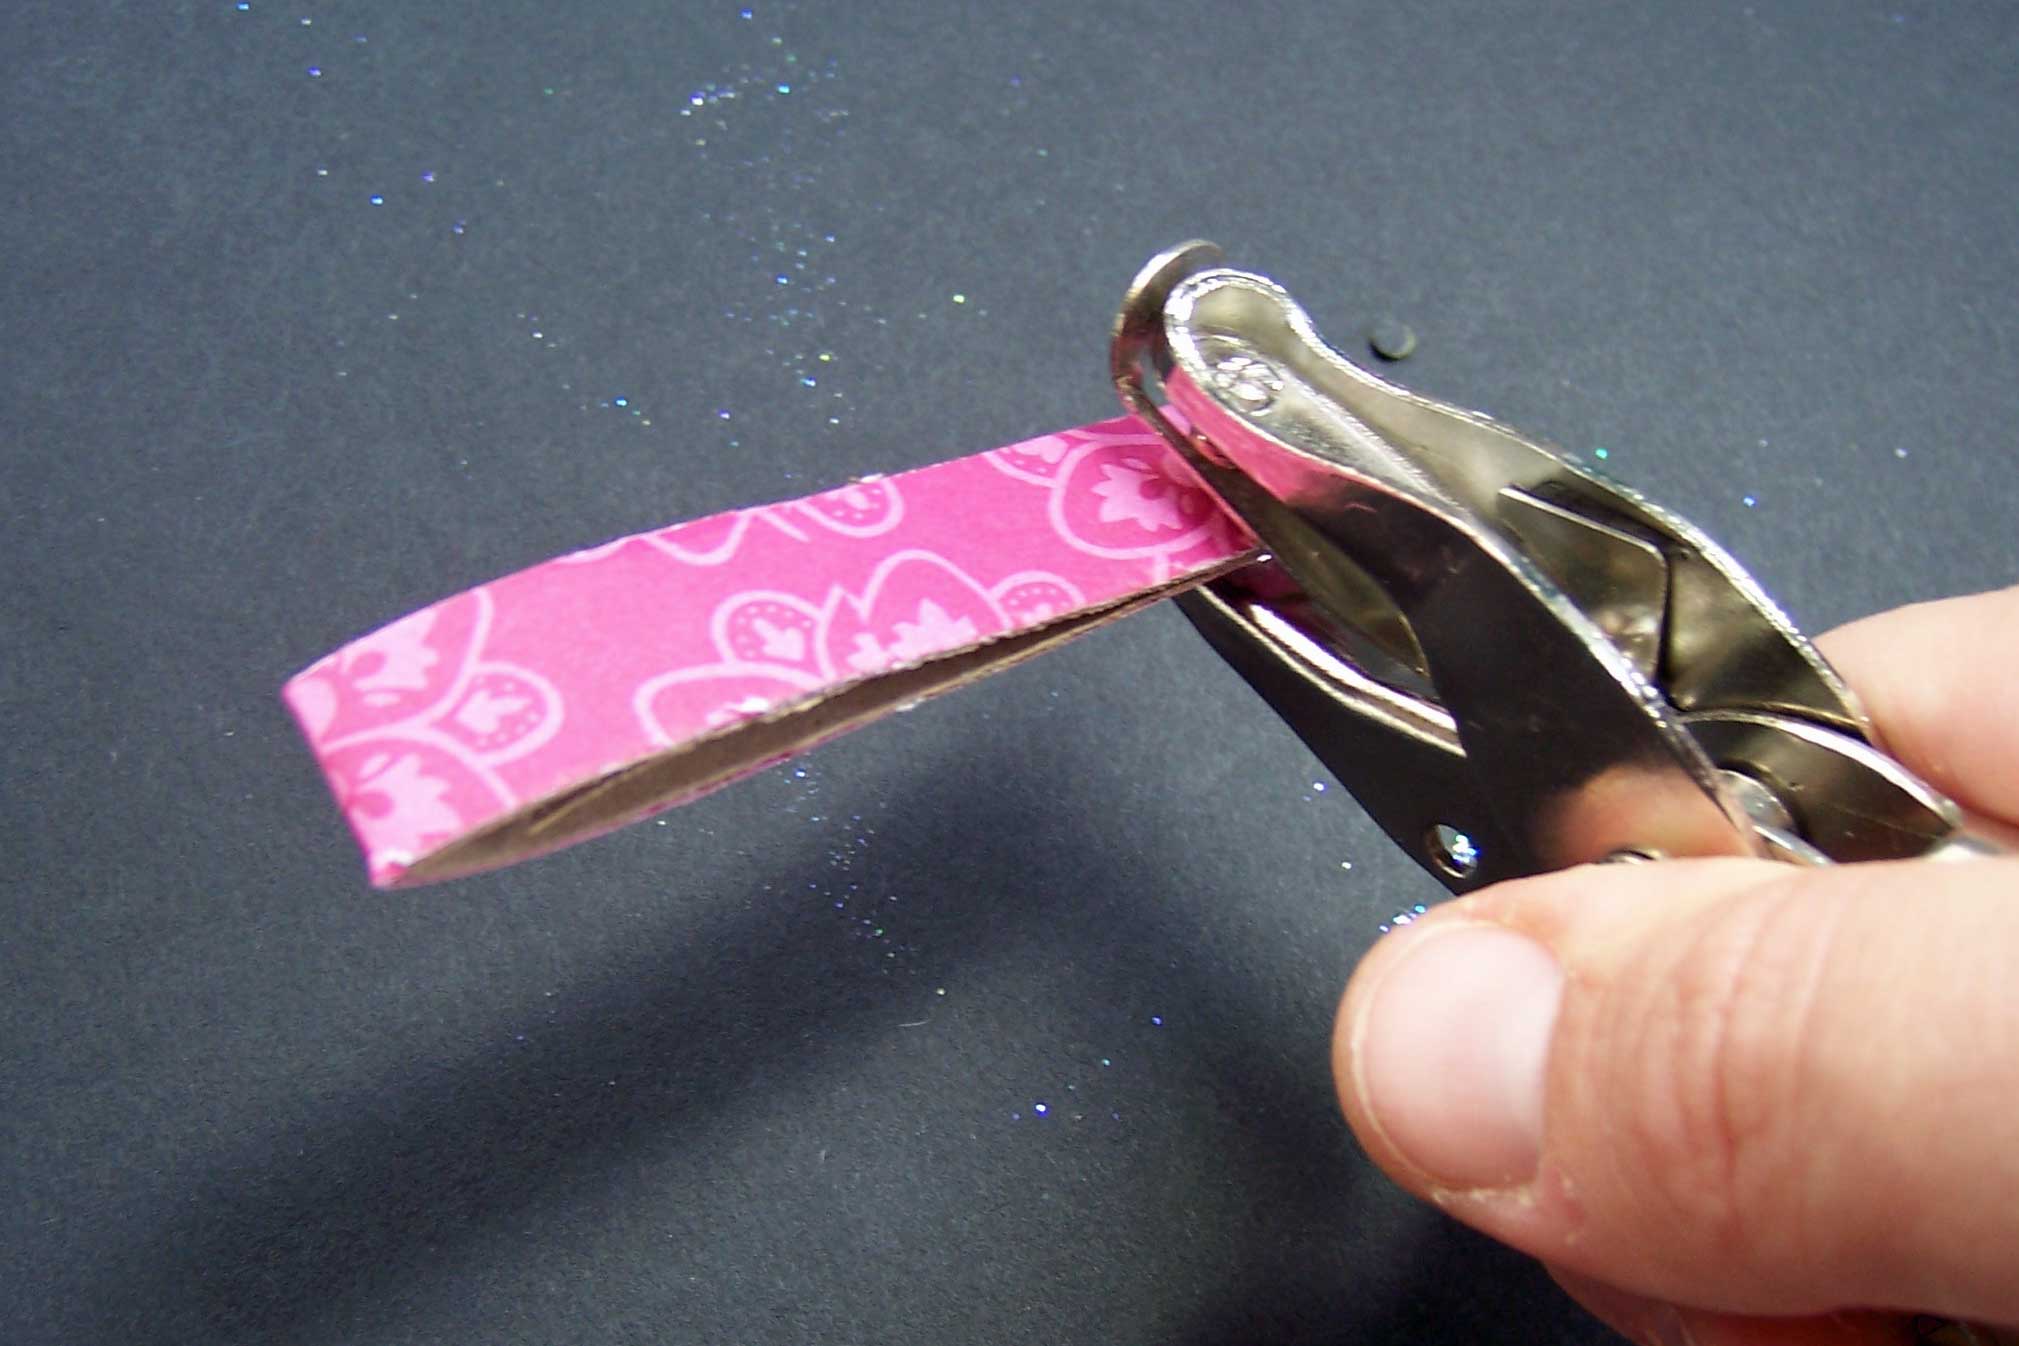
Step 7
Choose a petal to be the top of the ornament and squeeze the end and punch a hole through it. This is for your ribbon.

-
Step 7
Choose a petal to be the top of the ornament and squeeze the end and punch a hole through it. This is for your ribbon.
-
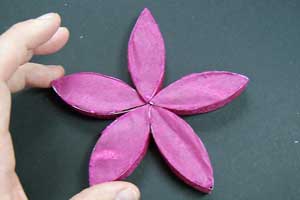
Step 8
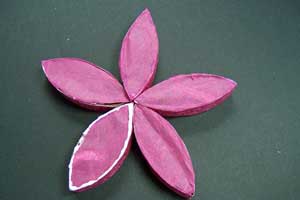
Apply glue dots to the sides of the petals and arrange them into a flower.
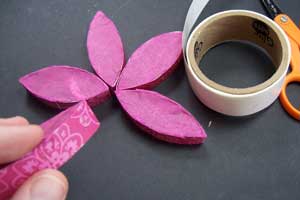
-
-
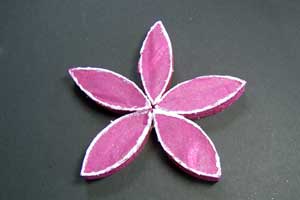
Step 9
Apply glue to the front side edge of each petal and apply Dazzling Diamonds glitter.
-
-
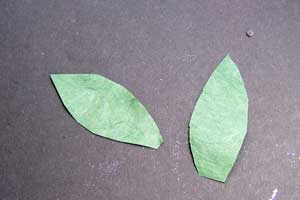
Step 10
Cut leaves out of the green mulberry paper. I used five leaves.
-
Step 11
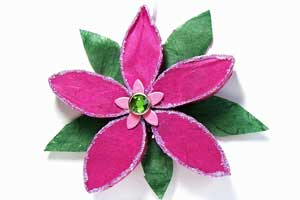
Attach the leaves to the back of the ornament in between the petals.
-
Add embellishment of choice to the center of the poinsettia and ribbon for hanging and you’re finished!
Look how beautiful this ornament looks with lights shining from behind.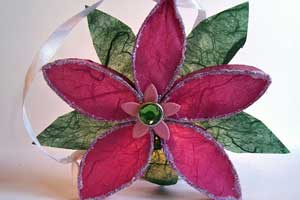
Your Turn
You've seen the tutorial, now you try it! We've got a section of the gallery set aside for Poinsettia Ornament. Try this technique, then upload your artwork to the gallery. Show us your creations!
***Please note - Internet Explorer/Edge is not a supported browser, and will not allow you to see the videos. Please use Chrome, Firefox or Safari to view our tutorial videos.

Questions and Comments
We'd love to get your feedback or questions. Leave your comment below.
I think that would be a great idea for our 11 yr old Girl Scouts to make!
Thankyou!!
Page 1 of 1 pages