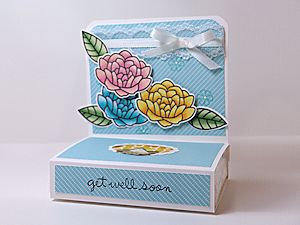
Pocket Tissue Holder
by Vicki Parson
Give a cute tissue pack for a get well gift.
Supplies
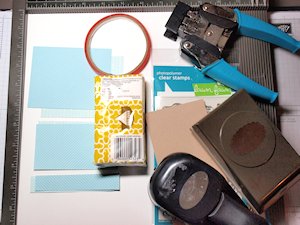
- Cardstock for base
- Patterned or stamped paper
- Oval punch or die, or shape of choice for tissue opening area
- Score board
- Strong double-sided adhesive
- Pocket tissues with opening at the center of the package
- Corner rounder (optional)
- Other supplies as needed to complete the project
Step-by-Step
-
Step 1
Trim cardstock base to 11" x 4 1/4".
TIP:
If cutting a full sheet of cardstock, use the other piece to make two holders at the same time.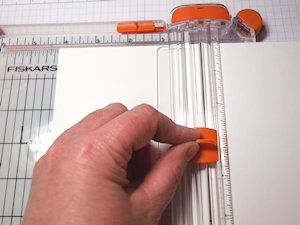
-
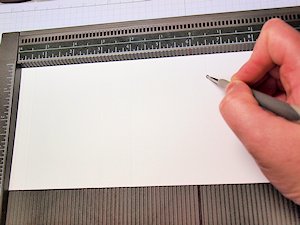
Step 2
Score on the 11" side at 1/2", 3", 4" & 6 1/2".
-
Step 3
Reinforce score lines with a bone folder and attach patterned paper to the panels.
3/4" x 4" (front strip)
2 1/4" x 4" (top area)
3 1/4" x 4" (backing area)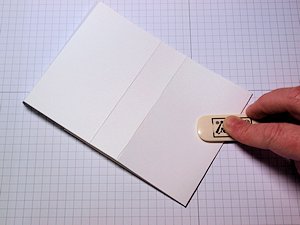
-
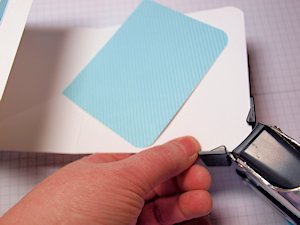
Round the top corners if desired.
-
Step 4
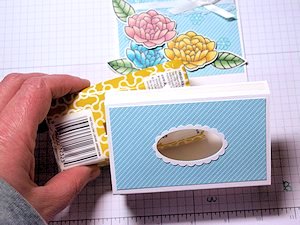
Use an oval punch or die to create an opening where the tissues will come out.
NOTE:
You may have to fold the flap to get the punch further in.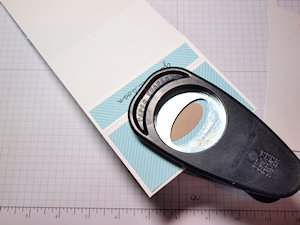
-
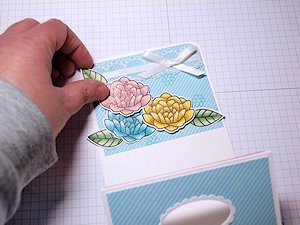
Step 5
Decorate the back of the tissue holder with stamps, images and sentiments, or add embellishments.
-
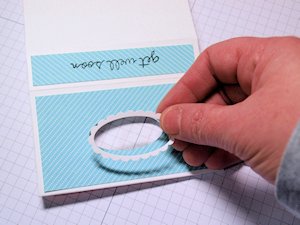
Use nesting dies or punches to create a frame for the opening, if desired.
-
Step 6
Using strong adhesive on the bottom flap, line up the tissue pack and secure the flap in place to the back of the holder. The tissues can slide in and out at either end.
-
Step 7
Complete the project.
Video!
Your Turn
You've seen the tutorial, now you try it! We've got a section of the gallery set aside for Pocket Tissue Holder. Try this technique, then upload your artwork to the gallery. Show us your creations!
***Please note - Internet Explorer/Edge is not a supported browser, and will not allow you to see the videos. Please use Chrome, Firefox or Safari to view our tutorial videos.

Questions and Comments
We'd love to get your feedback or questions. Leave your comment below.
hugs
lorraine x
Hugs Sue Pxxx
Page 1 of 2 pages 1 2 >