Pencil Monochrome
by Dina Kowal
Learn how to get a variety of shades from a single pencil.
Supplies
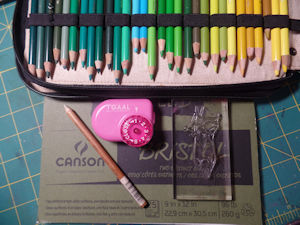
- Colored pencils (Faber Castell Polychromos pencils used here)
- Pencil sharpener (Kutsuwa Stad T'Gaal Pencil Sharpener used here)
- Cardstock or drawing paper (Canson XL Recycled Bristol (toothy side) used here)
- Stamped image (Joyride clear set by The Cat’s Pajamas used here)
- Blending or burnishing pencil, or white colored pencil (optional – Prismacolor Colorless Blender used here)
- Other supplies as needed to complete the project (adhesive pearls, patterned paper, Quickutz oval dies, trimmer, Scor-Pal, MISTI)
Step-by-Step
-
Step 1
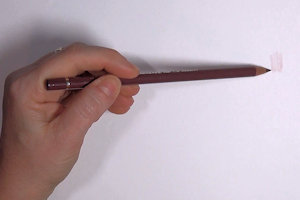
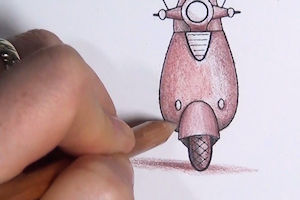
When working with colored pencils in a limited color range, control the intensity of a single color by varying your pressure. For a light shade, hold the pencil about 5 inches from the point. Keep the pencil sharpened and rotate the tip as one area flattens.
-
Step 2
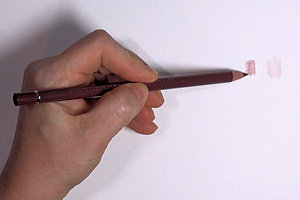
For a medium shade, hold the pencil about 3 inches from the point. Again, keep the pencil sharpened for best results.
-
Step 3
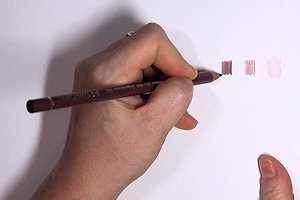
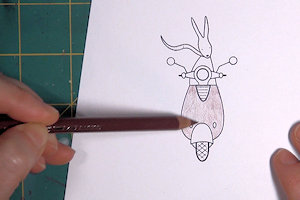
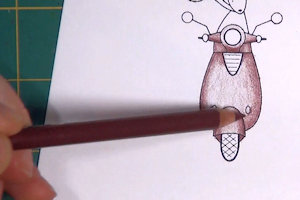
For a dark shade and for adding lines and details, hold the pencil as you would for writing.
-
Step 4
When coloring an image, work within one section of color at a time. Begin with light pressure, coloring in all areas except those that should remain white. Cover the area with an even layer of color.
-
Step 5
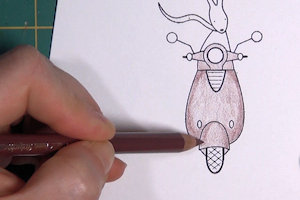
Add in some shading with a medium pressure, again keeping the pencil sharp and in an even layer.
NOTE:
In general, shade areas that are hidden behind something, areas that are lower, and areas that are farther away or appear to be curving away. See the Shading with Pencils tutorial for more information.
-
Step 6
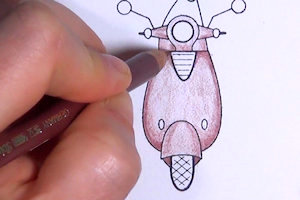
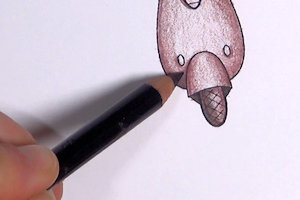
Continue deepening the shading of the section by using a heavier pressure.
-
Step 7
Having worked from light to dark, work back from dark to light, blending the edges of each color transition as you go. Blend the edges of the darkest areas with medium pressure.
-
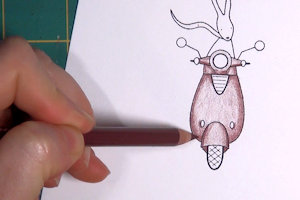
Blend the edges of the medium shaded areas with the lightest pressure.
-
Step 8
If deeper shading is desired, use a darker pencil to add depth. For darker/cooler colors use black or brown. A black pencil is used here.
-
For warm or lighter colors, try using a complementary color (purple for yellow, blue for orange, green for red - consult a color wheel for specific tones directly across from the color you are using).
NOTE:
Use a light pressure to add these darker colors. You can always add more if it doesn’t seem dark enough, but it’s difficult to remove it if you start off too heavy.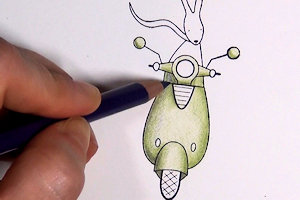
-
Step 9
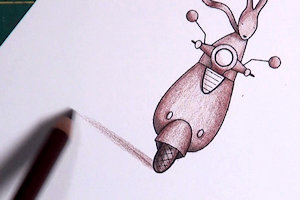
Add lines, texture, or details as needed.
-
Step 10 (Optional)
Burnish with a burnishing or blending pencil if desired. This smooths down the color but removes the texture of the paper’s tooth and may change your shading somewhat. Experiment to find what works best for your style. Examples are given in the video tutorial. In this sample, a white pencil was used to blend the wheel cover, and a colorless blender was used for the main body.
-
Step 11
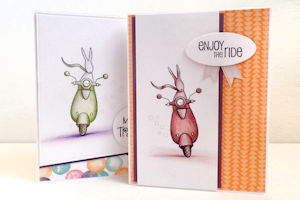
Use the colored image to complete a card or other project.
Video!
Your Turn
You've seen the tutorial, now you try it! We've got a section of the gallery set aside for Pencil Monochrome. Try this technique, then upload your artwork to the gallery. Show us your creations!
***Please note - Internet Explorer/Edge is not a supported browser, and will not allow you to see the videos. Please use Chrome, Firefox or Safari to view our tutorial videos.

Questions and Comments
We'd love to get your feedback or questions. Leave your comment below.
Page 1 of 1 pages