Paper Lantern
by Rebecca Deeprose
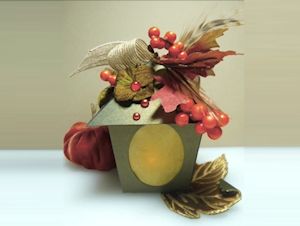
Create a lighted mini lantern for a warm holiday decoration.
Supplies
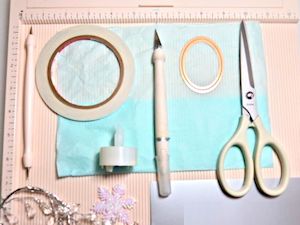
- Printable Paper Lantern Template (revised)
- Cardstock
- Scissors
- Craft knife
- Strong double sided tape
- Scoring board with scoring tool or stylus
- Tissue paper
- Shaped die and die cutting machine for openings (optional)
- Battery-powered tea light
- Other supplies as needed to embellish the lantern
Step-by-Step
-
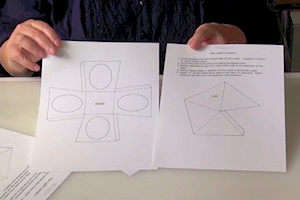
Step 1
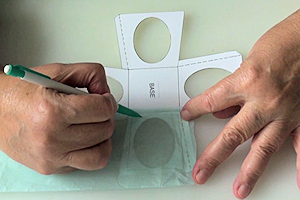
Print Paper Lantern Template (revised) and choose how you will use it. Print directly onto your lantern paper or cut out the template and trace it onto paper, or attach the printed template to the paper with temporary adhesive before cutting out the paper and template together.
-
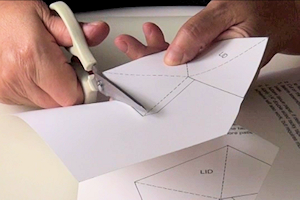
Step 2
Prepare the pieces, cutting with scissors along the solid lines.
-
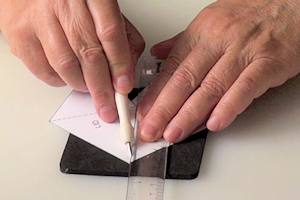
Step 3
Score the dashed lines and the center square of the base.
-
Step 4
Prepare the openings on the base, either cutting by hand or die cutting.
TIPS:
To die cut using a more narrow die cutting machine, fold in one side of the base.
Die cut the window shape out of a sticky note to help center die before cutting.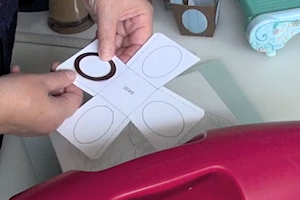
-
Step 5
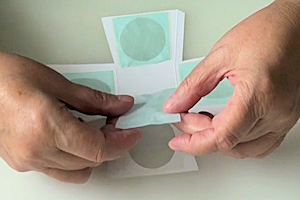
Lay tissue paper over the window openings to roughly measure the size needed.
-
Cut and adhere tissue paper to the inside of the 4 base openings, covering the windows.
-
Step 6
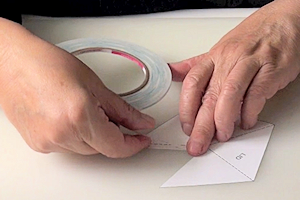
Adhere double sided tape to tab on lid and 4 tabs on the base.
-
Step 7
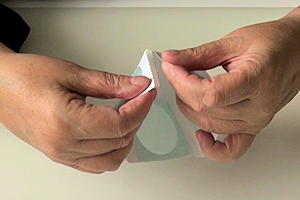
Fold along the score lines and adhere the tabs.
-
Step 8
Embellish lantern to complete the project.
Video!
Variations
-
This lantern can be embellished to suit any occasion. In addition to holiday or seasonal themes, consider using these lanterns for bridal or baby showers, wedding tables or graduation parties. They’re wonderful as little party favors.

Your Turn
You've seen the tutorial, now you try it! We've got a section of the gallery set aside for Paper Lantern. Try this technique, then upload your artwork to the gallery. Show us your creations!
***Please note - Internet Explorer/Edge is not a supported browser, and will not allow you to see the videos. Please use Chrome, Firefox or Safari to view our tutorial videos.

Questions and Comments
We'd love to get your feedback or questions. Leave your comment below.
Really cute tea light box!
Regina, the lantern is about 3.5" high.
Vielen Dank f�r die Anleitung. Ich werde sie bestimmt bald nach basteln.
Liebe Gr��e Beate
Page 1 of 1 pages