Paper Bag Book
by Joanne Basile
Create a mini book out of lunch bags.
Supplies
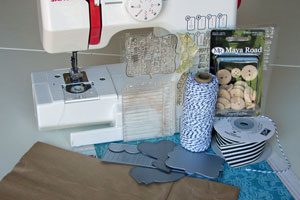
- Three or more lunch bags
- Sewing machine
- Cardstock
- Patterned paper
- Embellishments
- Photos
Step-by-Step
-
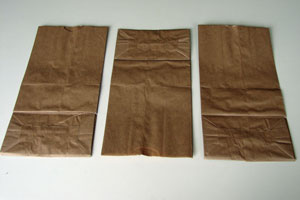
Step 1
Take three (or more) brown paper lunch bags, and set out on the table alternating the direction of the bags (open end up/open end down/open end up).
-
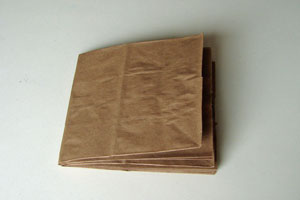
Step 2
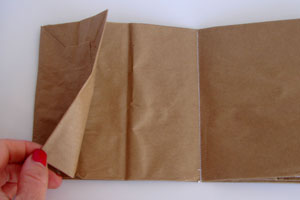
Stack the bags on top of each other and fold over making a tight score line. This becomes the base of your book.
-
Step 3
Add a binding to secure your pages together using the center score line as a guide.
You can machine stitch the pages together, or mark spaces with a paper piercer and the hand stitch with a needle and thread (or embroidery floss.) Or even use a hole punch and then thread with ribbon or baker's twine.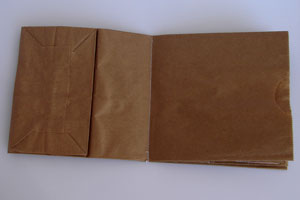
-
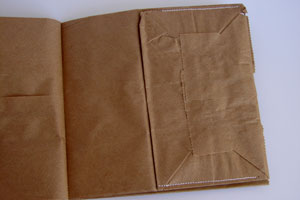
This used to be the flap for the bottom of the bag, but we're going to turn it into a little pocket.....
-
Step 4
Simply sew just along the top and bottom edges.
-
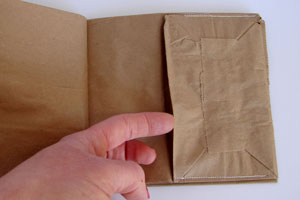
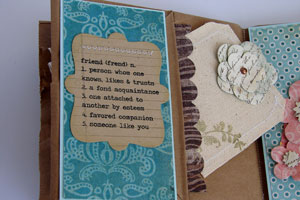
This will create a nice trim little pocket where you can slip in a removable page, photos or a journaling tag.
-
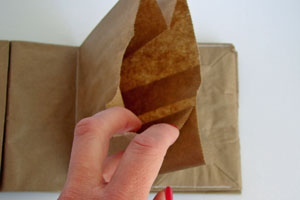
Step 5
What used to be the open end of the bag has now become an expandable pocket for journaling tags, ticket stubs, notes or small mementos
-
Step 6
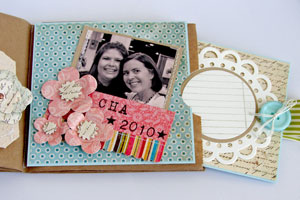
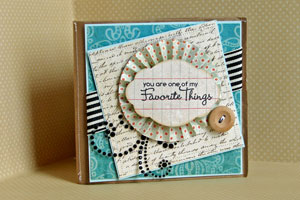
Using your favorite pattern papers, stamps, dies and embellishments personalize your creation and fill those pockets!
-
-
Step 7
Decorate the front of your book.
Video!
Your Turn
You've seen the tutorial, now you try it! We've got a section of the gallery set aside for Paper Bag Book. Try this technique, then upload your artwork to the gallery. Show us your creations!
***Please note - Internet Explorer/Edge is not a supported browser, and will not allow you to see the videos. Please use Chrome, Firefox or Safari to view our tutorial videos.

Questions and Comments
We'd love to get your feedback or questions. Leave your comment below.
What a great project! Thank you for the step by step tutorial, too....Your friend will absolutely love her very special gift!
I love it !!! thanks a lot for sharing this nice project
I'm gonna make it for sure
Je l'adore !! Merci beaucoup de partager le tuto
je vais certainement le faire bient�t
Thanks for the great idea. Keep them coming!!!
Page 1 of 2 pages 1 2 >