Palette Blending
by Dina Kowal
Create watercolor effects with marker ink by using a blending palette.
Supplies
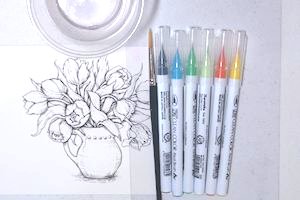
- Water soluble brush markers, or dye based inks (Zig Clean Color Real Brush Markers used here)
- Nonporous surface for a palette, such as a ceramic tile, craft sheet, styrofoam plate, acetate, or CD case (PVC sheet used here)
- Water
- Paint brush
- Watercolor paper (Fabriano Studio Hot Press 90#/200gsm paper used here)
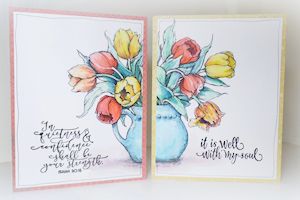
- Stamp image (Tulips in Hobnail Pitcher Digital Stamp Set by Power Poppy used here)
- Waterproof ink (sample image printed with Canon Pixma printer)
- Other supplies as needed to complete the project (Micron liner pen, Basic Grey papers, adhesive, Impression Obsession stamps: 13478 It Is Well, 13485 Quietness and Confidence)
Step-by-Step
-
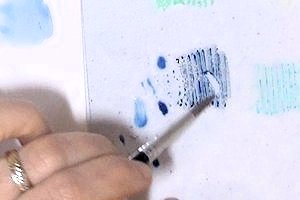
Step 1
Prepare a palette, using a nonporous surface, such as a ceramic tile, acetate, craft mat, acrylic or glass block, or Styrofoam plate.
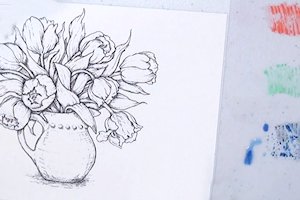
To fill the palette, scribble swatches of ink with water soluble markers.
NOTE:
These techniques will also work with inks: add drops of dye reinker, or tap or swipe a dye based inkpad onto the palette.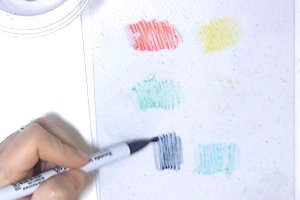
-
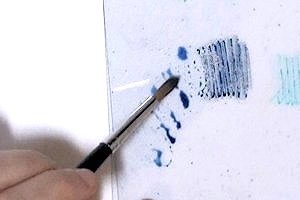
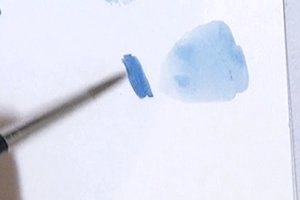
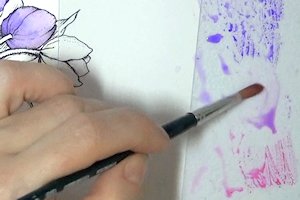
Step 2
Practice on watercolor paper to become familiar with how the ink blends with a wet brush. Try using varying amounts of water to dilute or spread the ink.
-
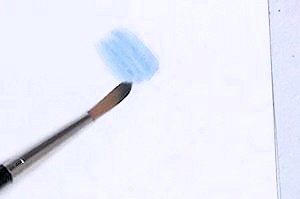
For a paler color, add more water, pulling color away from the original swatch on the palette to mix.
-
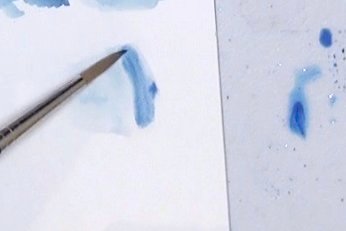
Step 3
For more intense color, remove excess water from the brush and use a higher concentration of undiluted ink.
-
Note that some colors may change or separate into their component colors with the addition of water. This is common with some dye inks.
-
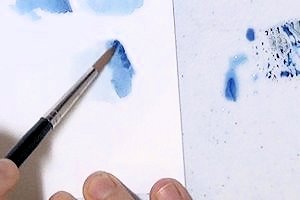
Step 4
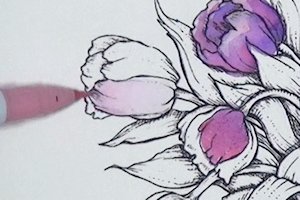
Practice adding darker color into a lighter area while the first layer of color is still damp. This "wet into wet" technique allows the water to move and blend the colors together. Add the color in brush strokes, or use the tip of the brush to dot in color.
-
As the area dries, the colors will remain more intense and stay more in place.
-
Step 5
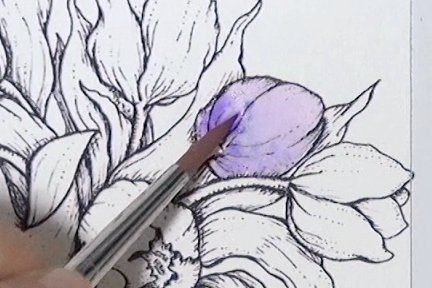
For wet-into-wet blending, use diluted ink to cover an area of the image. While the area is still damp, brush or dot in more concentrated color to shade.
-
Continue to add shading. As the area dries more, the color added in will stay darker and blend out less.
-
Step 6
For layered coloring ('glazing'), begin with a diluted layer of color, covering a whole area. More than one area can be colored at once, as long as they are not touching. Heat set the area or allow it to air dry.
-
Shade with a slightly darker color, and heat set the layer or allow it to air dry. Continue to add layers of color in this way until you have the look you want.
-
Step 7
To create intermediate or custom colors, mix color swatches on your palette.
-
Step 8
For a more intense color blend, use a lighter or contrasting colored marker to pick up a darker color from the palette.
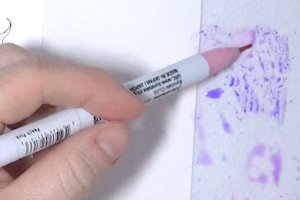
-
Color from side to side, blending out the color, until the original marker color returns.
-
Step 9
To blend the marker out from a lighter wash to its original color, dip the tip in water.
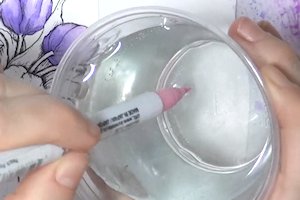
-
Color from side to side, blending out the water, until the original marker color returns.
-
Step 10
Stamp or print an outline image on smooth watercolor paper.
-
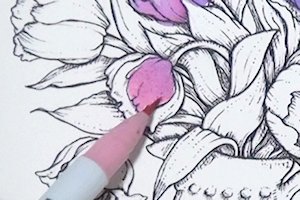
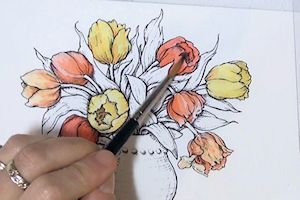
Step 11
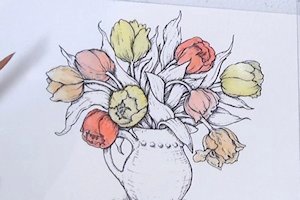
Choose a technique above and apply it to the image. Remember to color in isolated areas that do not touch one another. Begin with a light base coat of color, adding a little water to dilute the ink.
-
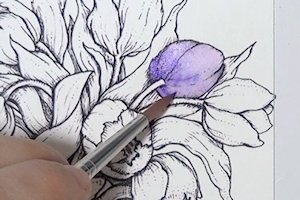
Step 12
Use more concentrated color for shading. The more wet the area, the more the additional color will blend out.
-
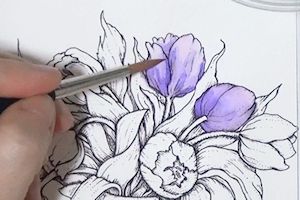
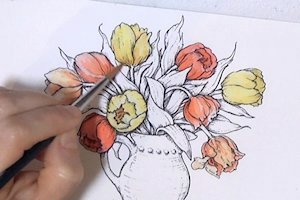
Add finer details after the first layers have dried completely so that the color does not bleed. Use a fine brush or the lightest color marker.
-
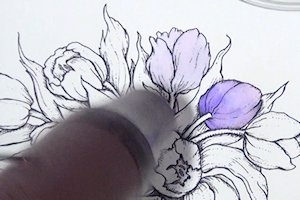
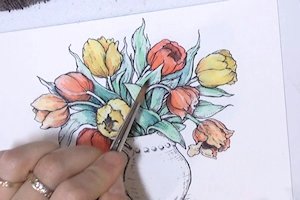
Step 13
Repeat the process in each area of the image. Wait until an area is completely dry to paint a section directly next to it.
-
Step 14
To ground the image, mix colors on the palette to create a coordinating neutral color.
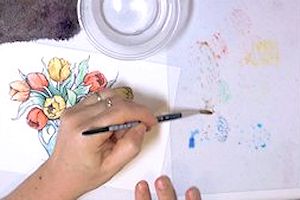
-
Create a horizontal shadow at the base of the image to give the image the illusion of weight and depth.
-
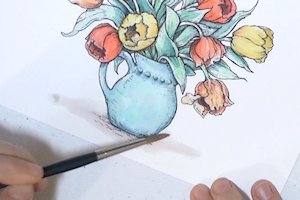
Step 15
Use the painted panel to complete a card or other project.
Video!
Your Turn
You've seen the tutorial, now you try it! We've got a section of the gallery set aside for Palette Blending. Try this technique, then upload your artwork to the gallery. Show us your creations!
***Please note - Internet Explorer/Edge is not a supported browser, and will not allow you to see the videos. Please use Chrome, Firefox or Safari to view our tutorial videos.

Questions and Comments
We'd love to get your feedback or questions. Leave your comment below.
What brush are you using?
Do you work with those markers direct-you mentioned you like them for having a true brush tip....
I do use the markers directly. The brush tips are great for getting into small areas, so they're better for detailed images.
The printer I have is a Canon MX532 -the ink is Canon PG-240XXL. Sometimes it does move a tiny bit - it may depend on the paper.
Page 1 of 1 pages