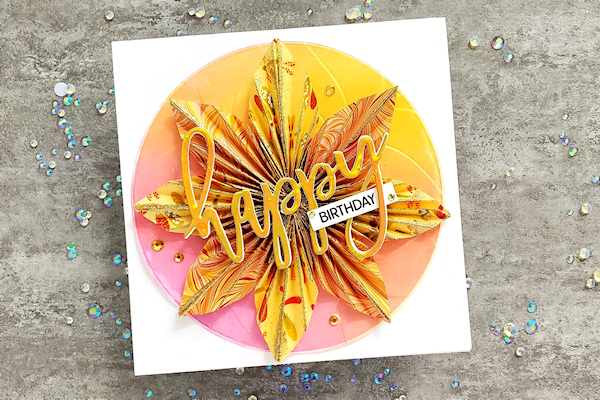
Origami Flower
by Ardyth Percy-Robb
Fold and group paper triangles into a beautiful floral focal.
Supplies
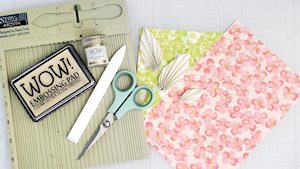
- Thin paper (origami paper used here)
- Score board
- Bone folder
- Liquid glue
- Embossing ink and powder of your choice (optional, gold sparkle used here)
- Other supplies as needed to complete the project (used here: 5.5" square card base (white cardstock, ink blended), Happy die cut, stamped birthday word, gold gems)
Step-by-Step
-
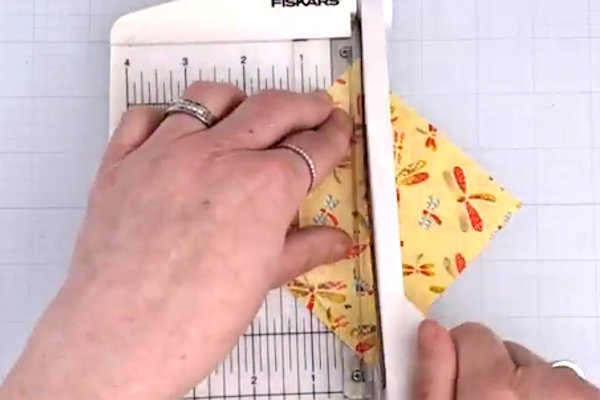
Step 1
Cut four 3.75" squares of thin paper.
Cut each one in half diagonally, forming eight triangles. -
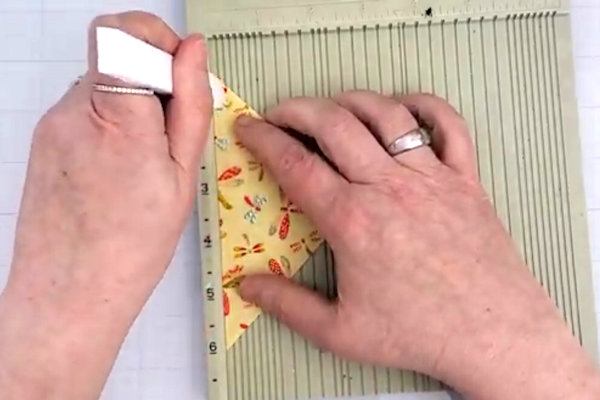
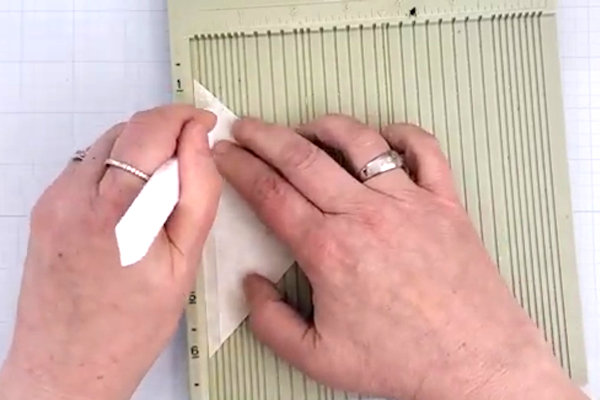
Step 2
Line up the long end of one triangle along the left side of your scoreboard. Be gentle with your scoring tool - this paper is delicate!
Score along the 1/4" line. -
Step 3
Then flip over and score at 1/2". Continue to turn the paper each time and score at every 1/4" until the triangle is completely scored.
-
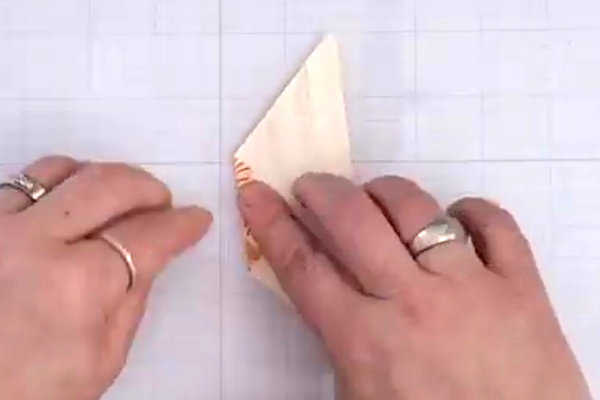
Step 4
Fold along score lines, starting at the tip, alternating the fold until you have one long line of folded paper.
-
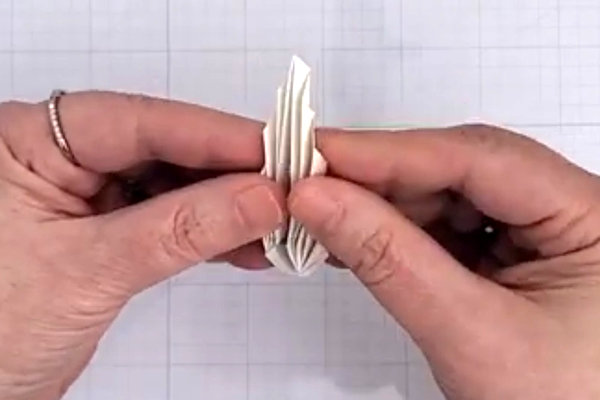
Step 5
Add glue to the long side (no folds visible); bend in half and bring points together. Press the two sides together so that the glue dries along the entire center. Open the folds out a bit to form a petal/leaf shape. Repeat steps 2-5 with all 8 triangles.
-
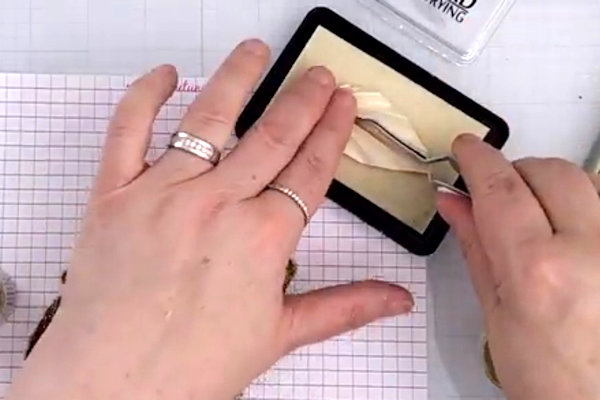
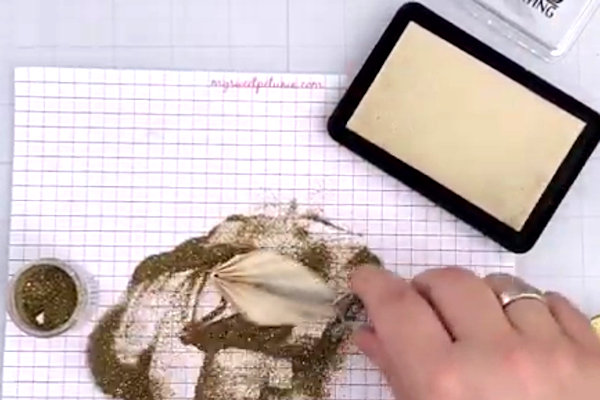
Step 6 (Optional)
Press the front of each petal lightly into embossing ink.
-
Dip the front of petal into embossing powder.
-
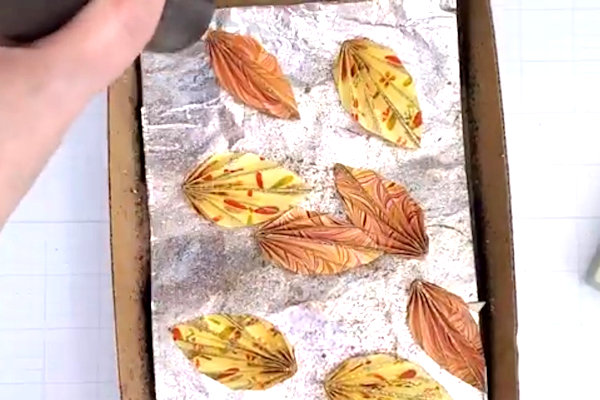
Step 7 (Optional)
Heat until the powder is melted and shiny (keep the tool moving - this paper is thin and can burn easily!)
-
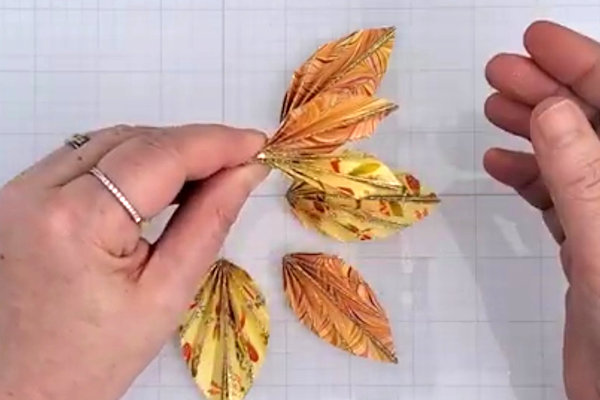
Step 8
Glue petals together with liquid glue along outside edges.
-
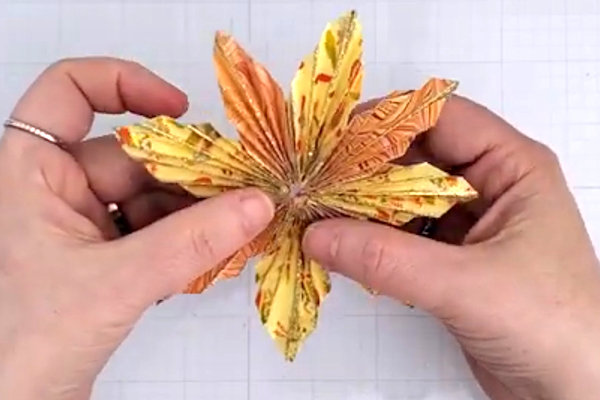
Step 9
"Fluff" your flower and finish your card as desired!
-
Video!
Variations
Use patterned paper or shimmery vellum.
Make 6 petals to create a 'snowflake'.
Use double-sided paper and create a hanging ornament to hang or use as a gift tag.
Use bigger squares for bigger flowers (6 inches looks amazing, but probably not as a card).
Your Turn
You've seen the tutorial, now you try it! We've got a section of the gallery set aside for Origami Flower. Try this technique, then upload your artwork to the gallery. Show us your creations!
***Please note - Internet Explorer/Edge is not a supported browser, and will not allow you to see the videos. Please use Chrome, Firefox or Safari to view our tutorial videos.

Questions and Comments
We'd love to get your feedback or questions. Leave your comment below.
Page 1 of 1 pages