One Sheet Box
by Beate Johns
Turn a 8 1/2" x 11" piece of cardstock into a box with just a few scores.
Supplies
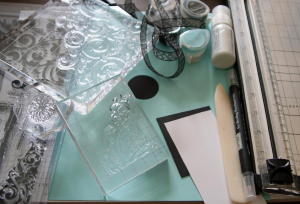
- Paper cutter with scoring tool
- Bone folder
- Cardstock - one sheet of 8 1/2" x 11
- Additional cardstock for main image
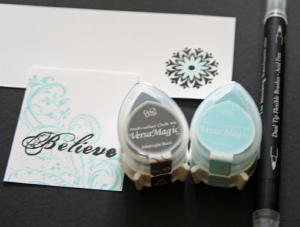
- Stamps (Bella Brush set, Fancy Pants Designs)
- Ink (Snow Cap, Adriondack Acrylic Paint Dabber; Black and Sea Breeze VersaMagic Dew Drops)
- Ribbon
- Double circle or double rectangle punch
Step-by-Step
-
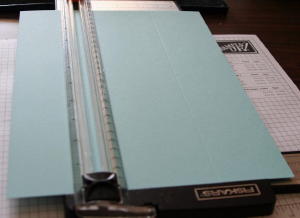
Step 1
Score sheet of cardstock on the short side at 2 1/2" and 6".
-
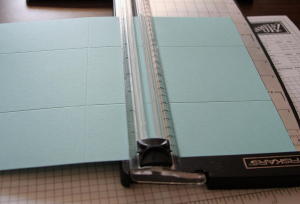
Step 2
Turn sheet of cardstock and score the long side at 4 1/2" and 6 1/2".
-
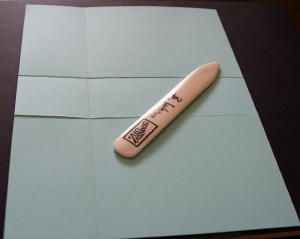
Step 3
Prefold along score lines several times both ways, or step four will be difficult.
-
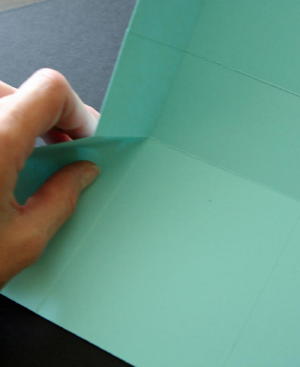
Step 4
Bring horizontal fold to vertical fold to create a diagonal crease.
-
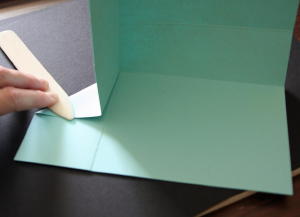
Step 5
Use a bone folder to really make the diagonal folds "sharp" and easier to fold the sheet into a box.
-
Step 6
Repeat steps four and five on the three remaining corners.
-
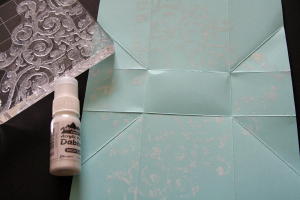
Step 7
Stamp your cardstock. Here, only the front, back and short middle sides were stamped. The other parts of the cardstock will be folded in not seen.
-
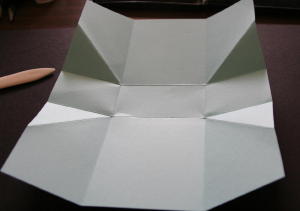
Step 8
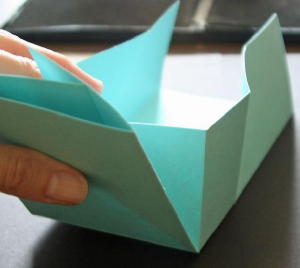
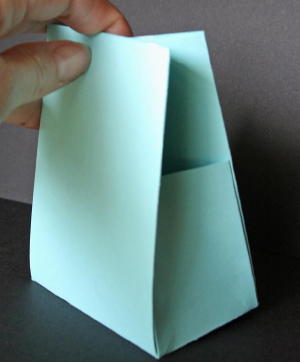
Prefold the box by bringing the diagonal folds towards the box center.
-
-
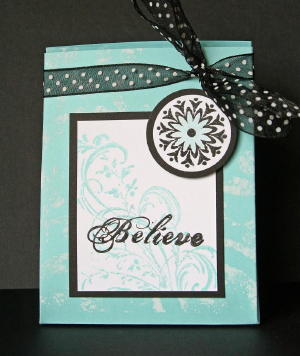
Step 9
Stamp center image and accent.
-
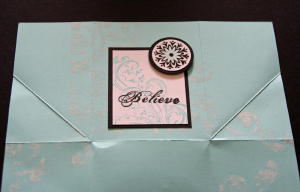
Step 10
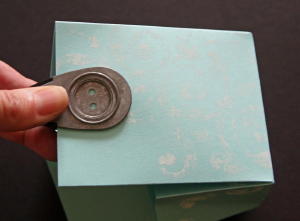
Adhere center image and accent to box front.
-
Step 11
Use the double circle punch (or another hole punch) to add ribbon holes in the top center of the back panel of the box.
-
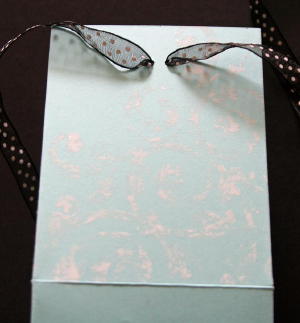
Step 12
Thread ribbon through both holes.
-
Step 13
Tie the ribbon in front and the box is complete.
Video!
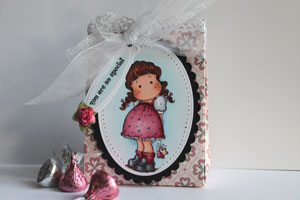
Variations
-
Try using patterned paper instead of cardstock for a different look.
Your Turn
You've seen the tutorial, now you try it! We've got a section of the gallery set aside for One Sheet Box. Try this technique, then upload your artwork to the gallery. Show us your creations!
***Please note - Internet Explorer/Edge is not a supported browser, and will not allow you to see the videos. Please use Chrome, Firefox or Safari to view our tutorial videos.
Questions and Comments
We'd love to get your feedback or questions. Leave your comment below.
Thanks!
I don't add tape to the sides. You can if you want to, but it is not neccessary. The ribbon keeps the box closed.
Many thanks.
The measurements are:
Width 3 1/2"
Depth 2"
Height 4 1/2"
Hugs and smiles
Beate
Thanks for pointing that out. The instructions of step 11 were wrong. I corrected them. Check them out now, please.
Merry Christmas
Hugs and smiles
Merry Christmas and happy crafting!
Thank you so much.
Page 1 of 1 pages