Negative Watercoloring
by Dina Kowal
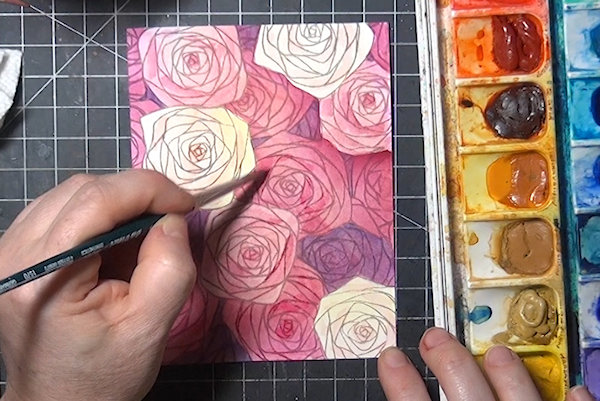
Explore this technique of coloring outside the lines. Negative painting is a technique that gives form to an image by painting outside of its outline. It is also a great technique for building depth in a scene.
Supplies

- Stamp image or sketch with overlapping shapes or sections (Impression Obsession CC187 Sketched Rose used here)
- Waterproof ink (or pencil if sketching; Versafine Smokey Grey ink used here)
- Watercolor paper (Fabriano Studio 140# hot press paper used here)
- Watercolor brushes
- Watercolor paints (QoR Watercolors used here)
- Water
- Other supplies as needed to complete the project (used here: 3015-SM Imagine Words, Gina Marie Designs No Frills Plain Slim Line Die Set, Scor-Buddy, trimmer)
Step-by-Step
-
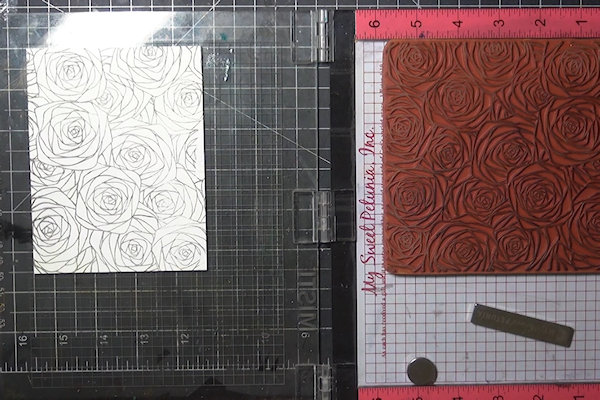
Step 1
On a panel of watercolor paper, stamp or sketch an image that has overlapping shapes or sections. Natural images like florals, leaves or landscapes work well for this technique.
-
Step 2
Use a wide brush to cover the panel with clear water.
-
TIP:
To prevent the paper from curving, spritz or brush a little water on the back side of the panel first. -
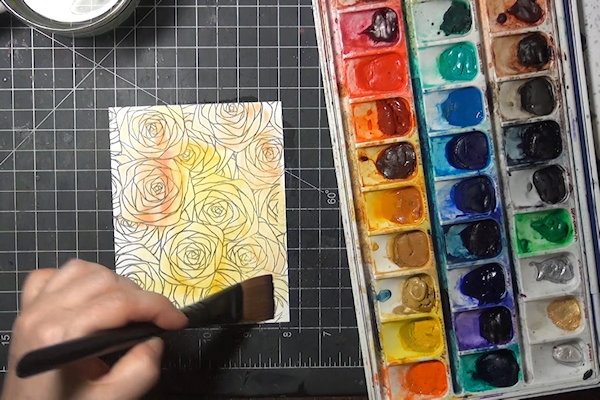
Step 3
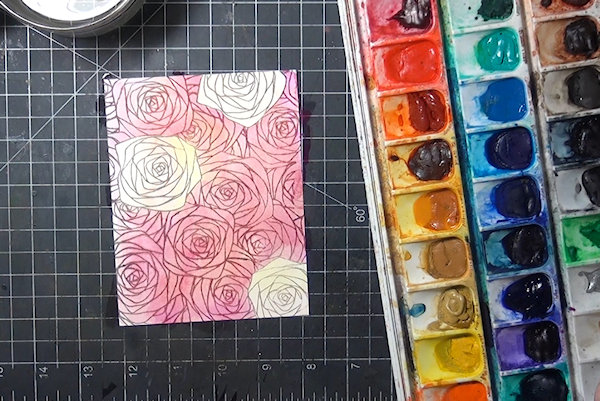
While the panel is still wet, add diluted watercolor paint loosely to the image in a single layer. This layer of underpainting will be a base of color for the image and will show in the lightest areas. You can use the outlines as a guide for color placement, but do not try to keep the color in the lines or create hard edges.
For the floral background here, warm colors were used over the whole panel. In an image with clearly defined areas (like flowers and leaves, or a landscape) you can direct color to the area where you want it (green in a leaf or grass area, etc) but again, do not try to keep the color in the lines or create hard edges.
Allow the panel to dry completely after each application of color. -
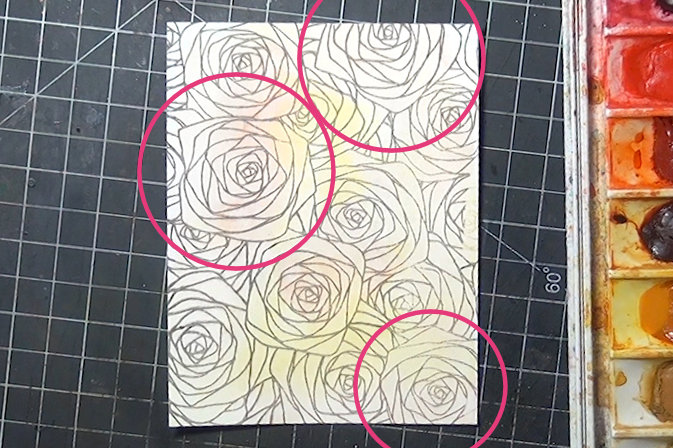
Step 4
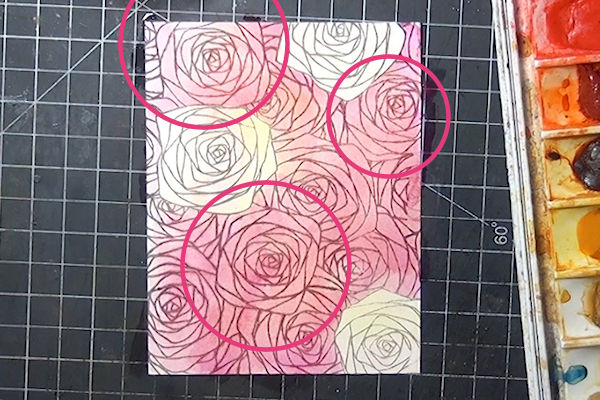
When using a negative painting technique, we will color outside the lines to establish shapes. Study the image to determine which elements are in the foreground and which are in the background. With this technique we will be working from foreground to background. In the sample, these flowers had a full outline with nothing overlapping them.
-
Using a slightly darker or more concentrated color, paint around those areas, allowing the first layer of paint to show through. You can apply an even layer of color, or blend out from the edges.To avoid a muddy mix of paint, stay within a color group (analogous colors (beside each other on the color wheel), all warm colors or all cool colors) or just vary the concentration of the watercolor paint you are using (begin with more water, and gradually lessen the amount of water). Let dry.
-
Step 5
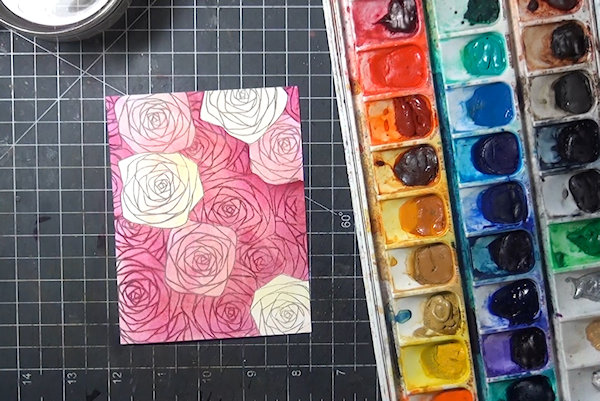
Repeat step 4 with the next layer on the image. Determine which elements of the image will be directly behind the foreground image.
-
Using a slightly darker or more concentrated color, paint outside the outlines of those areas as well as the areas from step 4.
-
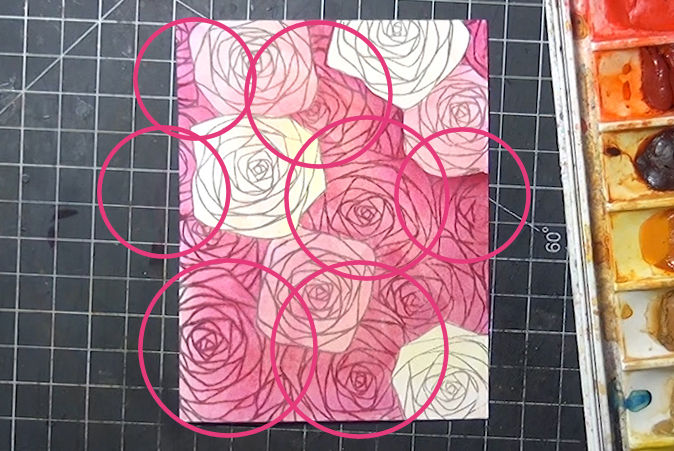
Step 6
Repeat the above steps as needed until you have created the depth you want.
-
NOTE:
If your image is smaller than the panel, you can sketch or stamp in additional shapes to fill the background. -
Step 7
Add shading and other details to the panel.
-
Step 8
Add shadows along the edges where images overlap to increase the illusion of depth.
-
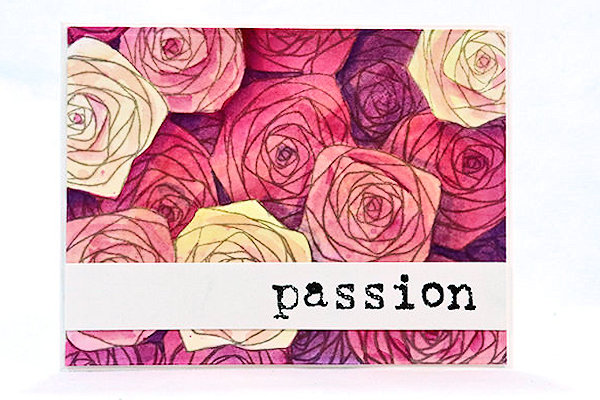
Step 9
Use the painted panel to complete a card or other project.
-
Here is a second card with the same image but different color scheme.


Video!
Variations
-
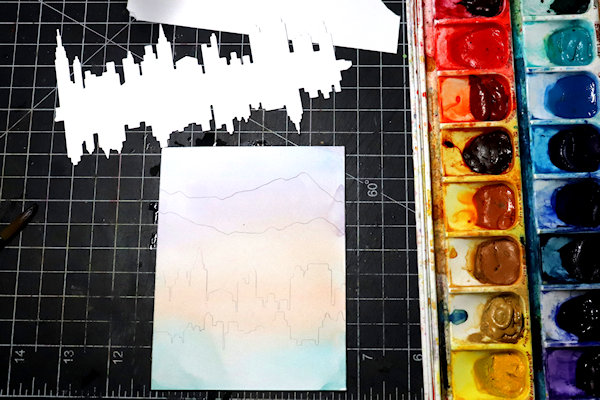
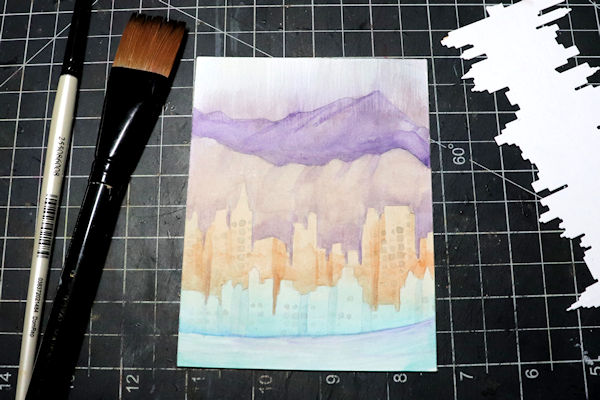
Instead of a stamped image, use stencils or die cut edges to create your initial design.
Impression Obsession die cuts used here:
DIE339-Z City Landscape Layers
DIE347-W Mountain Landscape Layers
-
For this scenic card, the initial wash was created in horizontal stripes using a wet-into-wet technique. The scene was created using negative painting from the bottom of the panel to the top.
Your Turn
You've seen the tutorial, now you try it! We've got a section of the gallery set aside for Negative Watercoloring. Try this technique, then upload your artwork to the gallery. Show us your creations!
***Please note - Internet Explorer/Edge is not a supported browser, and will not allow you to see the videos. Please use Chrome, Firefox or Safari to view our tutorial videos.

Questions and Comments
We'd love to get your feedback or questions. Leave your comment below.
Page 1 of 1 pages