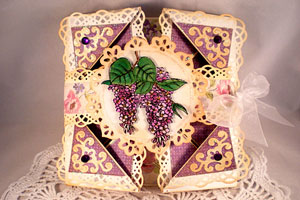
Napkin Fold Card
by Carol Hurlock
Create uniquely folded card that will dazzle your friends.
Supplies
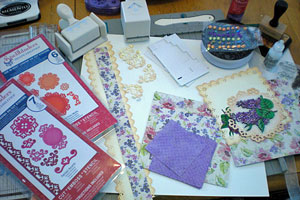
- One 12" x 12" piece of cardstock
- One 2 1/4" x 12" piece of cardstock
- Two 12" x 12" pieces of patterned paper
- Scor-Pal™, or other scoring tool
- Bone folder
- Paper cutter
- Ribbon
- Border punch, optional
- Dies, ink and embellishments, optional
Step-by-Step
-
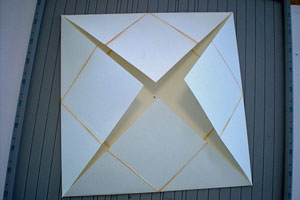
Step 1
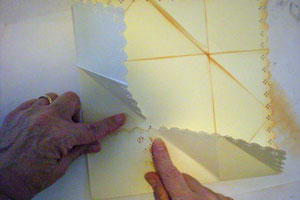
Score the 12" x 12" piece of cardstock at 3" and 9". Turn paper 90 degrees and score again at 3" and 9". Prefold the score lines.

-
Step 2
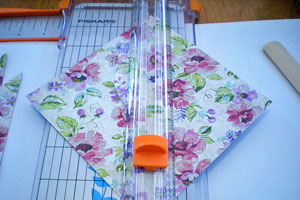
Mark the center of the paper with a small pencil dot. Fold each of the corner to the center. Crease each score line.
-
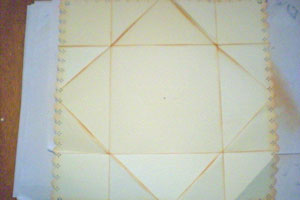
Step 3 (Optional)
Sponge the folds with distress ink and use a border punch at the outer edges of the paper.
-
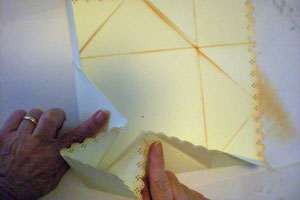
Step 4
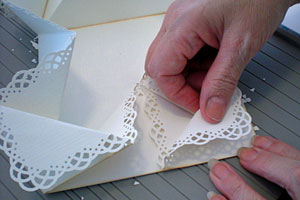
Use your finger to pick up the bottom point and push it towards the center. Go to the next point and push it towards the center as well. Allow the previous folds you made to fold.
-
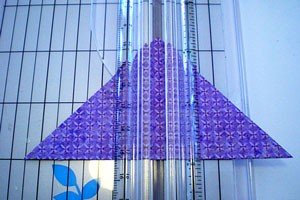
Smooth down the corners so the piece on top is flat and the points are folded in underneath.
-
Step 5
Now take the next point at the opposite end and fold it toward the center.
Repeat with the last two corners.
-
Step 6
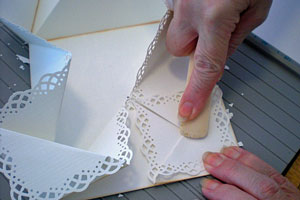
Take one of the corner points and fold it back.
-
Use the bone folder and create a nice deep crease.
-
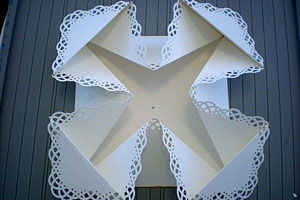
Step 7
Repeat Step 6 on all corners to create the Napkin Fold Card base.
-
Step 8
Cut the following squares out of the patterned paper sheets with a paper cutter:
Two 5-1/2" squares. This is the main color of the card
Two 3-1/4" squares. This is the contrast #1
One 3-3/4" square. This is contrast #2
One 2-3/4" square. This is contrast #1 and goes on the smallest folded point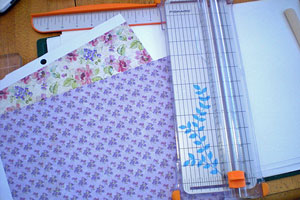
-
Cut the squares in half.
-
Step 9
Cut the triangles in half.
-
You should now have:
8 triangles cut out of the 5 1/2" squares
8 triangles cut out of the 3 1/4" squares
4 triangles cut out of the 3 3/4" square
4 triangles cut out of the 2 3/4" square
-
Step 10
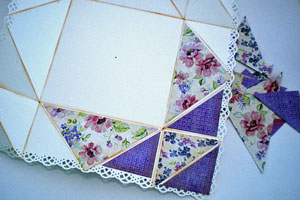
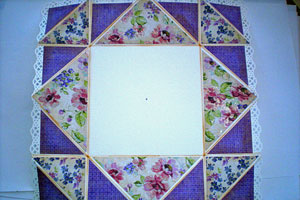
Adhere the biggest triangles around the diamond in the card center. Adhere the smallest triangles to the last pieces you folded, which are the four outside corners. Tape the four contrast pieces to the middle of the corner diamond.
-
-
Step 11
Flip card over. Adhere last of the biggest triangles around center square.
-
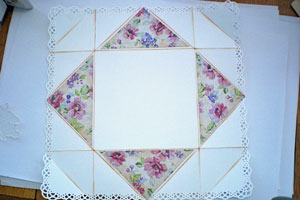
Step 12
Turn card back over. Cut a 5 3/4" piece of patterned paper adhere to the card center.
Decorate the center. Here a 5" white cardstock square was punched with a border punch, decorated and adhered on top of the patterned paper square.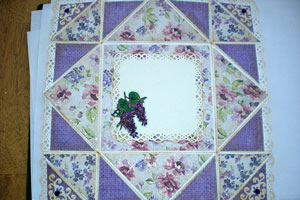
-
Step 13
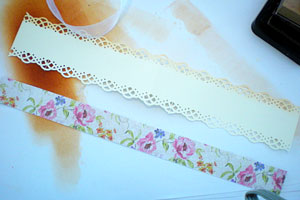
Use a border punch to decorate on both sides of your 2 1/4" x 12" piece of cardstock. Cut a 1" x 12" piece of patterned paper.
-
Step 14
Cut a piece of ribbon about 30" and adhere it to the center of your punched card stock. Adhere the patterned paper strip it over the ribbon. Fold this piece in half.
Adhere half of the strip over the middle of the back of the card.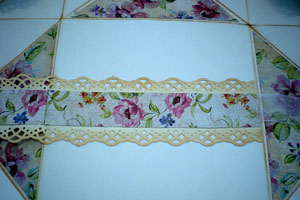
-
Step 15
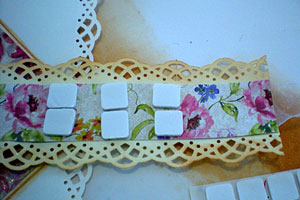
Apply some dimensional foam pads to unattached end of the band.
-
Fold band over and adhere image to the dimensional adhesive.Tie ribbon to close the card.
Video!
Your Turn
You've seen the tutorial, now you try it! We've got a section of the gallery set aside for Napkin Fold Card. Try this technique, then upload your artwork to the gallery. Show us your creations!
***Please note - Internet Explorer/Edge is not a supported browser, and will not allow you to see the videos. Please use Chrome, Firefox or Safari to view our tutorial videos.

 *
*
Questions and Comments
We'd love to get your feedback or questions. Leave your comment below.
http://kittiekraft.typepad.com/kittiekraft/2011/05/martha-stewart-punch-around-the-page-tutorial.html
Hope this helps you to create a beautiful card.
By the way, my image is of Lilacs not grapes....lol
I wanted to get one made but could never find the time (or try, at least). I am certainly planning to do it asap.
Such a lovely card, I cannot wait to try it.
TFS
Margaret J
Page 1 of 3 pages 1 2 3 >