Monoprinting
by Julie Warner
Transfer ink from a plate to paper to create one-of-a-kind backgrounds.
Supplies
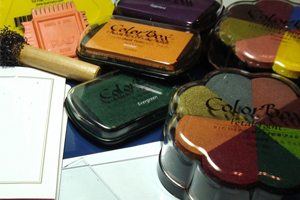
- Pigment inks
- Piece of glass or acrylic (Glass from an old picture frame is perfect)
- Painting tools Squeegee, combing tool, texture tool
- Cardstock
- Stamps (Solid images work best)
Step-by-Step
-
Step 1
Place your glass over paper to make it easier to see.
Rub and smoosh ink over the surface of the glass. Cover the printing area with ink and try not leave any open areas.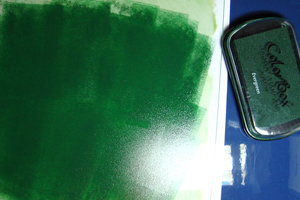
-
Step 2
Use a combing tool to create a pattern in the ink.
Wipe the ink off the comb after every pass.
Tip: For more interesting patterns, vary the direction of your combing, even going over areas already combed.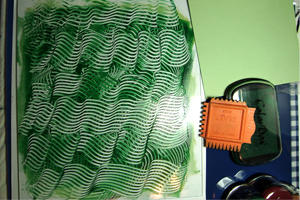
-
Step 3
Place cardstock (here a mint green is used) on top of finished ink pattern.
Use a squeegee to ensure good coverage.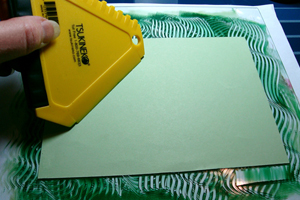
-
Step 4
Carefully lift cardstock and allow to dry or use embossing tool.
Optional: Ink stamps with a darker ink color and stamp directly onto glass over a lighter base ink color.
Place cardstock on top of pattern as before.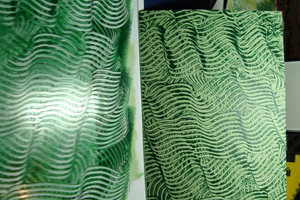
-
Ink stamps with a contrasting ink color and stamp onto inked glass.
Here after I stamped the leaves onto the glass, I stamped them off onto a separate piece of cardstock for use later.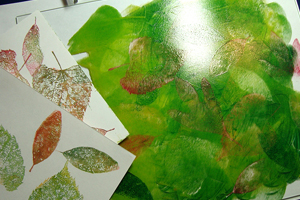
-
Step 5
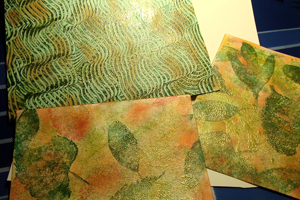
For added interest, I used a sprinkling of gilded gold (mostly clear with flecks of gold) embossing powder on these backgrounds, then sponged a little rust colored ink on my backgrounds.
-
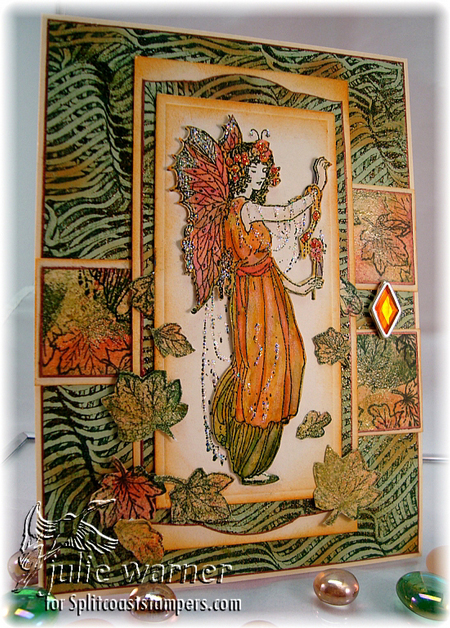
Finished project incorporating monoprinted backgrounds.
Video!
Your Turn
You've seen the tutorial, now you try it! We've got a section of the gallery set aside for Monoprinting. Try this technique, then upload your artwork to the gallery. Show us your creations!
***Please note - Internet Explorer/Edge is not a supported browser, and will not allow you to see the videos. Please use Chrome, Firefox or Safari to view our tutorial videos.

Questions and Comments
We'd love to get your feedback or questions. Leave your comment below.
Thanks a bunch!
Helen :o)
I love most of these, thanks for showing us a new technique!
Thank you.
Page 1 of 2 pages 1 2 >