MISTI Marbling
by Lydia Fiedler
Learn how to get a beautiful marbled look on solid stamp images using the MISTI.
Supplies
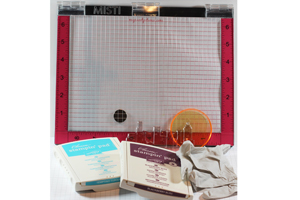
- MISTI
- Solid stamp images - cling or photopolymer (Stampin' Up! Calling All Heroes and Celebrate Today used here)
- Cardstock
- Dye inks
- Disposable glove
Step-by-Step
-
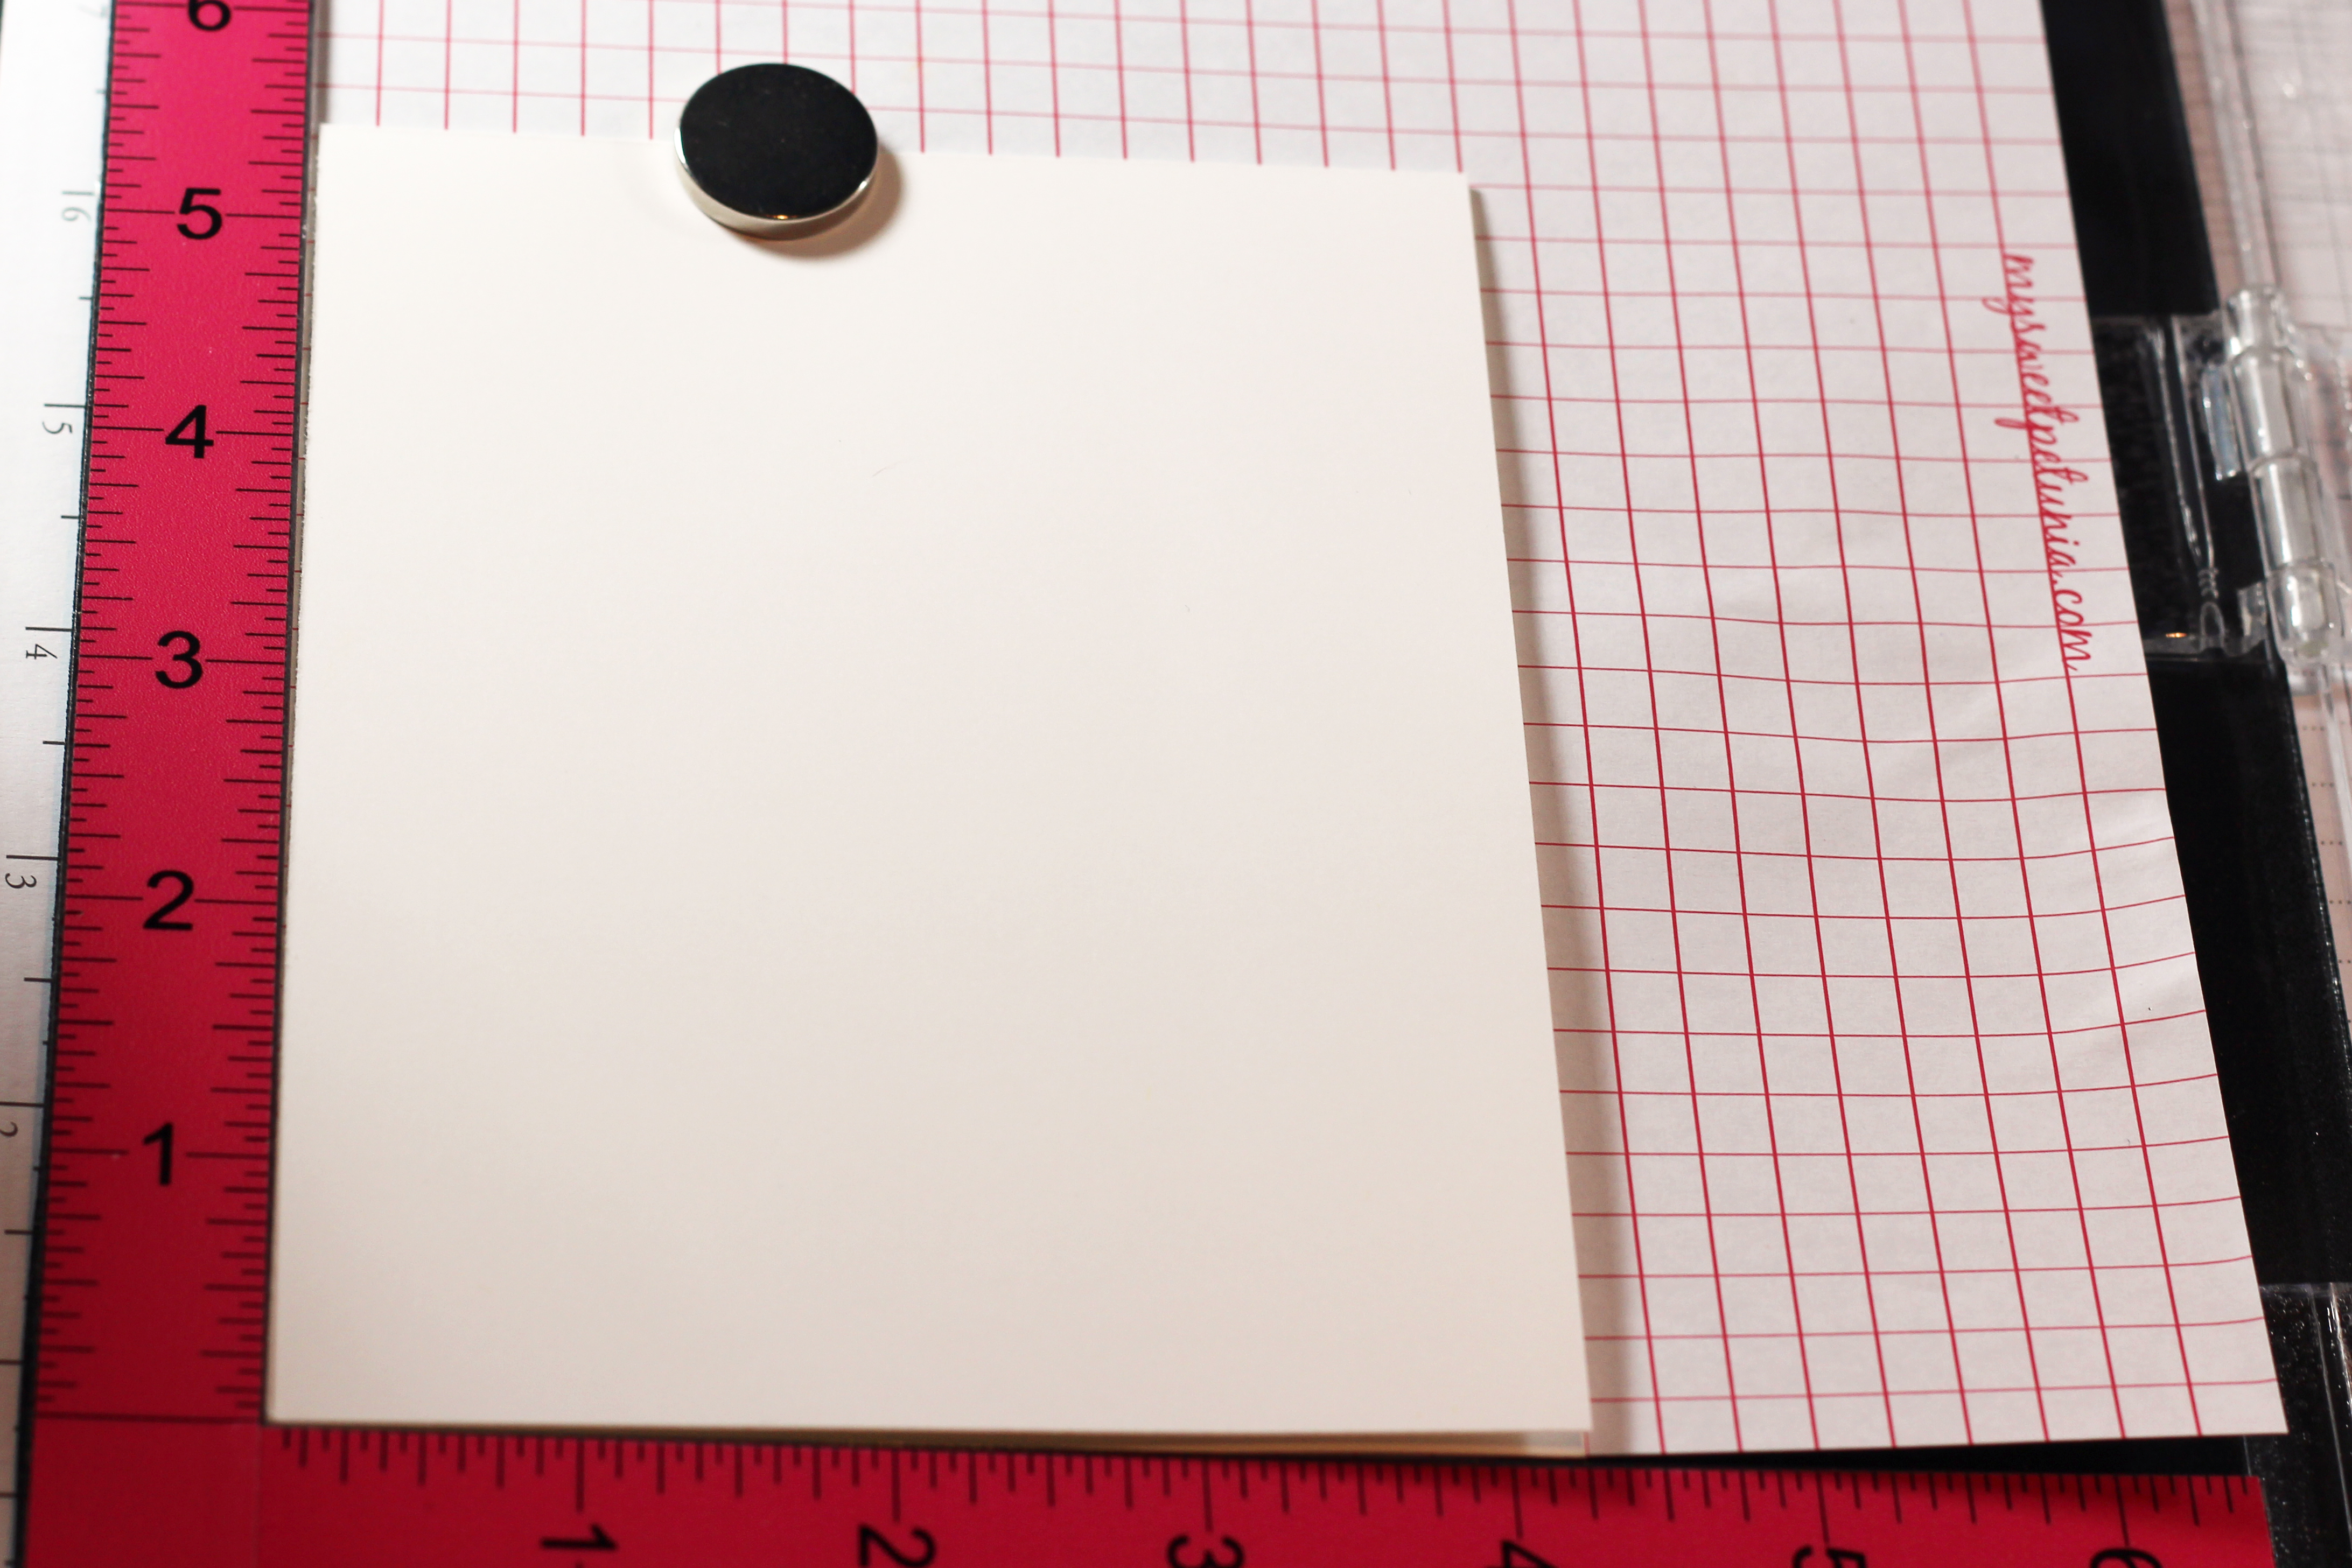
Step 1
Place card base in the corner of the MISTI and secure with magnet.
-
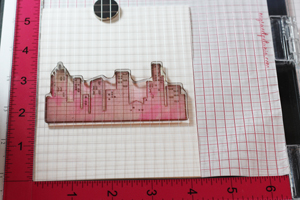
Step 2
Adhere a solid stamp image to the inside of the lid of the MISTI and verify that it's where you'd like it to be over your card base.
-
Step 3
Ink the stamp in your main color of dye ink - Tempting Turquoise used here.
-
Step 4
Close the lid of the MISTI and apply gentle pressure to stamp the image onto the card base.
NOTE:
If the image isn't fully inked, just re-ink and overstamp - the MISTI will allow for perfect placement for re-inking.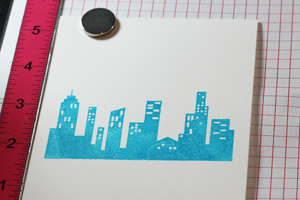
-
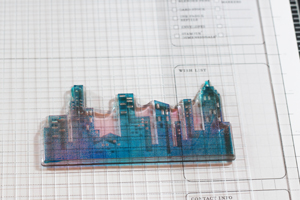
Step 5
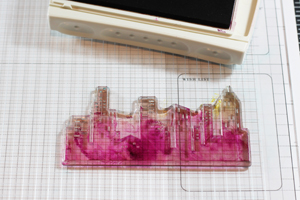
Put on the disposable glove and apply the second color of ink (Daffodil Delight used here) with finger to the top of the image by lightly tapping inked finger onto stamp.

-
Step 6
Close the lid of the MISTI to stamp again and transfer the yellow ink.

-
Step 7
Again using a glove, apply the third color of ink (Blackberry Bliss used here) in a gentle swirling motion to the bottom portion of the stamp, to create a marbled look.
-
Step 8
Close lid of the MISTI to transfer the ink to the stamped image.
-
Step 9
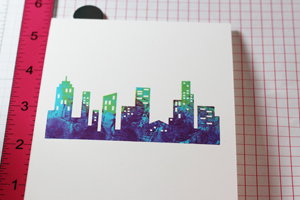
Finish your card as desired.

Video!
Variations
-
Instead of using a swirling motion to marble, just use the overstamping technique to add shading to solid images with a second color.

Your Turn
You've seen the tutorial, now you try it! We've got a section of the gallery set aside for MISTI Marbling. Try this technique, then upload your artwork to the gallery. Show us your creations!
***Please note - Internet Explorer/Edge is not a supported browser, and will not allow you to see the videos. Please use Chrome, Firefox or Safari to view our tutorial videos.

Questions and Comments
We'd love to get your feedback or questions. Leave your comment below.
BTW, love your nails.
Can you use a sponge instead of a rubber glove?
Page 1 of 2 pages 1 2 >