Matchbox Dresser
by Lydia Fiedler
Stack matchboxes to create a little dresser.
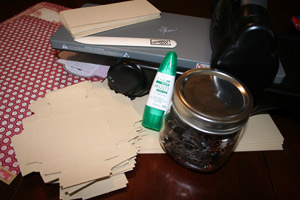
Supplies
- 24 Matchbox die & sleeve cuts, Stampin' Up! Matchbox Die used here or templates like these boxes
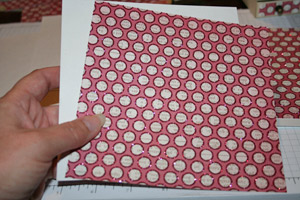
- 8 pieces of 2 1/2" squares of patterned paper, MME Lost & Found Market Street Lovely paper used here
- 2 pieces of lightweight chipboard
- 4 pieces of 6" x 6" patterned paper, MME Lost & Found Blush Better Dotted Paper used here
- 24 pieces of 1 7/8" x 5/8" patterned paper (MME Lost & Found Blush Better Dotted Paper used here
- 24 Tim Holtz Hitch Fasteners (retired), brads or buttons
- Paint dabbers for edges (optional)
- Tombo Mono Multi Glue
- Bone folder
- Scotch tape
- Ribbon, stamps and embellishments
Step-by-Step
-
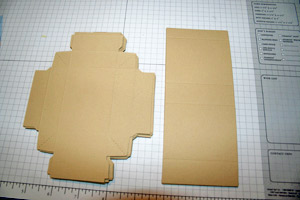
Step 1
Die cut 24 matchboxes and matchbox sleeves with the matchbox die.
-
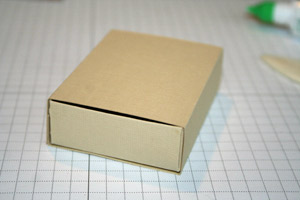
Step 2
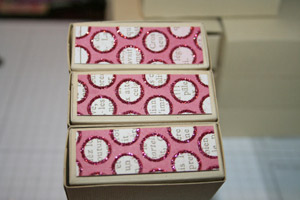
Assemble all matchboxes and sleeves, adhering the sleeves with glue.
-
Step 3
Put assembled drawers into sleeves.
-
Step 4
Add patterned paper to the front of each matchbox drawer.
-
Step 5
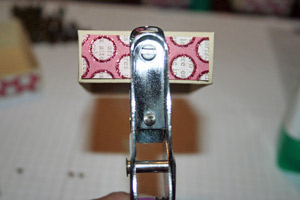
Punch a hole in the center of the front of each drawer (the side with the patterned paper).
-
Step 6
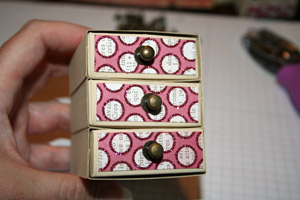
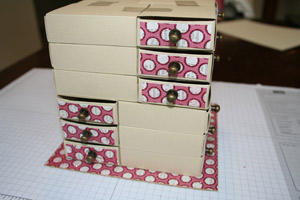
Attach a hitch fastener, brad or other hardware to each drawer.
-
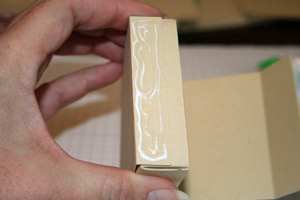
Step 7
Glue three matchboxes together in a stack, making sure the edges of the sleeves are perfectly aligned. Repeat until you have 8 stacks.

-
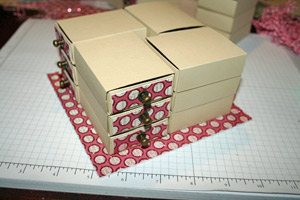
Step 8
Using four of your stacks, build the base of the dresser, alternating a drawer front with a drawer side so that each side of the square has both drawer fronts and drawer sides. There will be a square hole in the center of your base when they are aligned properly.
Tape the tops together to hold them in the right shape.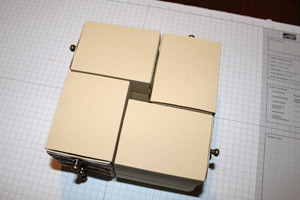
-
Step 9
Attach patterned paper to both sides of both pieces of chipboard. Dab edges of chipboard with paint dabber if desired.
-
Step 10
Put glue on the bottom of the dresser base, center it on one piece of the decorated chipboard and let dry.
-
Step 11
Assemble another layer of the dresser with the next four stacks, taping them together, and glue them to the base, being careful to align the edges.
-
Step 12
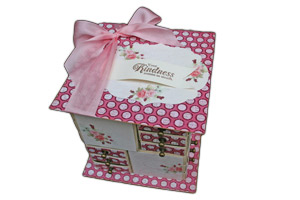
Attach the 2 1/2" squares of patterned paper to the sides of the project where you can see the edges of the drawers, and decorate the top piece and attach to finish your project.
Video!
Your Turn
You've seen the tutorial, now you try it! We've got a section of the gallery set aside for Matchbox Dresser. Try this technique, then upload your artwork to the gallery. Show us your creations!
***Please note - Internet Explorer/Edge is not a supported browser, and will not allow you to see the videos. Please use Chrome, Firefox or Safari to view our tutorial videos.

Questions and Comments
We'd love to get your feedback or questions. Leave your comment below.
Thanks for the great tutorial!
I am going to showcase this tutorial on my blog
on Thursday morning.
This is just too cute.
Thanks Tammy
I looked everywhere for the Hitch Fasteners. Don't waste your time. I spent at least 1 1/2 hours on line. BUT I did discover a substitute. Good ole push pins. I snipped the pokie end off and then used hot glue to fasten the rest to the front. You could also leave a bit of the pokie part and push it through and then hot glue a bit and stick round circle from a small punch to cover it! Where there is a Will there is a Way!! Cannot wait to share mine.
I think this is way to cute and will make one for my daughter.
Page 1 of 2 pages 1 2 >