Masking - Reverse Masking
by Beate Johns
A piece of copy paper or a Post-It® helps "fill" images.
Supplies
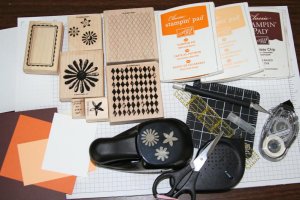
- Outline Image Stamp (e.g. frame, bottles, jars, etc.)
- Stamps for the inside of your image
- Ink
- Paper
- Copy Paper or Post-It® Note for mask
- Hobby knife
- Cutting mat
- Ruler
Step-by-Step
-
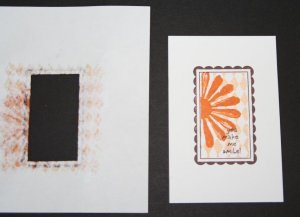
Step 1
Stamp outline image on copy paper or Post-It™ note.
-
Step 2
Cut out the image inside using a hobby blade, cutting mat and ruler. This is the mask.
-
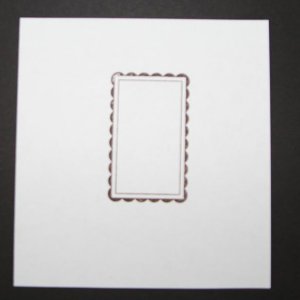
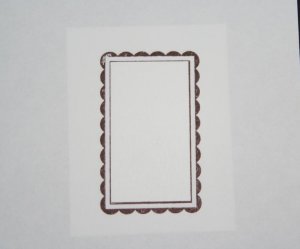
Step 3
Stamp outline image again on cardstock.
-
Step 4
Add temporary adhesive to the back of your mask (not necessary if Post-It™ was used).
-
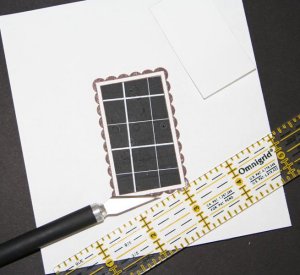
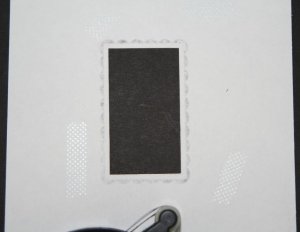
Step 5
Adhere mask over outline image on the cardstock to cover up everything outside the image.
-
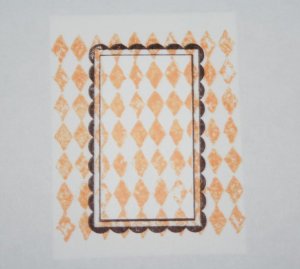
Step 6
Stamp image or pattern over the mask.
-
Step 7
Add more images if desired.
-
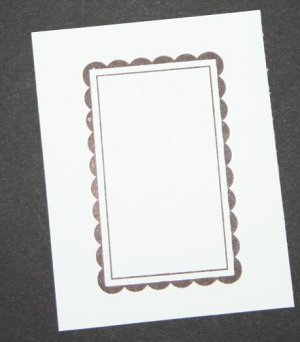
Step 8
Remove mask and any temporary adhesive residue from cardstock.
-
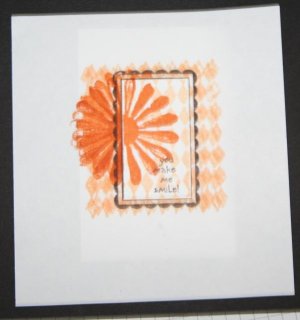
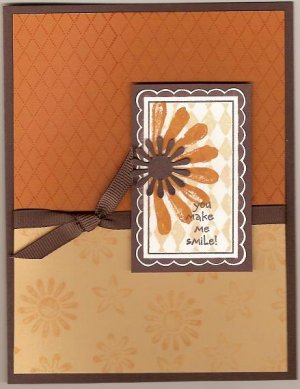
Step 9
Finish your card.
Video!
Variations
-
Try Faux Framing
You don't need an outline image to use this technique. Make a mask, then sponge and stamp inside. This is called Faux Framing.
Shape dies
Use frames cut with shape dies instead of cutting the inside out of outline images.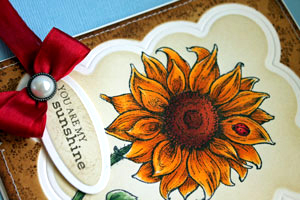
Your Turn
You've seen the tutorial, now you try it! We've got a section of the gallery set aside for Masking - Reverse Masking. Try this technique, then upload your artwork to the gallery. Show us your creations!
***Please note - Internet Explorer/Edge is not a supported browser, and will not allow you to see the videos. Please use Chrome, Firefox or Safari to view our tutorial videos.
Questions and Comments
We'd love to get your feedback or questions. Leave your comment below.
just emphasize the frame. please provide more details.
really cool.
Page 1 of 1 pages