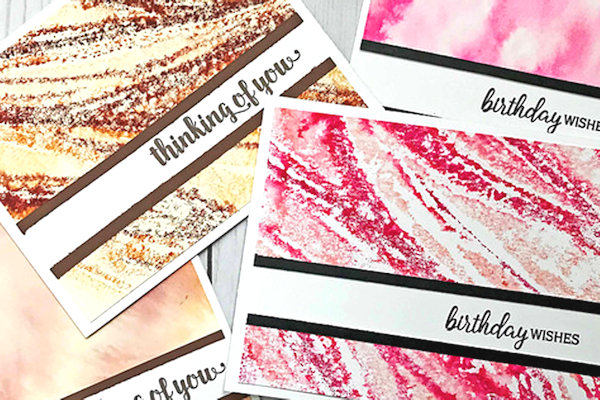
Marker Marbling
by Lindsay Adreon
Use water-based markers and acetate for this marbling technique.
Supplies
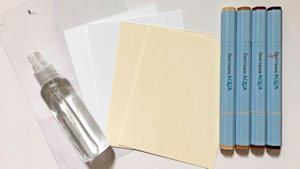
- White or cream cardstock cut to A2 size
- Acetate - large enough to cover cardstock
- Watercolor brush markers (3-4 coordinating colors. Spectrum Aqua Markers used here)
- Water mister
- Other supplies as needed to complete the project (Inspired By Stamping “Fresh Bouquet” and “Summer Bouquet” clear stamp sets used here)
Step-by-Step
-
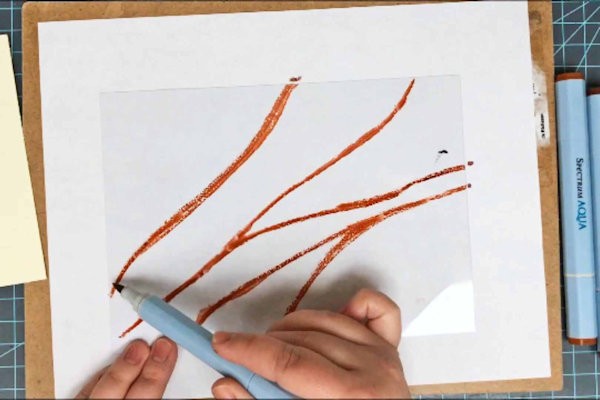
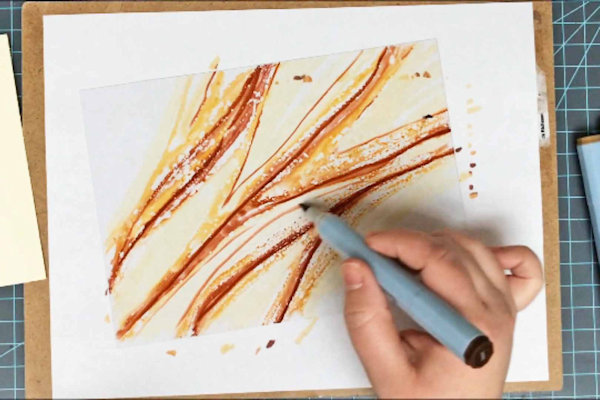
Step 1
Using the darkest shade of marker, start by making a few lines on the acetate.
TIP:
Some lines can merge for the best effect. -
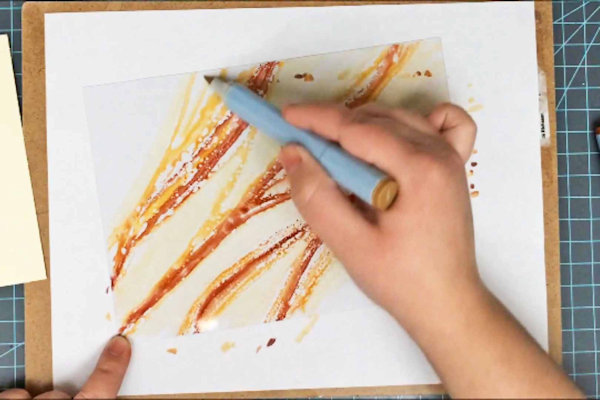
Step 2
Using the second to darkest shade of marker, add color to the sides of the darkest lines. Be sure the colors and lines are touching each other.
-
Step 3
Using the third shade of marker, add wider lines of color next to the last lines drawn. Again, be sure the colors and lines are touching each other.
-
Step 4
Using the lightest shade of marker, fill in the remaining space of acetate with no color.
-
Step 5
With the two darkest colors, go back in and add fine details.
-
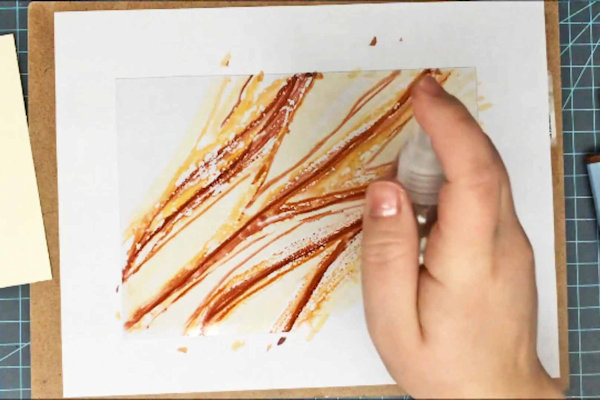
Step 6
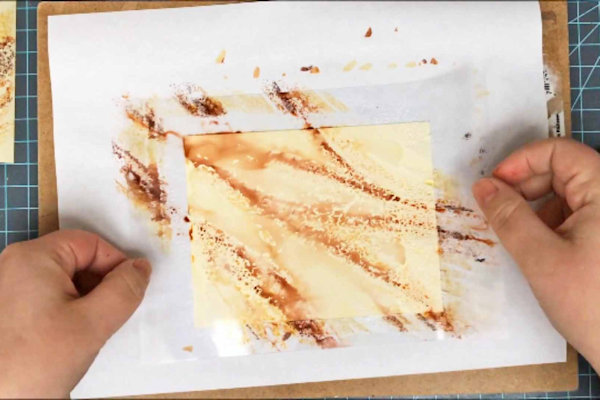
LIGHTLY spray acetate with a fine mist of water and flip onto the cardstock.
-
Let this sit and soak into the paper.
-
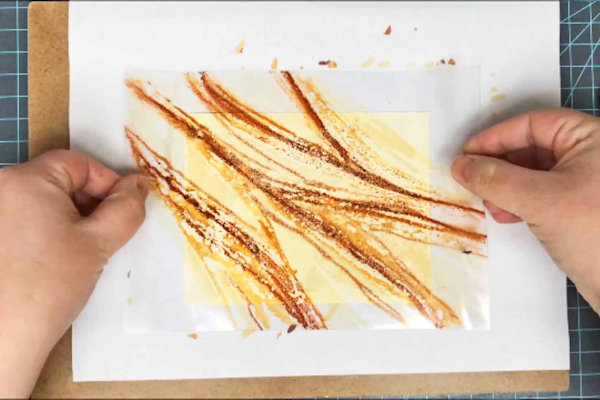
Step 7
Remove the acetate, but don't wipe off the color yet!
-
Step 8
Spray the acetate a second time, this time more liberally. Flip onto another piece of cardstock.
-
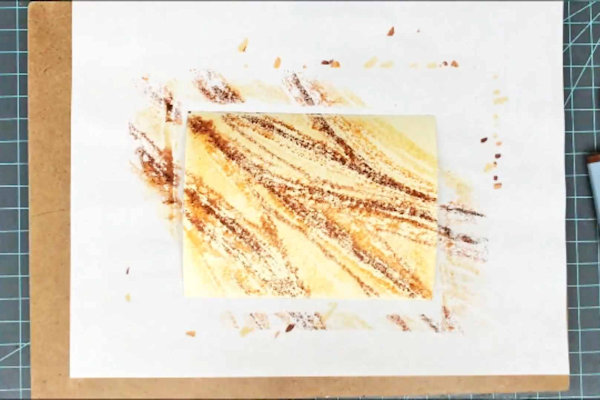
Step 9
Using your fingers, you can move the color around and blend it together. Let this sit and soak into the paper.
-
Step 10
Remove the acetate.
-
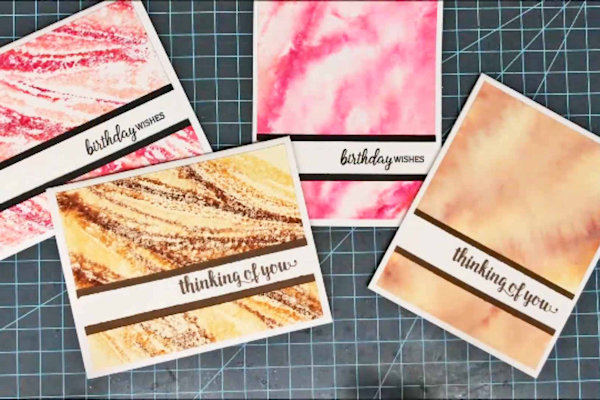
Step 11
Let both pieces of cardstock dry and finish cards to your liking.


Video!
Your Turn
You've seen the tutorial, now you try it! We've got a section of the gallery set aside for Marker Marbling. Try this technique, then upload your artwork to the gallery. Show us your creations!
***Please note - Internet Explorer/Edge is not a supported browser, and will not allow you to see the videos. Please use Chrome, Firefox or Safari to view our tutorial videos.

Questions and Comments
We'd love to get your feedback or questions. Leave your comment below.
I liked both of them so trying to make up my mind which one I liked better but they are both just as nice.
merci beaucoup et il me tarde de l'essayer.
bonne soir�e.
Page 1 of 1 pages