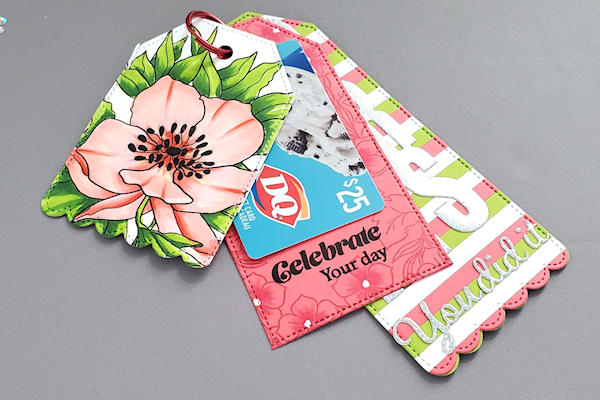
Layered Tag Card
by Ardyth Percy-Robb
Learn to vary the length of die cuts for a layered card design, great for any occasion.
Supplies

- Tag or long rectangle die (Crafty Meraki Congrats Slimline Tag used here)
- Cardstock (Neenah 80 lb. Classic Crest used here, with green and coral cardstock)
- Die cutting machine
- Binder ring (or something to attach the layers)
- Other supplies as needed to complete the card (used here: Crafty Meraki Hello, Love and Elegance stamp sets, Versafine Onyx Black ink, Gina K Obsidian ink, Catherine Pooler Party Dress ink, Copic markers, Mini MISTI, Glue dots, Adhesive sheets, Lawn Fawn holographic cardstock)
Step-by-Step
-
Step 1
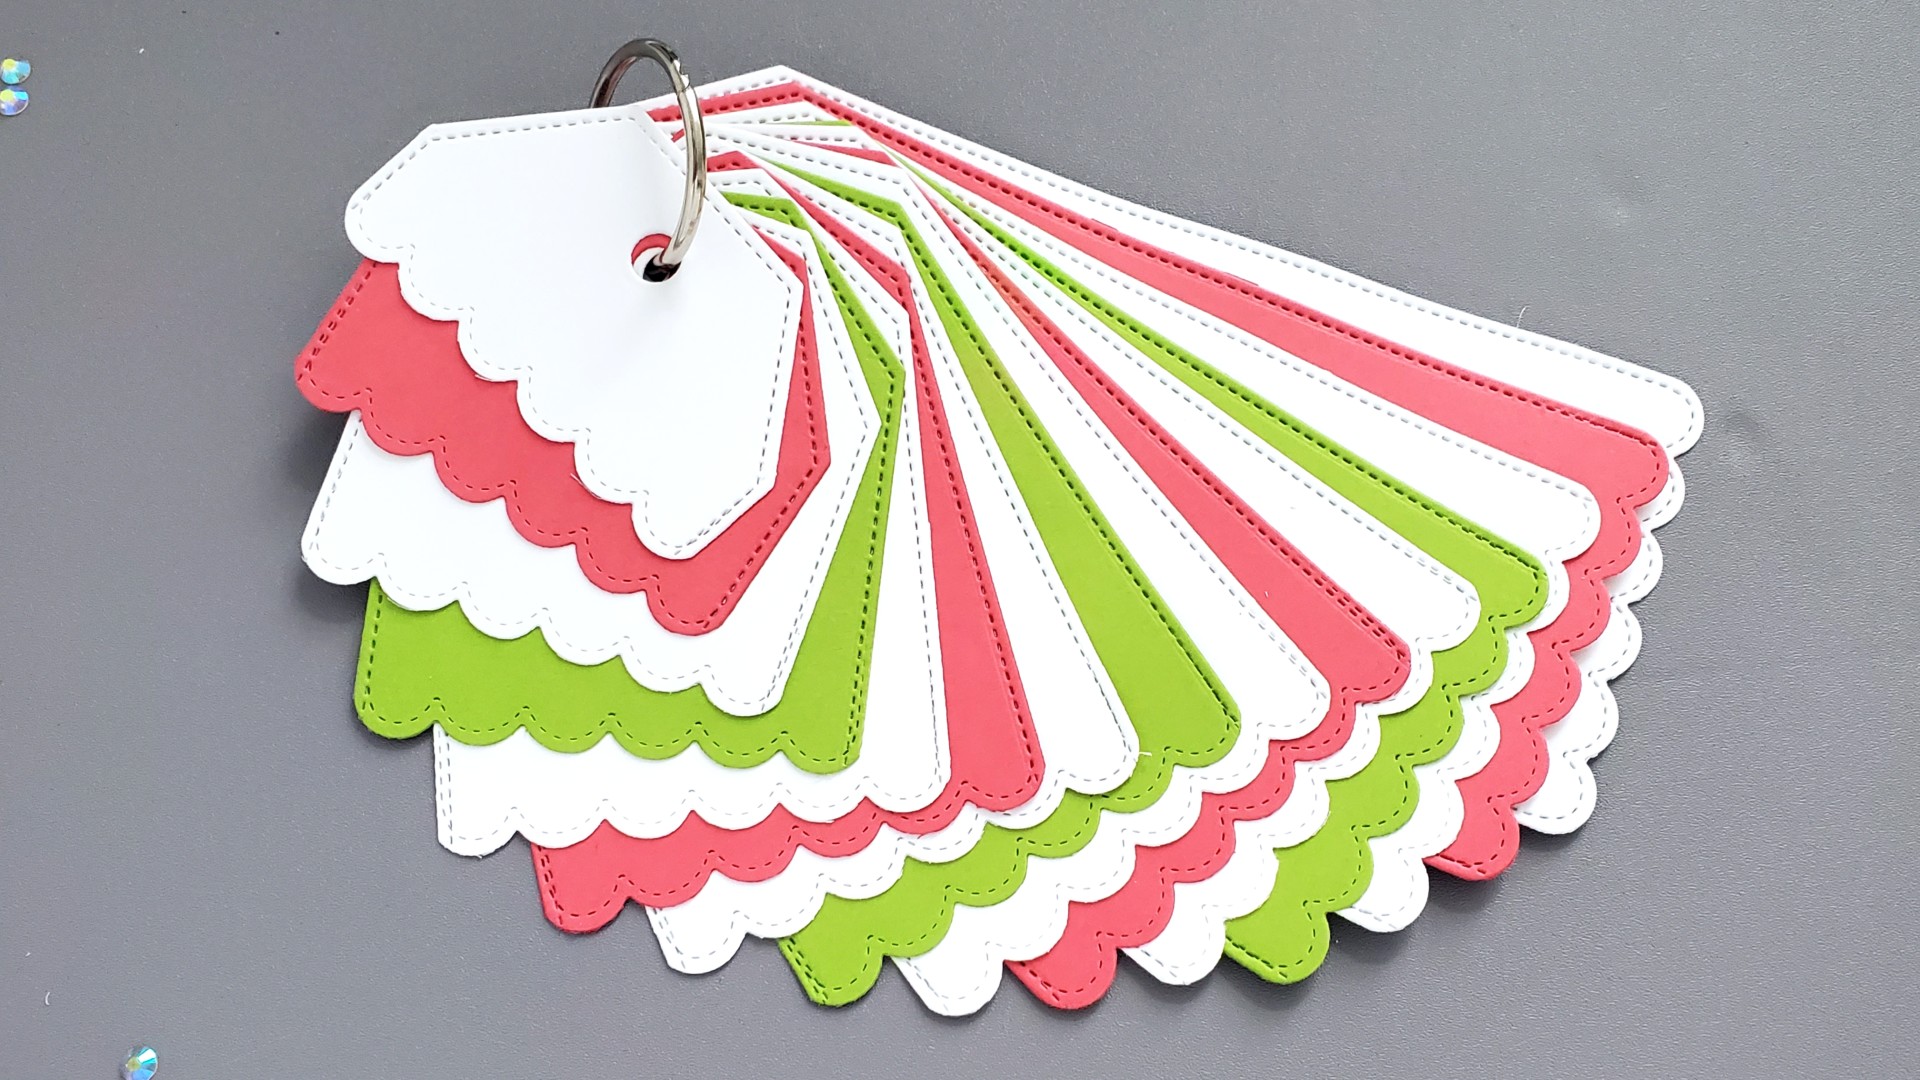
Cut tags from 3 different colours (or all of one colour if you prefer).
-
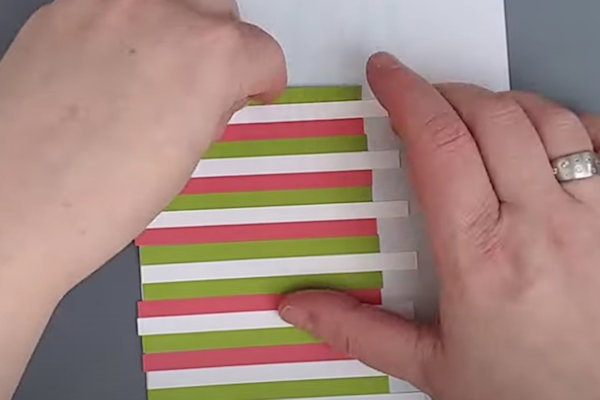
Step 2 (Optional)
Cut quarter inch strips from your various cardstock colours. Adhere them to printer paper and cut a tag from this striped panel. Adhere one of your coloured tags to the back of the striped panel.
You can also just use the third tag as your back layer. -
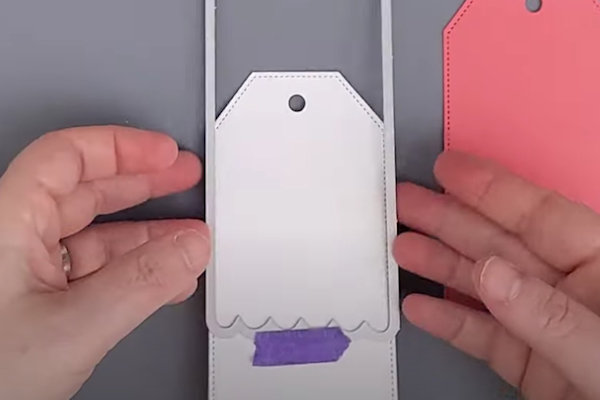
Step 3
Trim the middle tag by using the side of the tag die, ensuring that it's long enough for the gift card . Make sure the top portion of the tag is over the die so it doesn't get cut.
-
Step 4
Trim your top tag using the scalloped end of the die. Make sure it's shorter than the middle layer but covers the gift card portion.
-
TIP:
You can trim both layers with straight edge or scalloped edge if you prefer, and you can trim at any length! -
Step 5
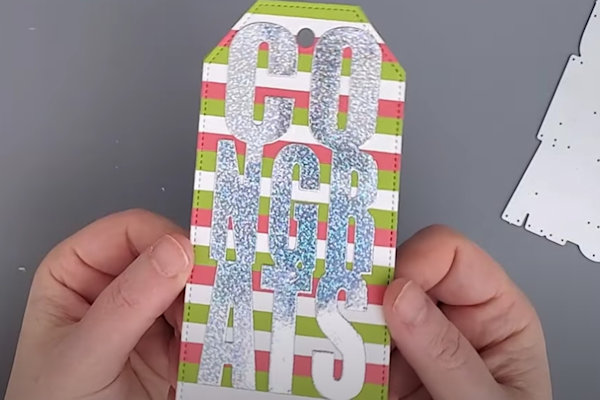
Decorate the tags as desired. For the sample, die cut sentiments cut from specialty cardstock were added to the longest (bottom) layer.
-
Step 6
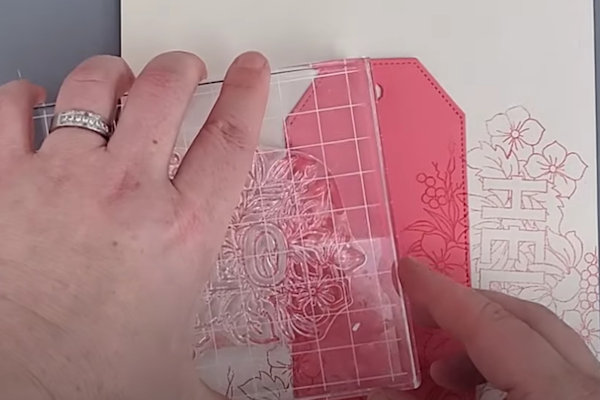
Decorate the middle tag with tone on tone stamping just around the edges if adhering a gift card to the center.
-
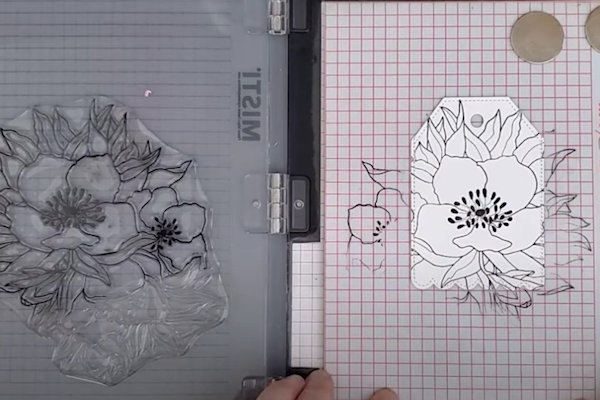
Contrast the top tag by adding a colored image and sentiment.
-
Step 7
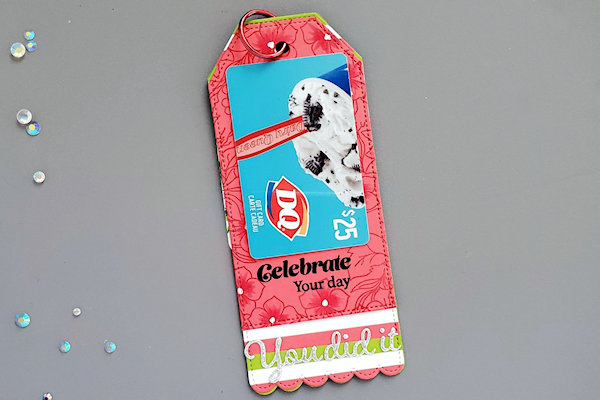
Use a binder ring or key ring to attach your tags together.
TIP:
Consider a brad, ribbon or other methods for attaching the layers if preferred. -
Attach the gift card with a temporary glue dot.
-
Step 8
Complete the project.


Video!
Your Turn
You've seen the tutorial, now you try it! We've got a section of the gallery set aside for Layered Tag Card. Try this technique, then upload your artwork to the gallery. Show us your creations!
***Please note - Internet Explorer/Edge is not a supported browser, and will not allow you to see the videos. Please use Chrome, Firefox or Safari to view our tutorial videos.

Questions and Comments
We'd love to get your feedback or questions. Leave your comment below.
Page 1 of 1 pages