Layered Batik Resist
by Dina Kowal
Layer heat embossed images and transparent color, then lift the embossing to create a batik effect.
Supplies
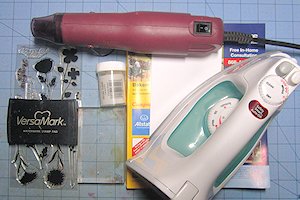
- Durable cardstock or smooth watercolor paper (hot press paper works well)
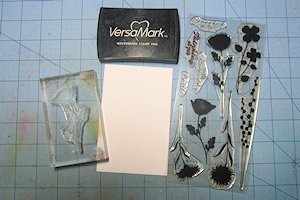
- Stamps (solid or silhouette images work best)
- Embossing ink (Versamark used here)
- Heat tool
- Clear embossing powder
- Transparent coloring medium (dye or spray inks, water-soluble markers, watercolors, Gelatos, etc.)
- Iron
- Sheets of newsprint (unused coloring book or telephone book pages also work)
Step-by-Step
-
Step 1
Choose several solid stamps to create a scene or design. Determine how you will arrange the scene or design, which images you want to appear brighter or closer, and which should fade into the background or appear further away. Plan on some of the images overlapping to create depth.
-
Step 2
Select coordinating colors in a medium of your choice to build your scene or design. The colors will be layered over one another, so choose colors that will blend together well, either a monochromatic set (varying shades of one color) or a collection of all warm or all cool colors.
Transparent inks or watercolor mediums (paints, Gelatos, Distress or watercolor markers, etc) work well for this technique. VersaMagic multi-surface chalk ink is used for this sample.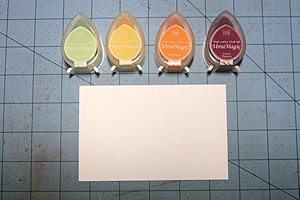
-
Step 3
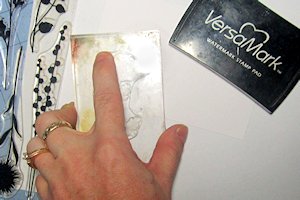
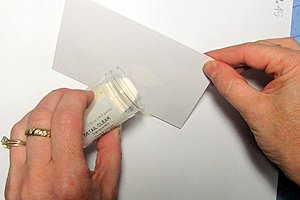
Stamp the first image or layer of images using embossing ink to begin building the scene or design from the foreground. The first images stamped will appear to be at the front of a scene, and will be most prominent in a design.
-
Emboss with clear powder and heat to set.
-
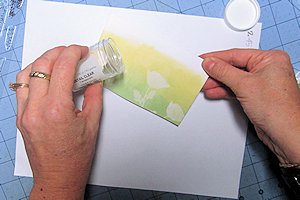
Step 4
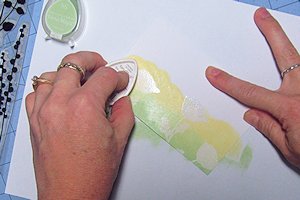
Sponge or brush your lightest color over the embossed image(s) and the surrounding area, using a medium of your choice. Do not worry if color sticks to the embossed image.
-
NOTES:
--The color used in this step will be the color of the next embossed image(s).
--Always be sure your panel is fully dry before moving on to another layer of embossing.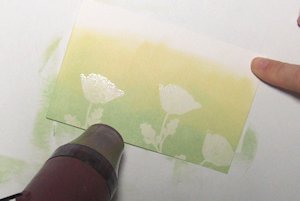
-
Step 5
Choose the stamps that will create the next layer of images. Stamp, emboss, and heat the images.
Overlapping the previously embossed images is fine, and will give depth to the scene.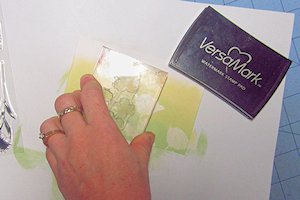
-
Remember – these images will appear to be just behind the first layer of stamped images, and will take the color added to the panel in step 4.
-
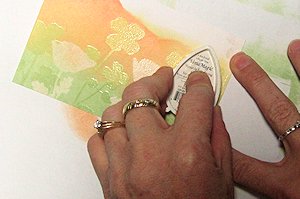
Step 6
Again, sponge or brush color over the embossed image(s) and the surrounding area, using a medium of your choice. Do not worry if color covers the embossed images.
-
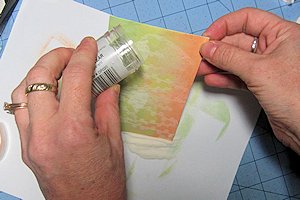
Step 7
Repeat these steps of embossing and adding color until the scene is completed. Remember to dry the panel fully after each application of color.
-
NOTE:
Repeated heating may tend to overheat previous layers of embossing. This causes the powder to soak into the paper instead of remaining on the surface. This does add some authentic imperfection to the batik effect of the technique, but be aware that overheated embossing powder will not resist color well. Overheated images will not be as clear after the final step of removing the embossing powder.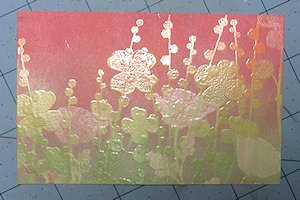
-
Step 8
Sandwich the completed panel between several sheets of newsprint. A telephone book works well for this step.
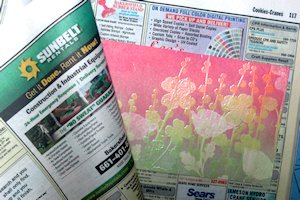
-
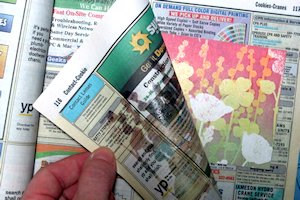
Using a hot, dry iron, press the panel through 1-2 sheets of the newsprint, until the embossing powder lifts from the panel and soaks into the sheet above. Keep the iron moving so as not to scorch the paper.
Move the card to another area if the paper seems saturated with embossing powder. Continue heating until no more powder transfers.
-
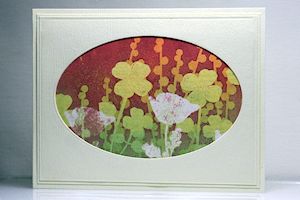
Step 9
Use the panel to complete a card or other project.
Video!
Your Turn
You've seen the tutorial, now you try it! We've got a section of the gallery set aside for Layered Batik Resist. Try this technique, then upload your artwork to the gallery. Show us your creations!
***Please note - Internet Explorer/Edge is not a supported browser, and will not allow you to see the videos. Please use Chrome, Firefox or Safari to view our tutorial videos.

Questions and Comments
We'd love to get your feedback or questions. Leave your comment below.
Thank you
Page 1 of 1 pages