Lace Shaker Card
by Lydia Fiedler
Take a used piece of lace and turn it into an edge to edge shaker card.

Supplies
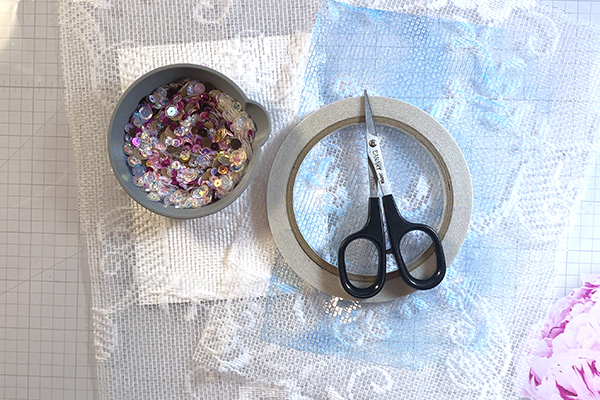
- Lace
- Sequins
- Strong double-sided adhesive
- Sequin pouring tool (The Rabbit Hole Designs Bunny Bowl used here)
- Gel Press monoprinting plate (optional)
- Acrylic Paint (optional)
- Brayer (optional)
Step-by-Step
-
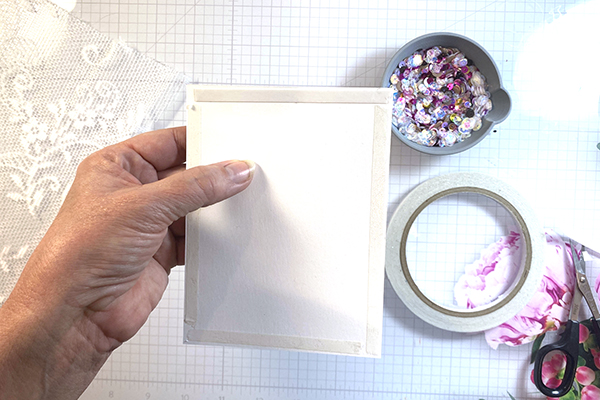
Step 1
Put 4 pieces of strong double-sided adhesive onto the back of a card panel. Do not overlap the pieces.
-
Step 2
Remove the release paper from the two long sides and one short side only, exposing the adhesive on three sides.
-
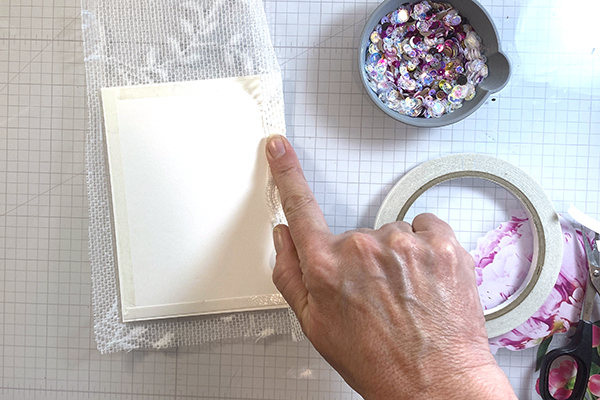
Step 3
Cut a piece of lace that is about 1/2" larger than your card panel on all sides.
-
Step 4
Put the card panel onto the lace, adhesive side up, and adhere the lace to the exposed adhesive on the two long sides and the bottom. You will want to pull the lace very tight and flat before securing it to the adhesive.
-
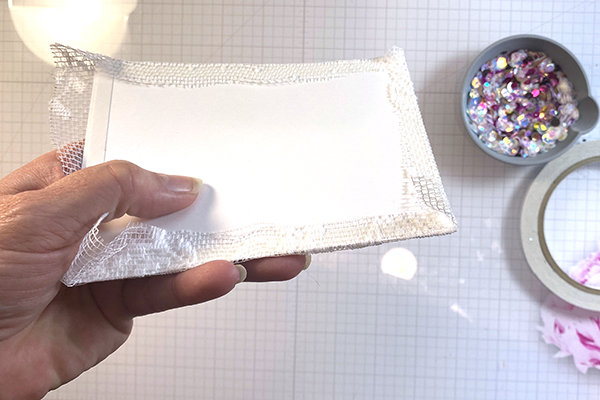
Step 5
Where the lace overlaps in the corners, trim off any excess bulk.
-
Step 6
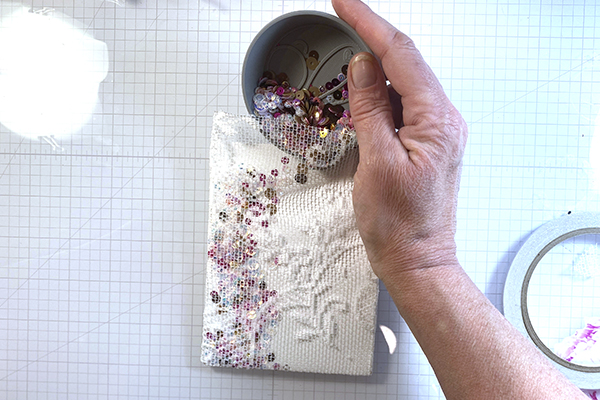
Pour sequins into the lace pocket you created on the front of the card as desired. It helps to use a sequin pouring tool for this step.
-
Step 7
Remove the release paper from the adhesive on the back of the shaker pouch and adhere the lace, trimming excess as needed.
-
Step 8
Put four more strips of strong double-sided adhesive on top of the lace on the back - this will also let you tuck in any excess lace where the corners meet.
-
Step 9
Remove the release paper and adhere your lace shaker pocket to your card base.
-
Step 10
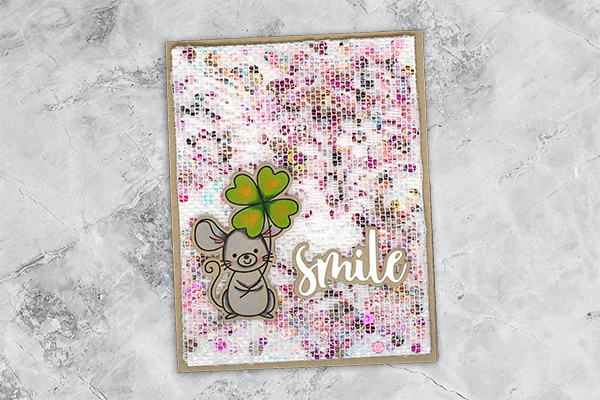
Finish your card.
-
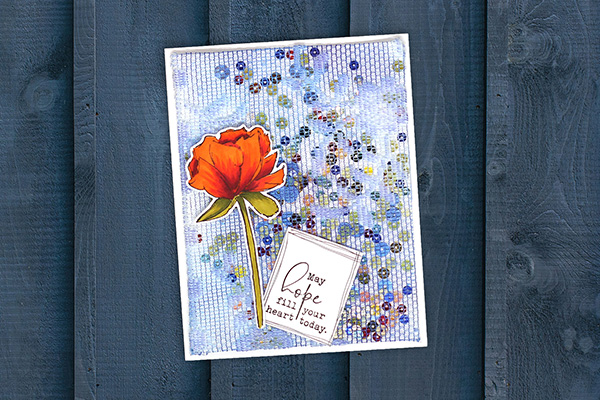
Variation - use lace that has been used as a texture tool while gel monoprinting for more interest and color.


Video!
Your Turn
You've seen the tutorial, now you try it! We've got a section of the gallery set aside for Lace Shaker Card. Try this technique, then upload your artwork to the gallery. Show us your creations!
***Please note - Internet Explorer/Edge is not a supported browser, and will not allow you to see the videos. Please use Chrome, Firefox or Safari to view our tutorial videos.

Questions and Comments
We'd love to get your feedback or questions. Leave your comment below.
Crafty--mama the video goes through the variation on the lace listed in the last step.
Blessings,
Chrissy
Page 1 of 1 pages