Kissing Technique
by Beate Johns
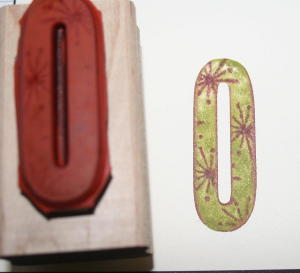
This basic technique adds texture to solid stamps.
Supplies
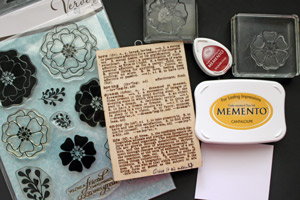
- Solid image stamp (Verve Stamps Great Friend used here)
- Two coordinating colors of dye ink (Bamboo Leaves and Rhubarb Stalk Memento Ink used here)
- Cardstock
- Small image or background stamp (Unity's Giving it all Meaning used here)
Step-by-Step
-
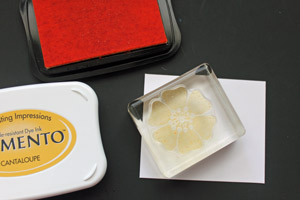
Step 1
Ink a solid image stamp with the lightest color ink.
-
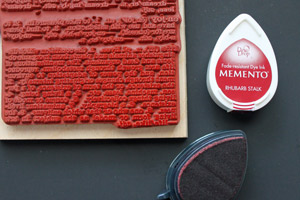
Step 2
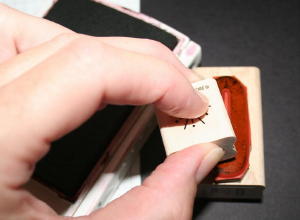
Ink a background stamp with the darkest color ink.
-
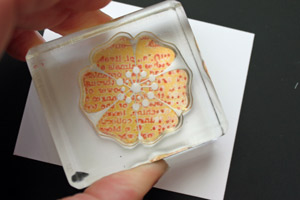
Step 3
Press the solid stamp onto the background stamp.

-
Step 4
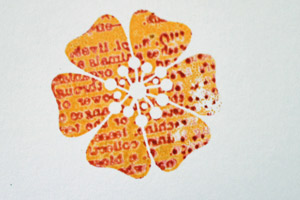
Stamp image on cardstock.
-
-
Step 5 (Optional)
If you have a two step image, stamp your outline image over your solid image.
Variation:
Instead of using an outline image around your kissed image, trace the outline of your solid stamp with a water-based marker BEFORE stamping it on your cardstock.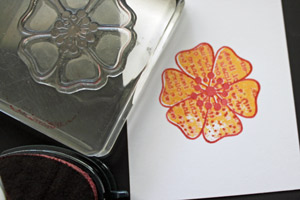
-
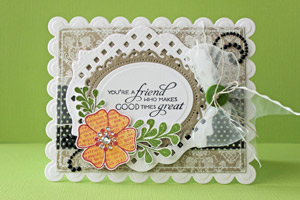
Step 6
Finish your card.
Video!
Variations
-
Instead of using a background stamp, ink up a small stamp with dark ink and stamp it directly on your solid stamp.
-
Your Turn
You've seen the tutorial, now you try it! We've got a section of the gallery set aside for Kissing Technique. Try this technique, then upload your artwork to the gallery. Show us your creations!
***Please note - Internet Explorer/Edge is not a supported browser, and will not allow you to see the videos. Please use Chrome, Firefox or Safari to view our tutorial videos.
Questions and Comments
We'd love to get your feedback or questions. Leave your comment below.
Thank you for the great tutorials.
The card base was created with a Grand Scallop Rectangle Nestabilities die. They are perfect for scalloped card bases. This one measures 4 1/2" x 5 5/8".
I cut a single piece of cardstock with that die for my card front. Next I cut a folded piece of cardstock with he same die as a card base. When you do that, make sure you don't cut the edge where the cardstock is folded, so the score line is still intact. Next adhere the single die cut over the card base to hide that score line.
Hugs and smiles
Page 1 of 1 pages