Ink Spritzer Background
by Jessica Waisanen
Use spray inks and a report folder for a fun spritzy background.

Supplies
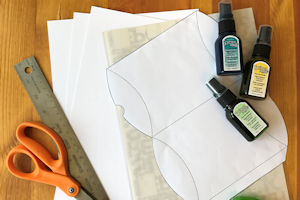
- Spray inks (ColorBox® Spritzers in Grasshopper, Mermaid and Lemon Drop used here)
- Plastic report cover
- Cardstock (Bazzill Classic White used here)
- Mat or large piece of scrap paper to catch excess spray
- Other supplies as needed to complete the project (used here: Pillow box template (found online), 12” of yellow ric rac, stamped sentiment, ruler, scissors, large paperclip, adhesive runner)
Step-by-Step
-
Step 1
Place a plastic report cover on a craft mat or large piece of scrap paper. Open the report cover and spritz with the first color of spray ink, leaving a few inches between each spray. Spritz the second color, and then the third, allowing the colors to overlap.
NOTE:
More or less un-inked space on the cover will allow for different effects. -
Step 2
Holding two pieces of cardstock together, gently set them in the fold of the report cover and lay both pieces of cardstock down to one side.
Close the cover gently. Starting from the spine press the cover to the cardstock, pushing outward to help blend colors.
Run your hands along the entire surface of the cover to allow the cardstock to absorb the most amount of ink. -
Step 3
Remove the cardstock and set it aside, with the inked sides up.
While the cardstock dries, rinse the cover under a faucet with warm water, wipe dry with a paper towel and set aside for your next project.
NOTE:
Drying time will vary by the amount of ink sprayed and type of cardstock used. -
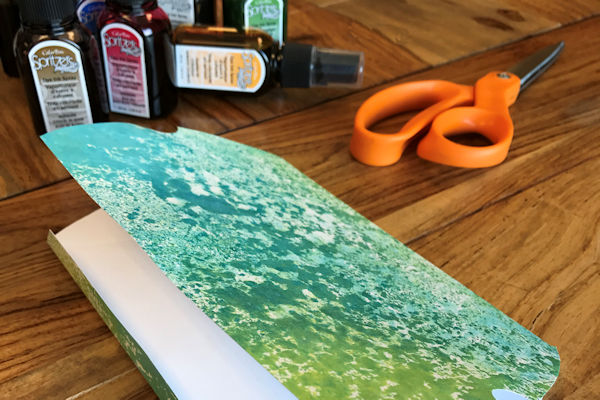
Step 4
Once the cardstock is dry, be creative! Use a template to shape it into a box, die cut it, or cut it into smaller panels for cards or other projects.
This sample was cut into a pillow box using a template found online. -
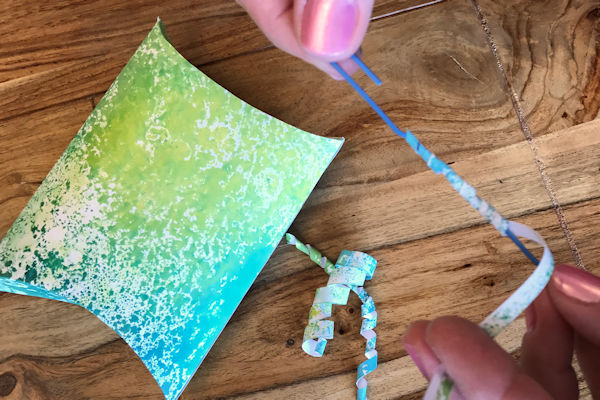
Step 5
Embellish as desired – even the scraps can be used.
To create these faux ribbon embellishments, wrap strips of cardstock around a straightened paper clip, starting at an angle. -
Step 6
Complete the project.


Video!
Your Turn
You've seen the tutorial, now you try it! We've got a section of the gallery set aside for Ink Spritzer Background. Try this technique, then upload your artwork to the gallery. Show us your creations!
***Please note - Internet Explorer/Edge is not a supported browser, and will not allow you to see the videos. Please use Chrome, Firefox or Safari to view our tutorial videos.

Questions and Comments
We'd love to get your feedback or questions. Leave your comment below.
Page 1 of 1 pages