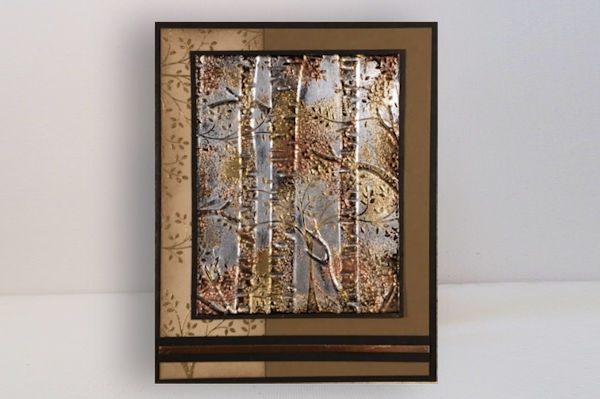
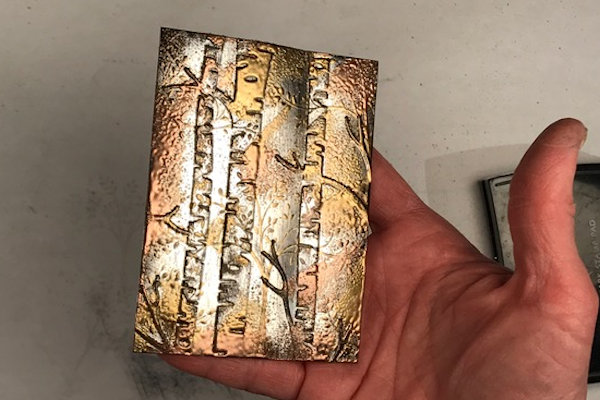
Impressions of Tarnished Foil
by Melissa Kerman
Create a stunning effect with layers of dry and heat embossing.
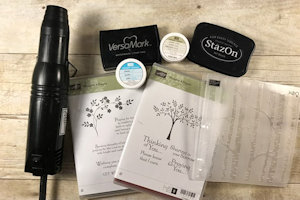
Supplies
- Embossing folder (Woodland Embossing Folder by Stampin’ Up!® used here)
- Stamps (optional - Thoughts and Prayers Stamp Set by Stampin’ Up! used here)
- Foiled cardstock, or cardstock covered in aluminum foil or foil tape (Silver Foil Sheets by Stampin’ Up! used here)
- VersaMark Ink Pad
- Jet Black StazOn Ink Pad
- Metallic embossing powders (gold and copper used here)
- Heat tool
- Die cutting machine
- Other supplies as needed to complete the project Stampin' Up! products used here: Basic Black, Soft Suede and Crumb Cake Cardstock)
Step-by-Step
-
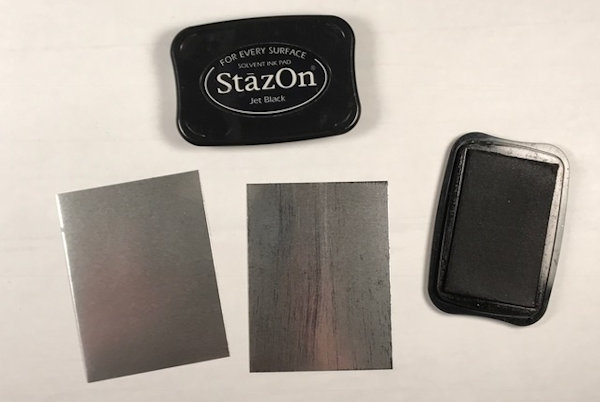
Step 1
Gently rub the Jet Black StazOn Ink Pad over the surface of the foiled cardstock to create streaks. You can apply a lot or a little ink using this Direct to Paper Technique.
Allow the ink to dry completely.
NOTE:
StazOn was used since foil is a non-porous surface, and it is the only ink that will dry fairly quickly and not rub off once it is dry. If your ink pad is brand new and fairly juicy you may want to use an especially light touch, as more ink will come off when rubbing across the surface of the foil sheet than if your ink pad is older and has not been reinked recently. -
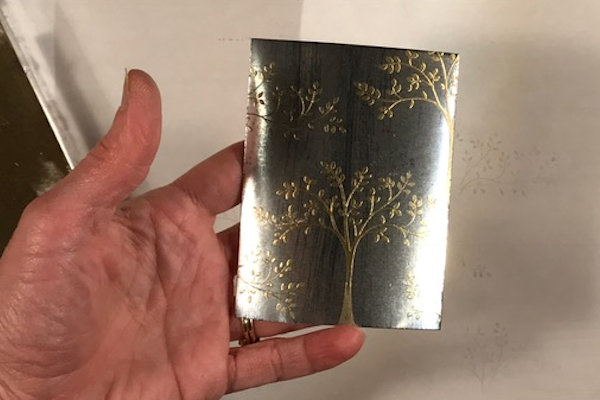
Step 2 (Optional)
Stamp images onto the foil sheet using a Versamark Ink Pad and heat emboss (gold powder used here).
-
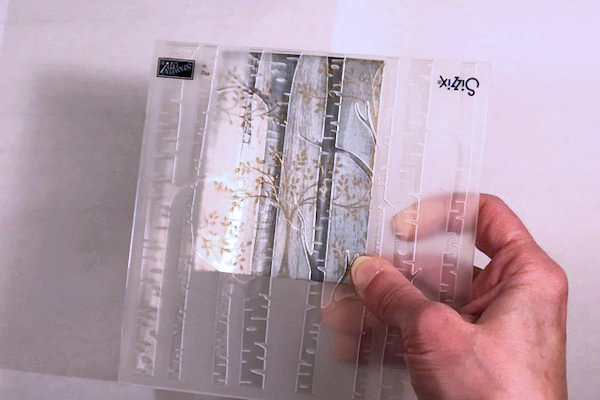
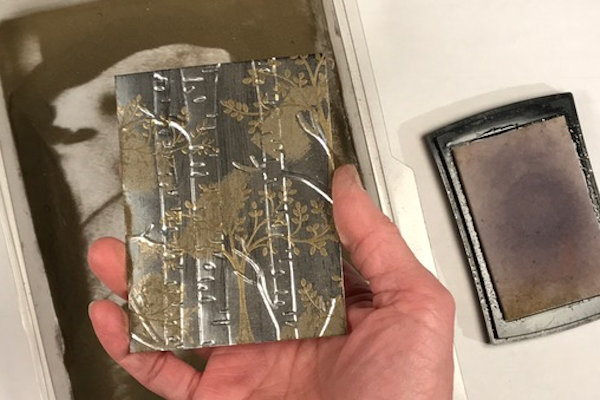
Step 3
Place the prepared foil sheet into an embossing folder.
-
Emboss as usual.
NOTE:
When dry-embossing cardstock, normally you can flip the panel for either the negative or positive impression. When doing this technique there is only one side with foil finish so you’ll need to decide ahead of time which impression you want to use, and therefore how you will place your foil sheet in the embossing folder. For the project here I wanted the tree shapes poking out so the folder’s logo and the Silver Foil side of the paper are both facing up. -
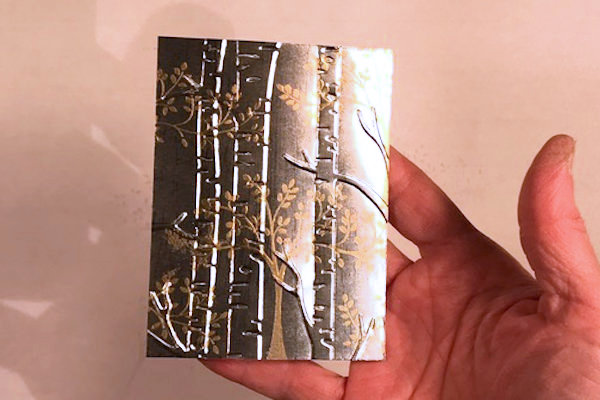
Step 4
Using a VersaMark ink pad, rub the edge or corner of the pad lightly over the raised portions of the dry embossed foil sheet.
-
Pour embossing powder over the surface (gold used here). Tap off the excess.
-
Step 5
If there is more embossing powder sticking than you want, simply rub some off with your fingers.
NOTE:
Make sure the embossing powder is not covering too much of the stamped images in the background and that you are leaving portions of the silver foil showing. -
-
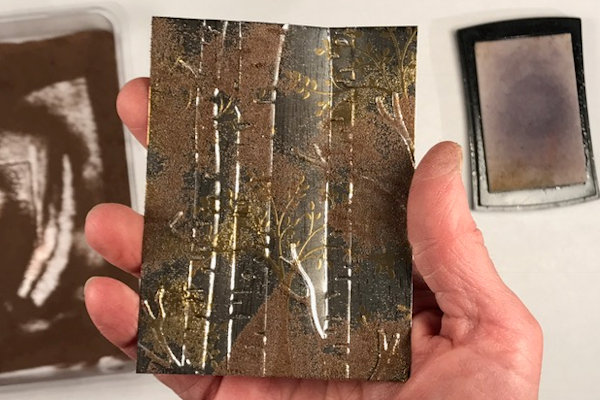
Step 6
Repeat steps #4 and 5 but this time using a contrasting embossing powder (copper used here).
-
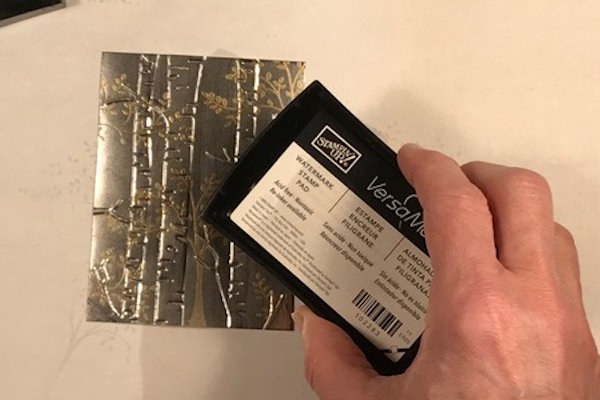
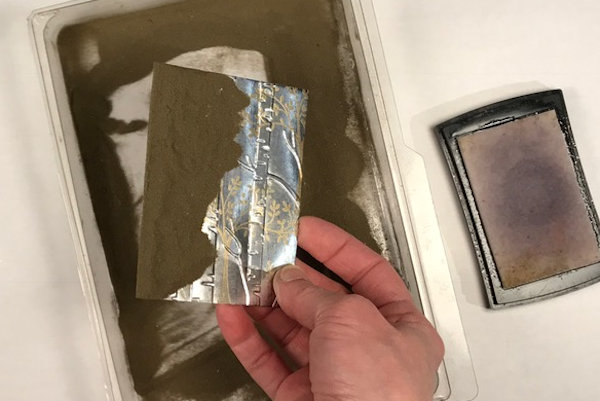
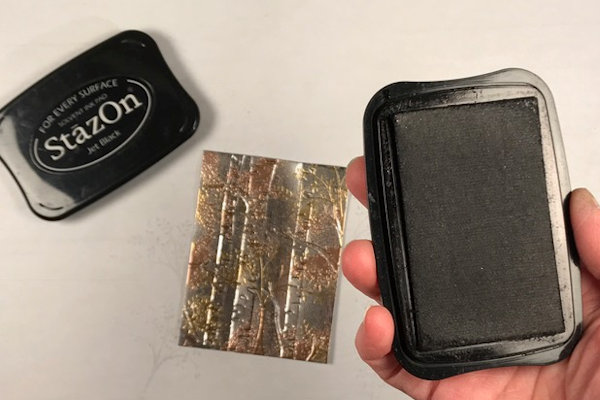
Step 7
Use the Direct-To-Paper technique to add some Jet Black StazOn to the panel. This will create more contrast between the raised and recessed areas and add an old, rustic, tarnished look. The black also allows you to bring out the interesting textures created by the foil and by the melted embossing powder.
-
You may also want to rub ink around the edge of the silver foil to “frame” your piece.
NOTE:
You may need to rub the ink pad pretty hard against the embossed foil to get it to show up rich and black, depending on how juicy your inkpad is. -
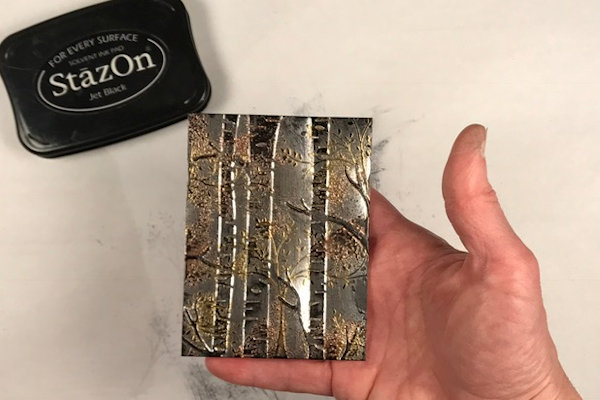
Step 8 (Optional)
Repeat the steps above as desired, until you are happy with the background. In the photo shown here, Steps 4, 5, 6 and 7 were repeated to add more color and balance out the ratios of silver, gold, copper and black.
-
Step 9
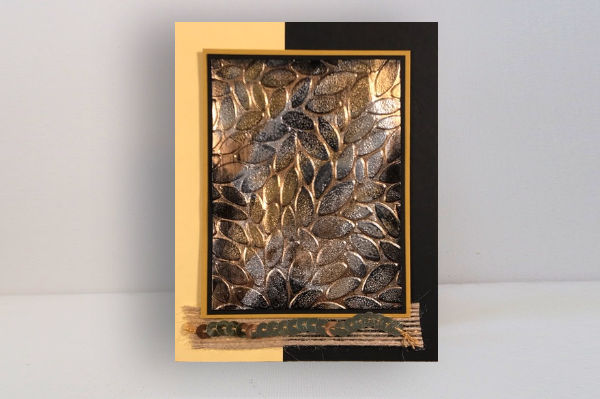
Use the finished panel to complete a card or other project.

Video!
Variations
-
This technique can also be done with cardstock wrapped in aluminum foil. There are pros and cons to both methods but using foil sheets is simply more convenient. You can also get foil sheets in gold and copper, allowing for more opportunities for creativity (this sample was made using a copper foil sheet).
Your Turn
You've seen the tutorial, now you try it! We've got a section of the gallery set aside for Impressions of Tarnished Foil. Try this technique, then upload your artwork to the gallery. Show us your creations!
***Please note - Internet Explorer/Edge is not a supported browser, and will not allow you to see the videos. Please use Chrome, Firefox or Safari to view our tutorial videos.

Questions and Comments
We'd love to get your feedback or questions. Leave your comment below.
is a great way of showing it. I'm going to try this out today.
As an aside, I wonder what other companies make foiled cardstock.
Beth
Page 1 of 3 pages 1 2 3 >