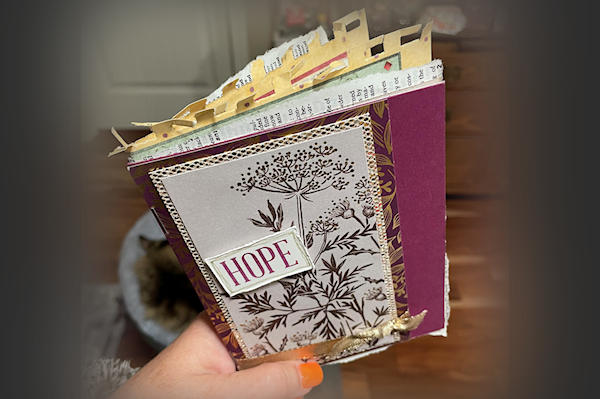
Greeting Card Treasure Journal
by KellyJean Gettelfinger
Pack a greeting card full of pockets and pages for journaling.
Supplies

- Greeting card (A2 card used here))
- Miscellaneous papers, paper doilies, paper bags, and book pages
- Long arm stapler (any stapler will work as long as it has a long reaching ability and the staples are also long enough to go through the thickness of the desired number of pages added to the journal.)
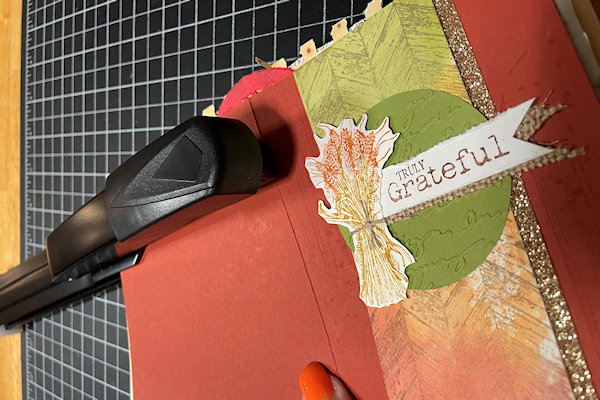
- Scoring tool
- Ruler
- Paper trimmer
Step-by-Step
-
Step 1
Collect an assortment of papers for your project.
Ideas: pages from old books found at garage sales, thrift shops, and flea markets -
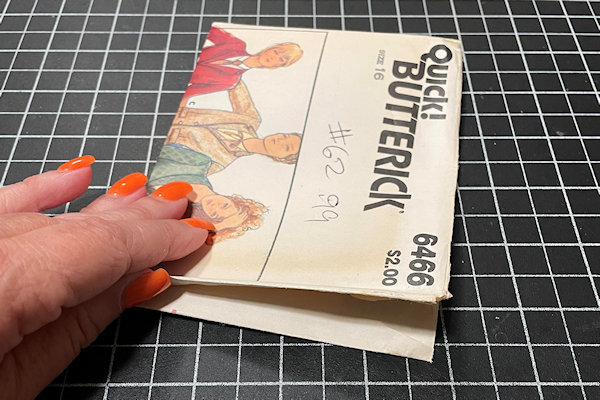
Vintage sewing pattern envelopes can create pages and pockets for treasure journals.
-
Step 2
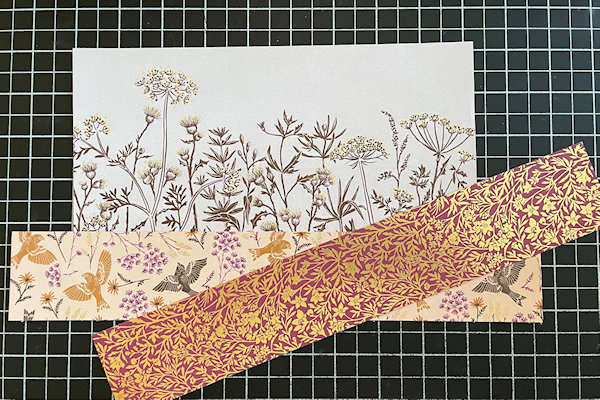
Decorative paper scraps are fun and help add a variety of page size to the finished journal.
-
Step 3
Measure your greeting card first to help you decide how to trim each page for your journal. You may like having some pages stick out slightly from the cover. For the sample, some pages will measure the same as the open greeting card (8 1/2” x 5 1/2” here) and some will measure slightly larger.
-
Step 4
Trim an opening in the bottom portion of any envelope or bag being used to create a pocket at each end once folded to fit your treasure journals.
-
-
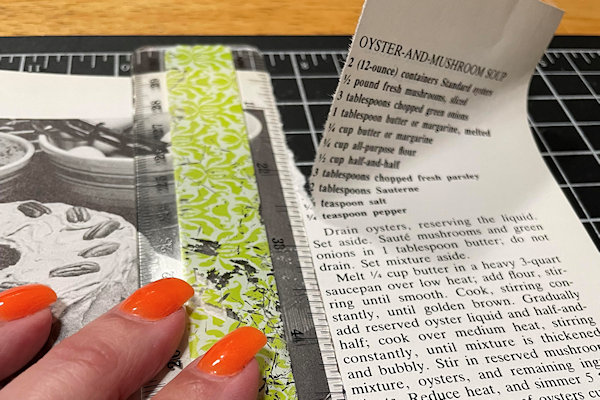
Step 5
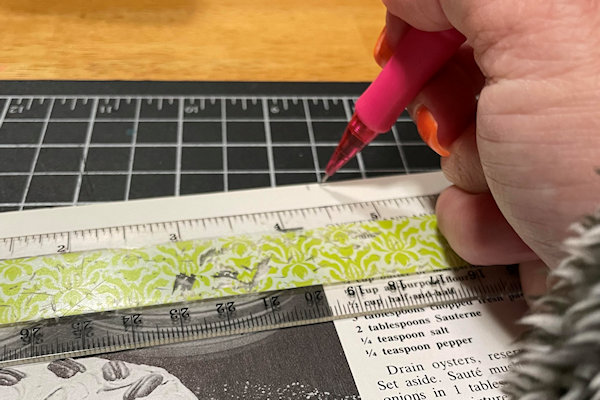
If tearing a page from an old book as a page for your treasure journal, you may wish to keep the torn edge ‘look’ as part of the page. To mimic the torn edge all the way around the page, measure and pencil mark where to tear.
-
Use a ruler or some other tool with a straight edge to guide the tearing of the paper.
-
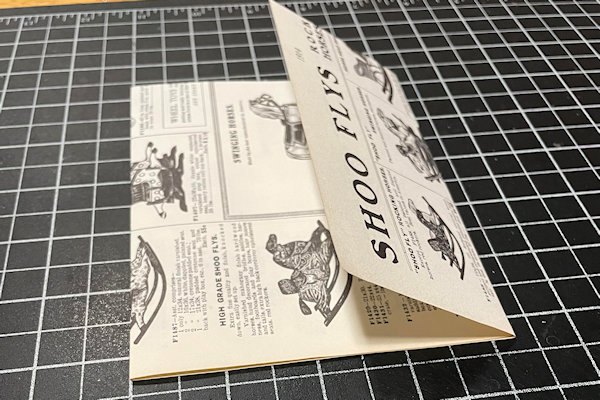
Step 6
When a torn book page is long enough, it can be used to create a “pocket page” for your treasure journal. Measure one side of the page so that it will be the exact size needed as a journal page.
Fold on the scored line, then fold the remaining portion of the page over the previously folded part of the page. This will allow you to know without measuring where the pocket will land on the adjacent page. -
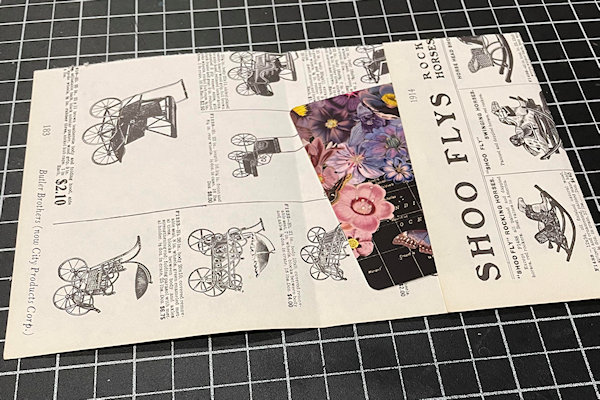
Adhere the top and bottom portions of the pocket and fold pocket closed.
An old playing card was added to the pocket in this photo so that you can see where the finished pocket is. -
Step 7
Fold each trimmed page of your treasure journal.
-
Decide what order they will be arranged inside the journal cover (greeting card).
-
Step 8
With the treasure journal completely open and laying flat, staple the pages into the cover.
TIP:
If you do not have a long-reach stapler, you can use a regular one. Open the stapler. Lay down your book stack onto a padded envelope or piece of cardboard. Press the stapler down to release the staple into the fold; it will remain open. Flip the book over and bend the staple ends down to secure. -
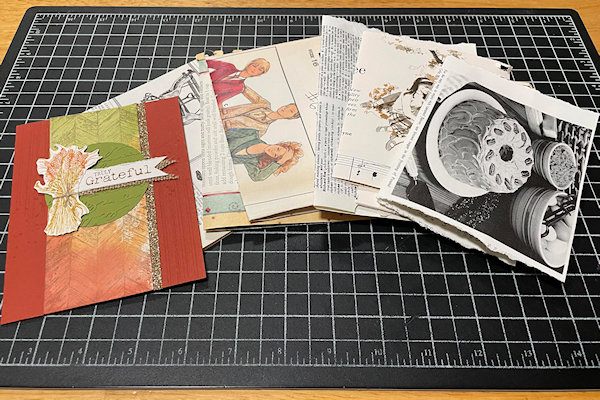
Step 9
Your Greeting Card Treasure Journal is complete and ready to be embellished and decorated. Enjoy adding fond memories, art entries, and precious photos to your treasure journal!


Video!
Your Turn
You've seen the tutorial, now you try it! We've got a section of the gallery set aside for Greeting Card Treasure Journal. Try this technique, then upload your artwork to the gallery. Show us your creations!
***Please note - Internet Explorer/Edge is not a supported browser, and will not allow you to see the videos. Please use Chrome, Firefox or Safari to view our tutorial videos.

Questions and Comments
We'd love to get your feedback or questions. Leave your comment below.
Page 1 of 1 pages