Grand Victorian Box
by Christine Okken
Create a Victorian box out of Grand Nestabilities die cuts.
Supplies
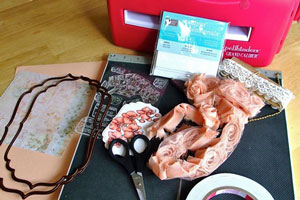
- One 12" x 12" piece of cardstock
- One 6" x 12" piece of patterned paper (or two 6 x 6 inch pieces)
- Grand Calibur die cutting machine
- Spellbinders Grand Labels Four Dies
- Scoring tool
- Scissors
- Scor-Tape™ , or other strong adhesive
- Ribbon at least 3/4" to 1" wide and a 12" length
- Foam dimensionals
- Stamped image (Flourishes Orchids Stamp set colored with Copic Markers was used here)
- Embellishments for finishing
Step-by-Step
-
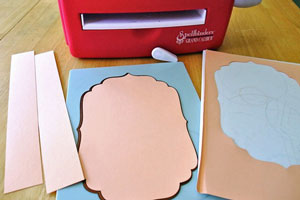
Step 1
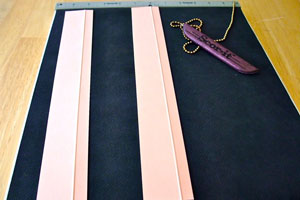
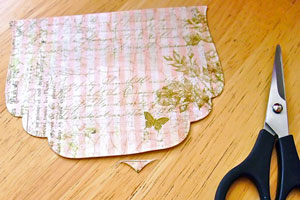
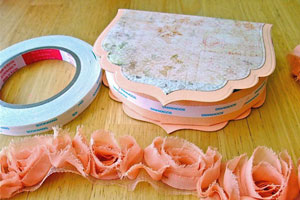
Cut two 1 3/4" x 12" strips from your 12' x 12" cardstock. Set aside. Die cut and emboss largest Grand Labels Four die with remaining section of the 12" x 12" cardstock.
-
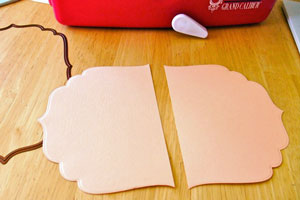
Step 2
Cut die cut piece in half at the mid-way points.
-
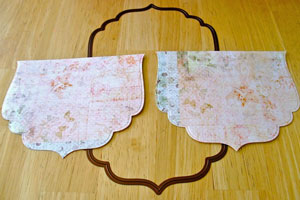
Step 3
Using one size smaller of the Grand Labels Four Die, die cut a piece of patterned paper and cut in half at midway point. Set aside.
-
Step 4
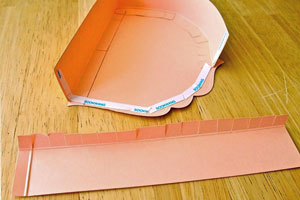
Score 1 3/4" x 12" pieces of cardstock at 1/2" and cut one piece of 1 3/4" piece at 6 1/2" (leaving you another piece 5 1/2" long). Set this smaller piece aside.
-
Step 5
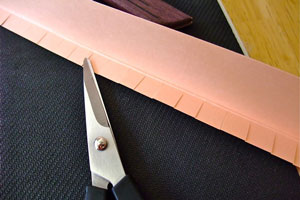
With 1 3/4" x 12"and 1 3/4" x 6 1/2" pieces of cardstock - fold at score line and make small cuts into 1/2" section at approximately every 1/2". These will become your vertical box edges.
-
Step 6
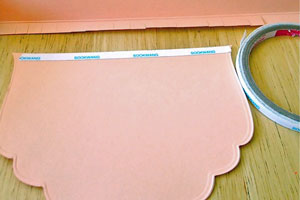
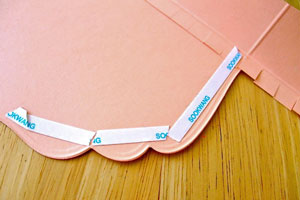
Taking one die cut piece of cardstock, add Scor-Tape™ to top straight edge. This will be your box bottom.
-
Step 7
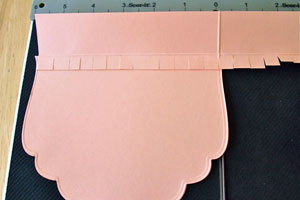
Lay snipped section of 1 3/4" x 12" piece of cardstock onto Scor-Tape™. When you have reached the right edge of the top edge score that section. This becomes your right angle of your box corner.
-
Step 8
Using same method, add Scor-Tape™ to the side and front of the box bottom just inside the shaped edges.
-
Step 9
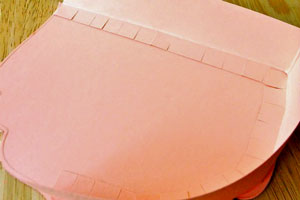
Curving snipped section 90 degrees, stick to Scor-Tape™.
-
Step 10
Taking remaining 1 3/4" x 6 1/2" strip, score on left side at 1/2". Add Scor-Tape™ to left top edge of the box and along the left curve of the bottom of the box in the same manner as the right side of the box, joining the sides with Scor-Tape™.
-
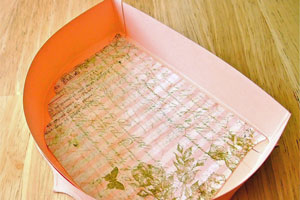
Step 11
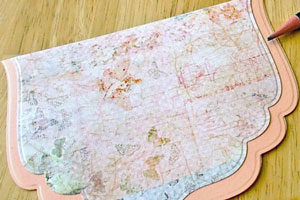
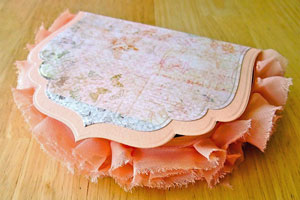
Add patterned paper to box top, lining up flush at the top edges.
-
Step 12
Trim the front tip of the second piece of patterned paper.
-
Step 13
Adhere second piece of patterned paper to the inside of box concealing the cut lines of the box sides.
-
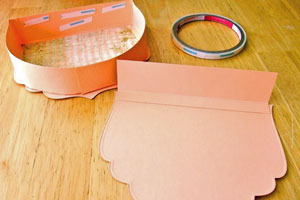
Step 14
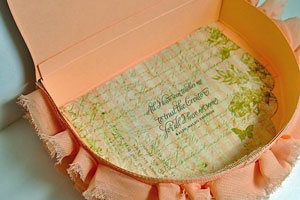
To create a hinge for the box lid use the 1 3/4" x 5 1/2" strip of cardstock that you had set aside, attach to inside of box lid with Scor-Tape™. Then add Scor-Tape™ to the inner side of the back-side of the box bottom.
-
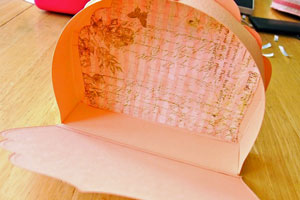
Step 15
Attach lid inside box bottom.
-
Step 16
Add Scor-Tape™ to outside curved seam of box side.
-
Attach a 12" length of ribbon to conceal front box wall seam. Trim as necessary.
-
Step 17
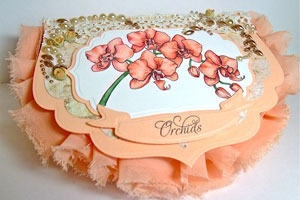
Add stamped focal piece to box top with Dimensionals, and embellish as desired.
-
Video!
Your Turn
You've seen the tutorial, now you try it! We've got a section of the gallery set aside for Grand Victorian Box. Try this technique, then upload your artwork to the gallery. Show us your creations!
***Please note - Internet Explorer/Edge is not a supported browser, and will not allow you to see the videos. Please use Chrome, Firefox or Safari to view our tutorial videos.

 *
*
Questions and Comments
We'd love to get your feedback or questions. Leave your comment below.
bravo pour ce magnifique travail
altea
Both boxes are beautiful and unique.
Christine
Page 1 of 1 pages