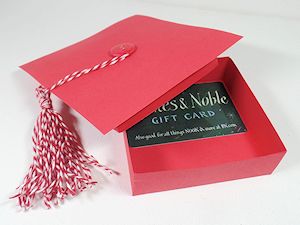
Graduation Gift Box
by Dina Kowal
Celebrate the graduate with this shaped gift box.
Supplies
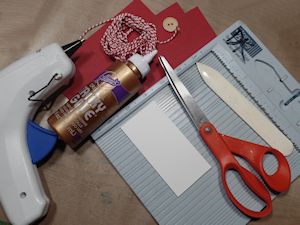
- Sturdy cardstock in school colors
- Scoring tool
- Bone folder
- Scissors
- Ruler and pencil
- Button to match cardstock, 7/8" or 1"
- Embroidery floss or baker’s twine, about 10-12 feet
- Adhesive
- Hot glue gun
- Cardboard or matboard to make a template
Step-by-Step
-
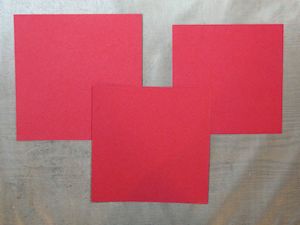
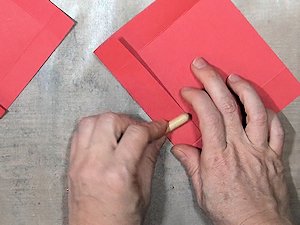
Step 1
Cut three squares of cardstock – one 5 1/2", one 5 1/8”, one 4 3/4".
-
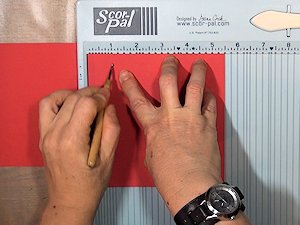
Step 2
Score the 5 1/2” square at 1” on all four sides. This will be the base of the box.
-
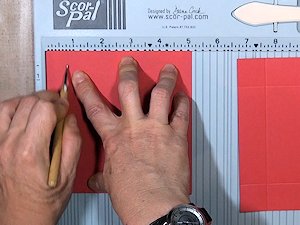
Score the 5-1/8” square at 3/4” on all four sides. This will be the lid of the box.
-
Step 3
Crease all score lines with a bone folder or other straight tool.
-
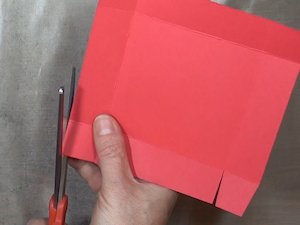
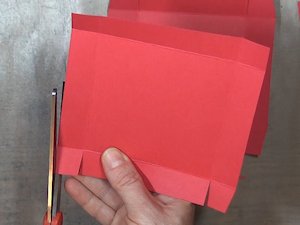
Step 4
Using scissors, make vertical cuts on the scored lines, up to where they intersect with the horizontal line, to create a tab in each corner of the 5 1/2" square cardstock piece. Make an angled cut on the edges of each tab as shown. Do the same on the opposite side.
-
Repeat this step on the 5 1/8" square.
-
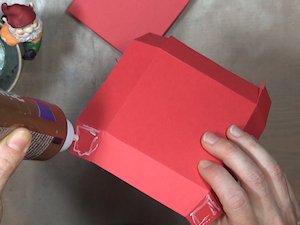
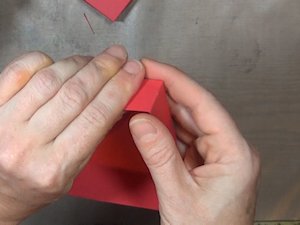
Step 5
Apply adhesive to the outside of each corner tab on the 5 1/2" square of cardstock.
-
Fold the piece into a box, adhering the tabs to the inside.
-
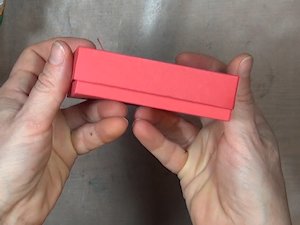
Step 6
Repeat the same steps for the box lid, applying adhesive to the tabs and folding them to the inside. Allow the glue to dry. The top and bottom should fit together as shown.
-
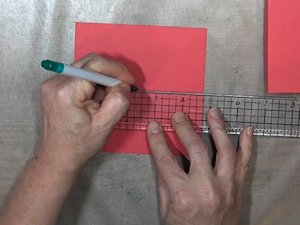
Step 7
Mark the center of the remaining 4 3/4" cardstock square (2 3/8” from both sides).
-
Adhere the square to the box top, with the center mark on top.
TIP:
Turn the marked square over. Put glue on the box top, and center it onto the square.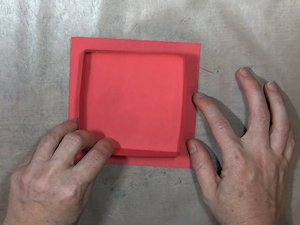
-
Step 8
To create a tassel, prepare a cardboard or matboard template that is 4” long, and about 2" wide.
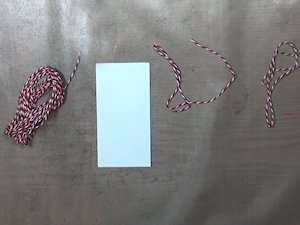
-
Cut a piece of twine or embroidery floss about 10” long and lay it across the template horizontally.
-
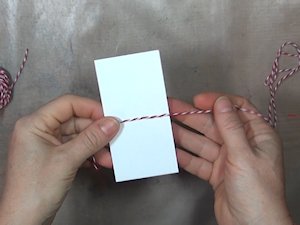
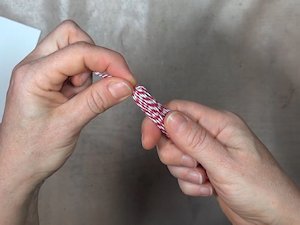
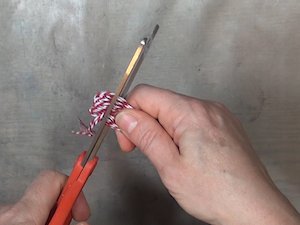
Step 9
Holding the horizontal piece in place, begin wrapping twine around the template with the end of the twine at the bottom of the template. Use about 10-12 feet of twine for a full tassel.
-
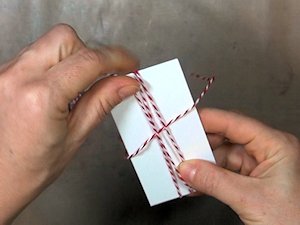
Keep wrapping to the desired thickness (it can be 10-20 times, depending on the thickness of the twine). The end of the twine should be pointing down when you finish. Trim the end evenly with the bottom of the template.

-
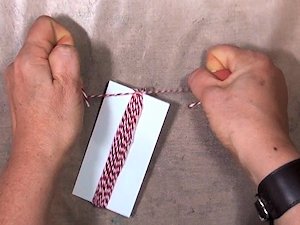
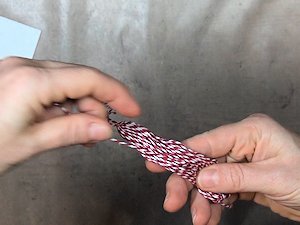
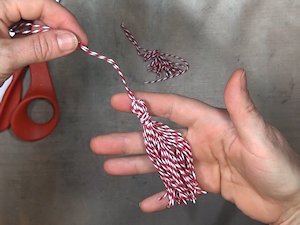
Step 10
Pull the horizontal piece of twine to the top of the template. Center it and tie a square knot tightly around the tassel top.
-
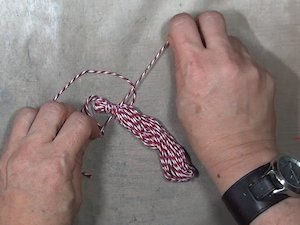
Remove the tassel from the template by sliding it to the side. Ensure the tie is centered, and the loops of twine are straight.
-
Step 11
Take another piece of twine about 12" long and line it up with the bottom of the tassel.
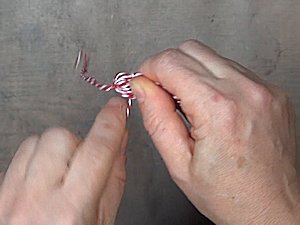
-
Holding the end in place, run the twine to about 3/8" from the top of the tassel, and begin wrapping the twine neatly around the tassel. Wrap about 1/4" - 1/2" down, keeping the loops tight, together, and parallel.
-
Step 12
Tie the loose ends together in a square knot, and smooth them down with the other strands of the tassel.
-
Step 13
Trim off all the looped ends evenly with scissors.
-
The finished tassel should look like this.
-
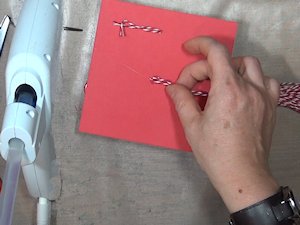
Step 14
Determine how long the tassel tie should be to reach the center with the tassel hanging just over the side of the box, and trim to the desired length. Put a spot of hot glue at the center of the box top and lay the tie of the tassel into it.
-
Add another spot of hot glue and fix a matching button over the end to cover it up.
TIP:
If you don’t have a button to match, color a neutral one with an alcohol marker.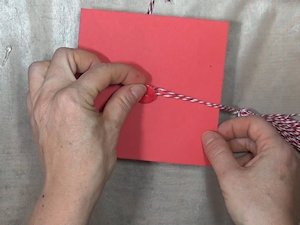
-
Step 15
Tuck a card, cash, or a gift card inside to complete the project.
Video!
Your Turn
You've seen the tutorial, now you try it! We've got a section of the gallery set aside for Graduation Gift Box. Try this technique, then upload your artwork to the gallery. Show us your creations!
***Please note - Internet Explorer/Edge is not a supported browser, and will not allow you to see the videos. Please use Chrome, Firefox or Safari to view our tutorial videos.

Questions and Comments
We'd love to get your feedback or questions. Leave your comment below.
My granddaughter is graduating this year so I'm thinking of gathering the family together to form an assembly line to make many of this awesome gift box. We would fill it with candy as a thank you favor for each guest that attends her graduation party.
(Now I must find a lasso to gather the family together all at the same time : )
Page 1 of 1 pages