Glitter Puzzle
by Beate Johns
Create a multi-colored glittery background by cutting designs into double sided adhesive sheets.
Supplies
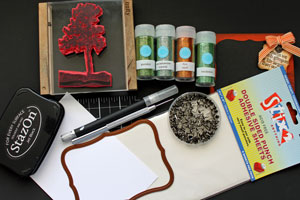
- Double-sided adhesive sheets
- Craft knife and cutting mat
- Glitter in three or more different colors
- Stazon™
- Acetate
- Brads or Eyelets
- Cardstock
- Stamps (Just For Fun Tree stamp used here)
- Scrap paper
Step-by-Step
-
Step 1
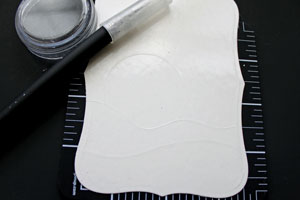
Peel the backing off your adhesive sheet.
Hint:
I like to keep the shiny side of the liner on the adhesive sheet, peeling off the matte layer.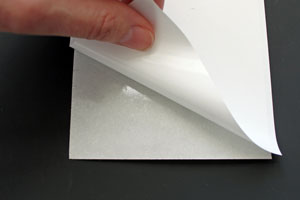
-
Adhere the sheet to your cardstock. Burnish the piece of cardstock to make sure the adhesive sticks to it.
Variation:
Run the cardstock through a Xyron™ machine to add double-sided adhesive to it.
-
Step 2
Cut your cardstock to the size or shape you prefer. Cut your Acetate to the same size.
Nestabilities™ Label 8 dies were used here.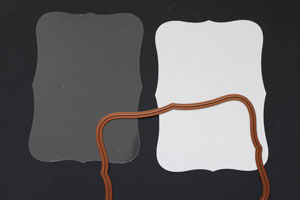
-
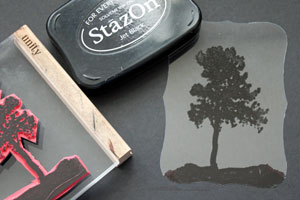
Step 3
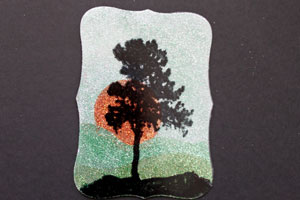
Stamp an image on the acetate with Stazon™ and set aside to dry.
-
Step 4
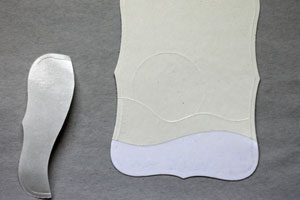
Place a cutting mat under your cardstock. Cut designs into the backing of your adhesive, but not all the way through your cardstock.
-
Step 5
Place the cardstock on a piece of scrap paper. Peel the backing off the first section.
-
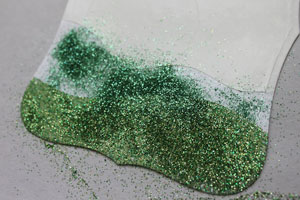
Step 6
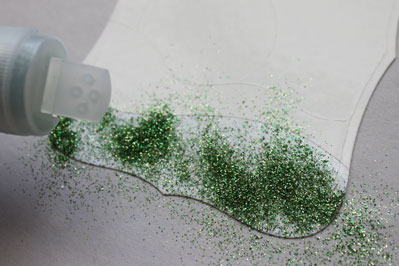
Sprinkle the first color of glitter over the exposed adhesive.
.
-
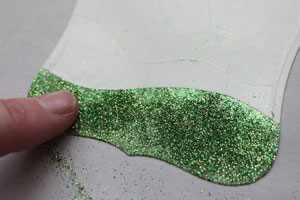
Rub glitter into the adhesive to get good coverage.
-
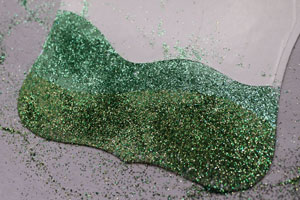
Step 7
Peel the next section of adhesive backing off and sprinkle your second color of glitter over it.
-
Rub glitter into adhesive.
-
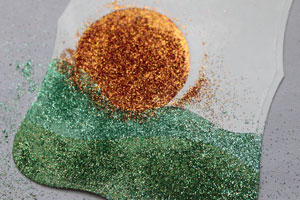
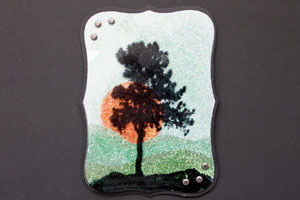
Step 8
Continue to peel off one layer at a time, and add more glitter in various colors.
-
Once the entire piece of cardstock is covered with glitter, tap on back to remove excess glitter. Discard scrap paper.
-
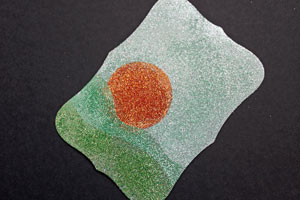
Step 9
Place your stamped acetate over your glittered background.
-
Step 10
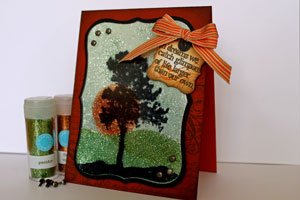
Secure your acetate to your glitter cardstock with brads, eyelets or other embellishments.
-
Step 11
Finish your card.
Video!
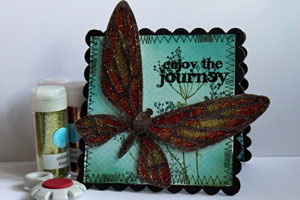
Variations
-
Die-cut it!
Use a die to cut your pattern into your adhesive sheet instead of step 3.
Create a glitter frame
Cut an oval out of the center of your adhesive backed cardstock. Repeat steps 4 to 8. Then place stamped image or photo behind the frame.
Keep it simple
Instead of making an acetate overlay, just add a greeting over it.
Shimmery look
Exchange your glitter for pearlized powders like Pearl Ex™ or Perfect Pearls™.
Your Turn
You've seen the tutorial, now you try it! We've got a section of the gallery set aside for Glitter Puzzle. Try this technique, then upload your artwork to the gallery. Show us your creations!
***Please note - Internet Explorer/Edge is not a supported browser, and will not allow you to see the videos. Please use Chrome, Firefox or Safari to view our tutorial videos.
 *
*
Questions and Comments
We'd love to get your feedback or questions. Leave your comment below.