Gel Printing Basics
by Lydia Fiedler
Learn the basics of monoprinting on a gel printing plate.
Supplies
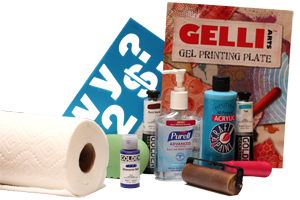
- Gelli Arts™ Gel Printing Plate or homemade gel plate - instructions for the homemade version here
- Acrylic paint (Golden Open Acrylics® used here)
- Rubber brayer
- Plain hand sanitizer
- Paper towels
- Stencils and/or masks, die cuts, etc.
- Cardstock
- Freezer paper
- Catalyst Wedges, stamps, sponges, doilies, leaves, string or other texturing tools (optional)
Step-by-Step
-
Step 1
Remove the two protective plastic sheets from your Gelli Plate, set them aside, and put the plate on a piece of freezer paper that is taped down to the work surface. Do not place the gel plate on a porous surface or anything with texture - this will permanently imprint the surface of the plate.

-
Step 2
Put a few dabs of acrylic paint on your plate - a little goes a long way. Use a single color or multiple colors. Some colors are more opaque than others - Golden shows the opacity on the label, so think about that when building your layers.
Tip - if using a Gelli Plate - see manufacturer instructions for appropriate paints - some products are not recommended and will stain the plate.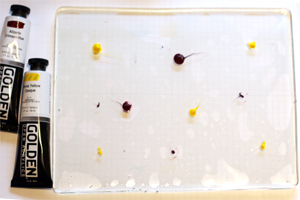
-
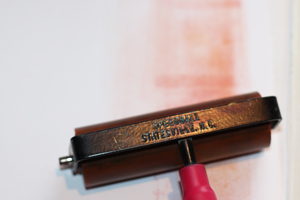
Step 3
Using a rubber brayer, spread the paint out

-
until the plate is completely covered.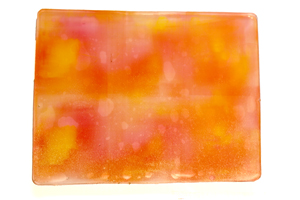
-
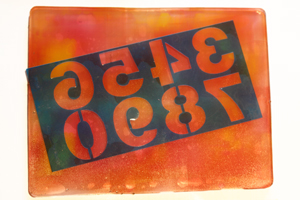
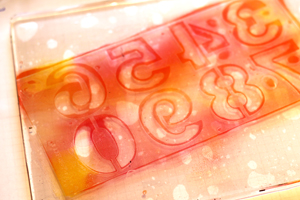
Step 4
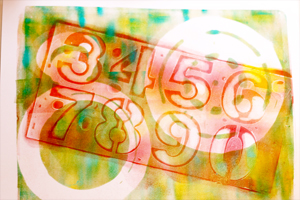
Place a stencil or a mask on the prepared plate. If you are using letters or numbers, be sure to put them on backwards, so they print in the correct orientation.
-
Step 5
Place a piece of cardstock onto the plate, and rub all over the cardstock with both hands with even pressure.
Tip:
To print in the same area each time on multiple prints, mark on the freezer paper where the corners of your first piece of cardstock are, and line up subsequent prints with this mark.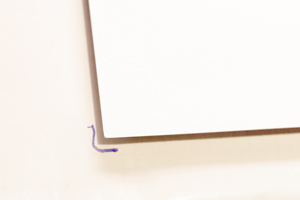
-
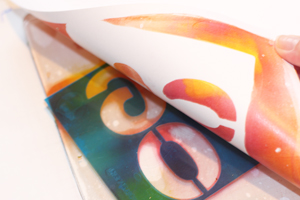
Step 6
Starting at the corner, lift the first print off the plate.
-
Set it aside to dry.
Tip:
Open acrylics stay wet longer which makes them great for gel printing, but you do need a place to put your prints without stacking them while the paint dries.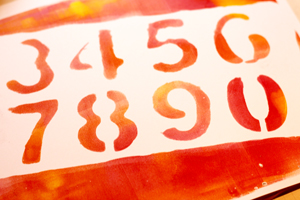
-
Step 7
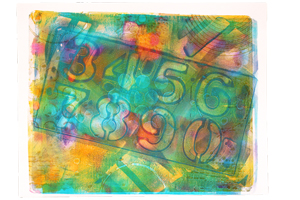
Carefully lift the stencil from the plate without disturbing the paint that's trapped underneath.
-
Repeating Step 5, you can now pull a second print with this negative image.
-
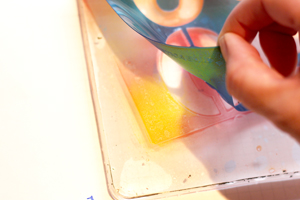
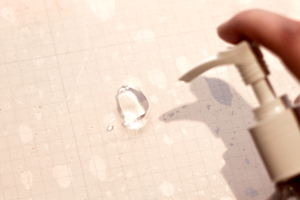
Step 8
To clean the plate between prints, apply some plain hand santitizer to the plate and wipe gently with a paper towel.
-
To clean the brayer between prints, simply roll it back and forth on scrap cardstock.
-
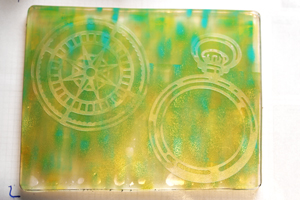
Step 9
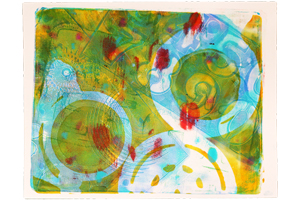
The key to beautiful prints is layering. Prep the plate with different paint colors and different masks or stencils.
-
Take one of the earlier prints and print it with the prepared plate.
-
Step 10
Keep layering on top of existing prints until you are satisfied with the result.
-
Experiment with a combination of opaque and transparent paints and a variety of masks. Never give up on an early print - they get better with each layer.
-
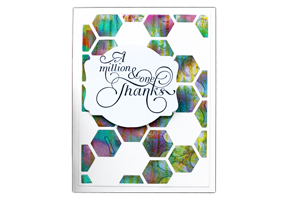
Step 11
Use your finished print with dies, as a background, or for an art journal page.
Video!
Your Turn
You've seen the tutorial, now you try it! We've got a section of the gallery set aside for Gel Printing Basics. Try this technique, then upload your artwork to the gallery. Show us your creations!
***Please note - Internet Explorer/Edge is not a supported browser, and will not allow you to see the videos. Please use Chrome, Firefox or Safari to view our tutorial videos.

Questions and Comments
We'd love to get your feedback or questions. Leave your comment below.
Thanks for the tutorial! I don't have a Gelli Plate,yet! I have been intimidated by it, but your tutorial was so informative and you took the intimidation out of it with all of your tips! Thank you for sharing with us!
Donna
One question though...where did you get the pocket watch & gears stencil? I really liked that one.
Thank you for your kind words - can't wait to see what you do!
Page 1 of 1 pages