Foam Box
by Cynthia Snoddy
Create a foam box from craft foam using nesting dies.
Supplies
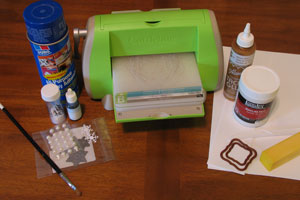
- Craft foam, an 8 1/2" x 11" sheet of the 1/16" thick foam would be more than enough for this project
- Aleene's Original Tacky Glue, or any thick craft glue
- Liquitex Modeling Paste Gel Medium
- Disposable plastic knife or palette knife
- Foam sanding block, or fine grit sandpaper
- Spellbinders Labels One Nestabilities dies (the two smallest sizes) or any pair of nesting dies
- Die Cut Machine, Cuttlebug™ used here
- Embellishments and paint
Step-by-Step
-
Step 1
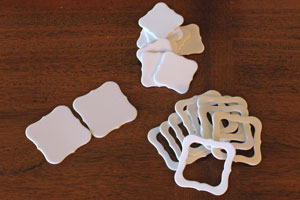
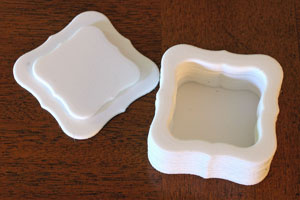
Cut two foam die cuts using the larger die. These will be used for the bottom and the lid of the box.

-
Step 2
Center the two dies on the foam and cut at least eight frames, for the sides of the box.
-
Step 3
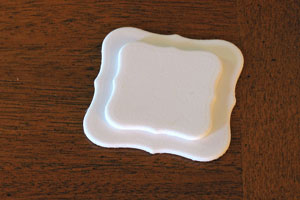
Using thick craft glue, adhere one of the smaller die cuts in the center of one of the larger die cuts. This will be the lid of the box.
-
Step 4
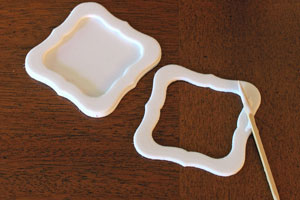
Starting with the other larger solid die cut as a base, glue the frames on top of each other in an even stack
-
The finished box and lid after gluing. Let dry overnight.
-
Step 5
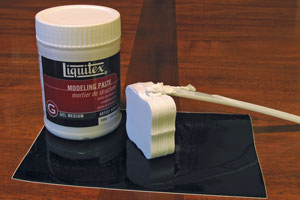
Using plastic knife or palette knife, coat the outside of the box with a thin coat of Liquitex Modeling Paste gel medium. Let dry overnight.
-
Step 6
The surface will be pretty rough. Sand smooth with a foam sanding block or sandpaper.
Warning:
The gel medium contains marble dust, so be careful not to breathe the dust when you sand.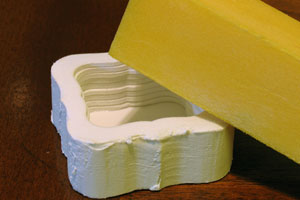
-
Step 7
Fill in any gaps with additional gel medium, let dry overnight, and sand smooth. The finished box before embellishment:

-
Step 8
Paint and/or embellish as desired.
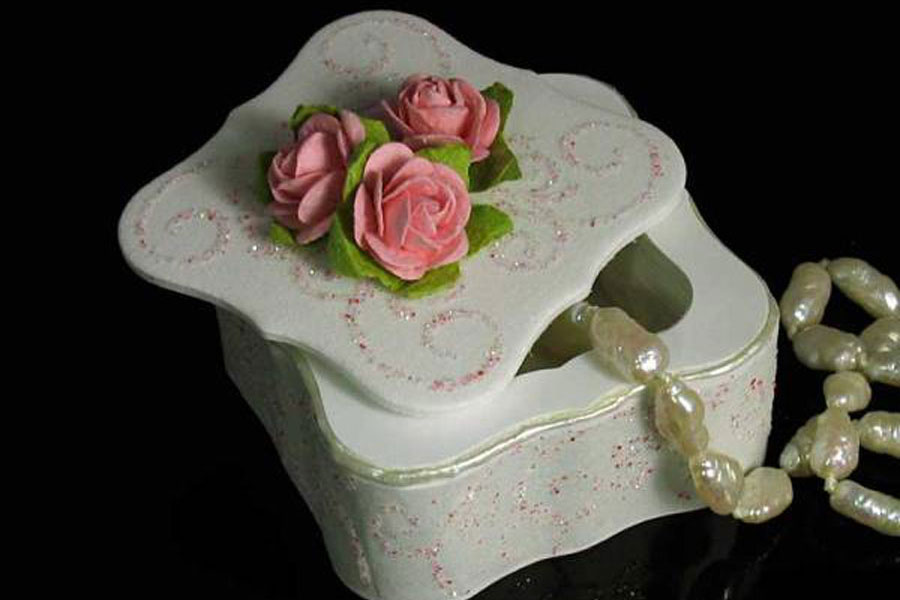
In this case, the box was painted with blue re-inker, snowflake die cuts from paper were adhered, the box was sprayed with spray adhesive and glittered, a pearl was added, and a plain white paper frame die cut was adhered to the top edge of the box to neaten its appearance.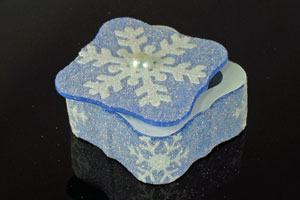
Variations
-
Variations:
--Try different shaped nesting dies, or try two different shapes (i.e., oval inside a Labels 4 die).
--Try gluing the sides up in a twisting, spiral shape instead of straight sides, for an unusual shaped box.
--Try adding gel medium or velvet to the inside of the box as a liner (if you do this, you may need to trim or eliminate the small die cut adhered to the bottom of the lid, as it probably would not fit
Your Turn
You've seen the tutorial, now you try it! We've got a section of the gallery set aside for Foam Box. Try this technique, then upload your artwork to the gallery. Show us your creations!
***Please note - Internet Explorer/Edge is not a supported browser, and will not allow you to see the videos. Please use Chrome, Firefox or Safari to view our tutorial videos.

Questions and Comments
We'd love to get your feedback or questions. Leave your comment below.
He IS Able!
Traci S.
Win 2 cards at the He IS Able blog!
http://He-IS-Able.blogspot.com
Page 1 of 1 pages