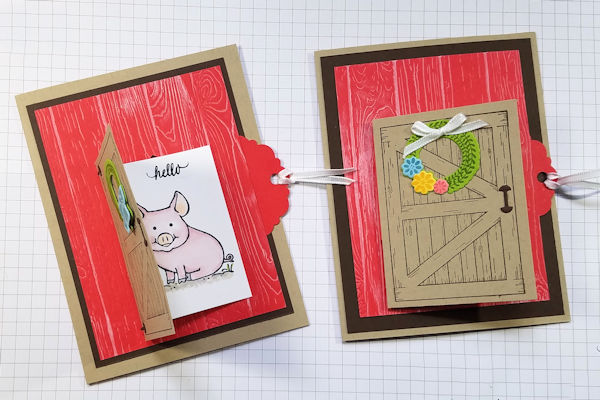
Flip Flap Card
by Beth Rush
Make an interactive card with a surprise front flap.
Supplies
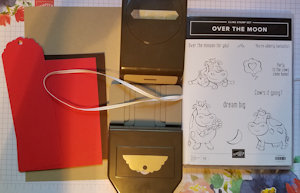
- Stamps (Stampin' Up!® Barn Door and Over the Moon sets used here)
- Cardstock (Crumb Cake, Early Espresso, Whisper White used here)
- Ink (Memento Tuxedo Black used here)
- Classic Label Punch, slot punch or craft knife to cut a slit
- Hole punch or tag topper Punch (Delightful Tag Topper punch used here)
- Ribbon
- Scoring tool
- Other supplies as needed to complete the card
Step-by-Step
-
Step 1
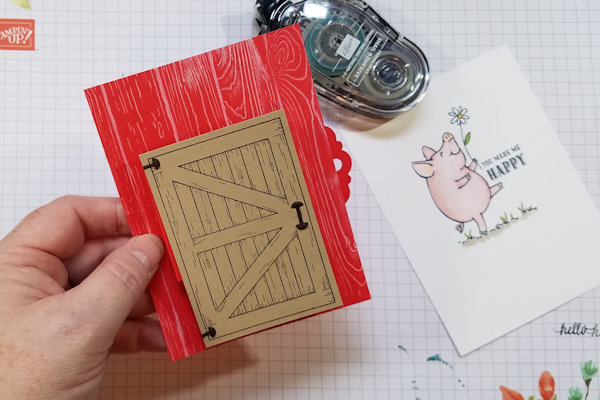
Cut the main image cardstock panel to 4 3/4" by 3 1/2". Decorate the panel as desired (inked Pinewood Planks Embossing Folder used here).
Use a slot punch or a craft knife to cut a slit in the cardstock. If using the punch, push the punch into the cardstock as far as it will go. If using a craft knife, cut a slit 2 inches long 1 3/4" from the edge of the cardstock. -
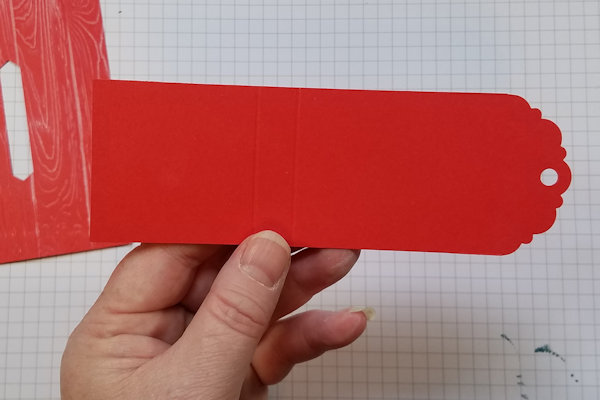
Step 2
Cut cardstock for the flap arm at 2” x 6”. Score at 2” and 2 1/2".
Add a hole punch to the flap arm cardstock on the end furthest from the score lines. -
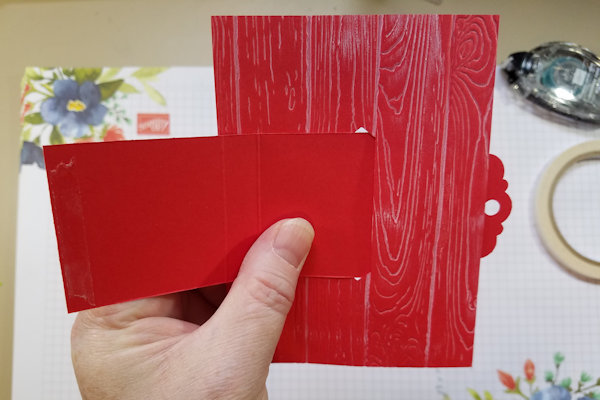
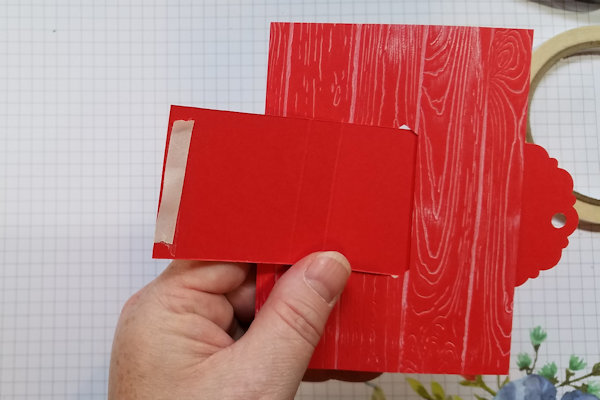
Step 3
Slide the flap arm into the slit. The side with the hole punch should be on the underside to the right, with the scored end coming out the front to the left.
-
Step 4
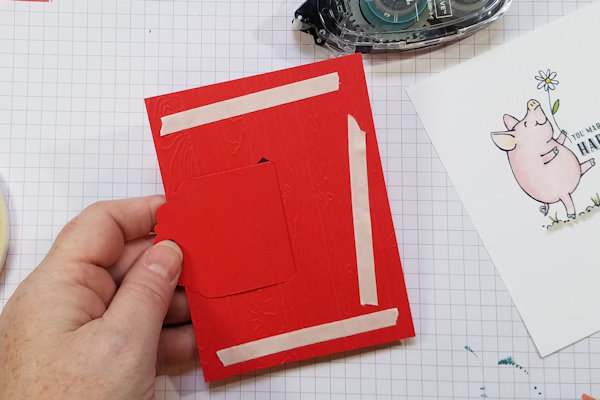
Add adhesive to the edge of the scored side of the flap arm as shown.
-
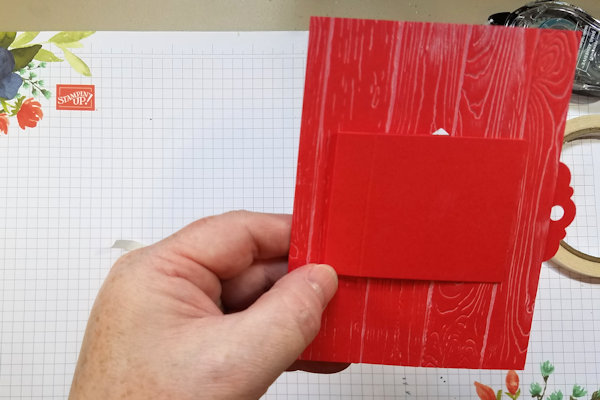
Step 5
Fold the flap arm at the 2 1/2" score line. Carefully line up the punched hole with the edge of the card panel so that the hole can be seen, but does not stick out any further. Press down to adhere to the base.
NOTE:
This is the only place that the flap arm should attach to the base, so that it can pull in and out freely. -
Step 6
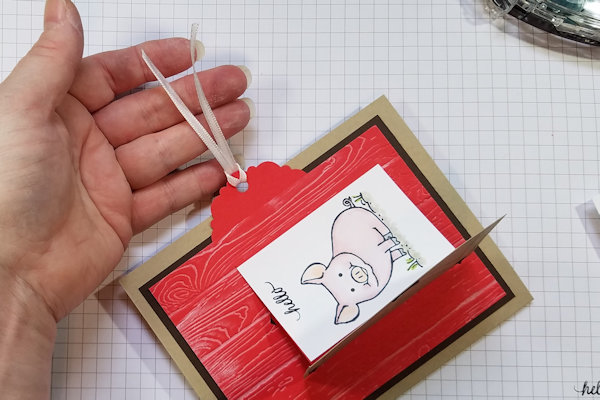
Stamp your inside flap design and attach it to the flap arm just to the right of the 2” score line.
NOTE:
In the sample shown here, the image is put onto the flap arm intentionally low. This is just because of the barn door image and the desire to have it look like it is on the ground. You can place your image on the flap arm centered, up or down, just as long as it covers the arm and does not hang past the 2 inch score line. -
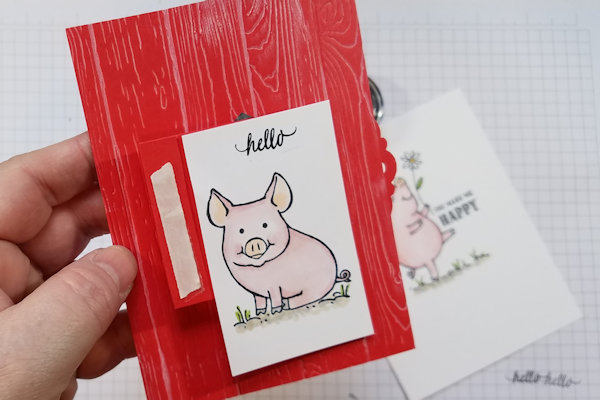
Step 7
Add adhesive to the area in between the score lines.
-
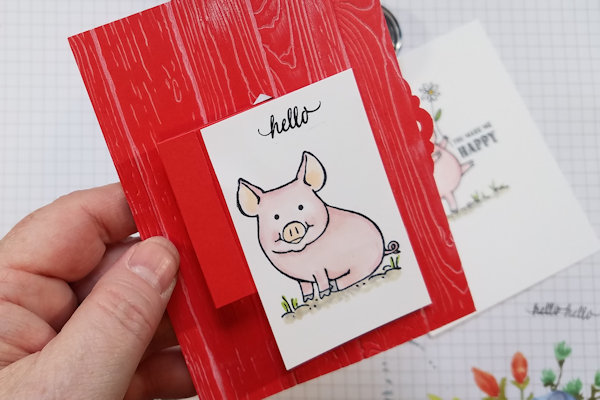
Step 8
Stamp your image for the front flap and adhere it to the flap arm, making sure to cover the image underneath. Be sure that your image does not hang over the 2 1/2" score line so that the flap can open and close correctly.
-
Step 9
Attach your panel to the mat piece (5 1/4" by 4”), making sure that adhesive does not go over the flap arm.
Layer on an A2 card base. -
Step 10
Add some ribbon to your flap arm. This will let the recipient know that they are supposed to pull here.
-
Step 11
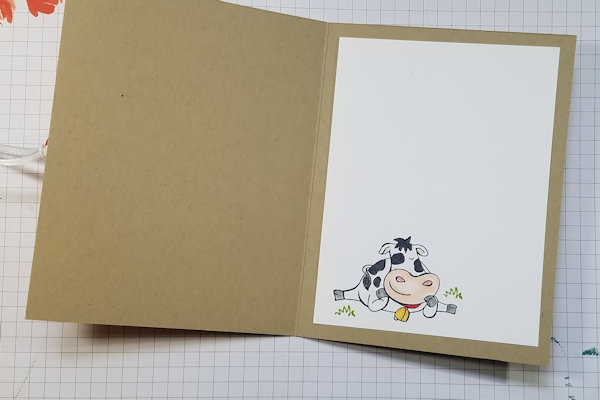
Decorate the inside of your card as desired.
-
Step 12
Complete the project.

Video!
Your Turn
You've seen the tutorial, now you try it! We've got a section of the gallery set aside for Flip Flap Card. Try this technique, then upload your artwork to the gallery. Show us your creations!
***Please note - Internet Explorer/Edge is not a supported browser, and will not allow you to see the videos. Please use Chrome, Firefox or Safari to view our tutorial videos.

Questions and Comments
We'd love to get your feedback or questions. Leave your comment below.
Thanks again!
Je vais essayer de la fabriquer.....je la mets dans mes projets!
Merci beaucoup pour ce merveilleux tutorial!!
Page 1 of 1 pages