Felted Cardstock
by Lydia Fiedler
Use plastic wrap and a decorative napkin to create a cool background.
Supplies
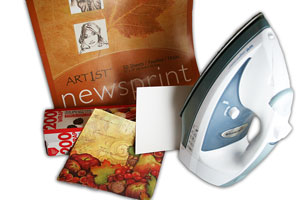
- Decorative paper party napkins
- Plastic Wrap
- Large Pad of Newsprint
- Iron
- White cardstock
- Stamps
- Ink
- Adhesive
- Scissors
- Embellishments
Step-by-Step
-
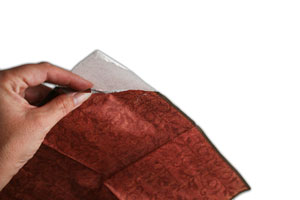
Step 1
Separate printed layer of napkin from white layer.
-
Step 2
Open pad of newsprint to middle.
Place white cardstock, plastic wrap and then napkin on newsprint with printed side of napkin facing up.
Put two sheets of the newsprint on top of this sandwich.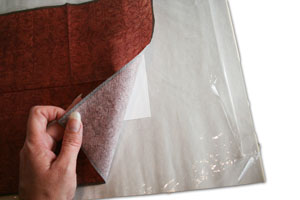
-
Step 3
With your iron on the highest non-steam setting, begin ironing the sandwich, going over it evenly for a few minutes, making sure you iron the entire area.
Let cool.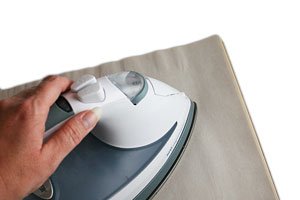
-
Step 4
While holding the napkin down with one hand, carefully remove the top two sheets of newsprint.
Then slide your hand under the newsprint and pop the card up off the bottom newsprint.
Check to be sure the napkin is fused to the cardstock everywhere - especially at the corners. If it's not, simply put the newsprint back down and continue ironing. You can do this as often as necessary.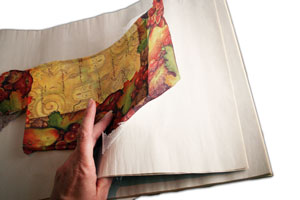
-
Step 5
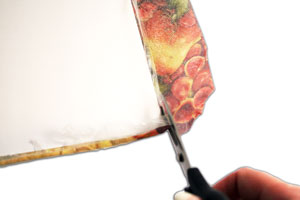
When the cardstock is felted, simply flip it over and trim off the excess napkin, and use the cardstock as you normally would.
-
Step 6
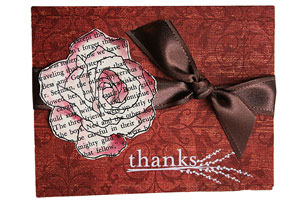
Finish your card.
Video!
Your Turn
You've seen the tutorial, now you try it! We've got a section of the gallery set aside for Felted Cardstock. Try this technique, then upload your artwork to the gallery. Show us your creations!
***Please note - Internet Explorer/Edge is not a supported browser, and will not allow you to see the videos. Please use Chrome, Firefox or Safari to view our tutorial videos.

Questions and Comments
We'd love to get your feedback or questions. Leave your comment below.
Peggy Fox
I'll take a look at the video but the written instructions seem simplew enough and I can print them out for my "project" book.
Thanks so much
Please keep the video tutorials coming.
Thanks for sharing.
You rock!!!!!
Kym
Page 1 of 9 pages 1 2 3 > Last »