Faux Torn Mosaic
by Carole Burrage
Create a fun and funky background that adds texture and depth to your designs!
Supplies
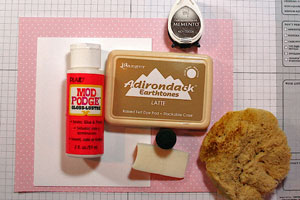
- One 4.25” x 5.5” piece of cardstock, any color
- One 5” x 7” or larger piece of patterned paper
- Two colors of dye ink from the same color family, one lighter, one darker (Adirondack Latte and Memento Rich Cocoa used here)
- Sponge
- Sponge dauber
- Mod Podge™
- Sponge brush or makeup sponge
- Paper trimmer
Step-by-Step
-
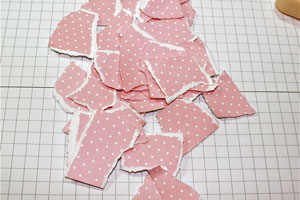
Step 1
Tear up patterned paper into a bunch of random shapes. They don’t need to be the same size, just don’t make them too large (that would make for a dull background) or too small (you’ll be inking them forever).
-
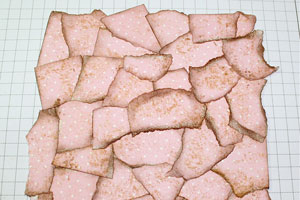
Step 2
Take your sponge and dab the lighter ink on your pieces.
Then, take your dauber and ink the edges of each piece with the darker ink.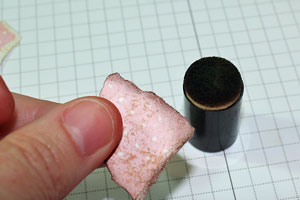
-
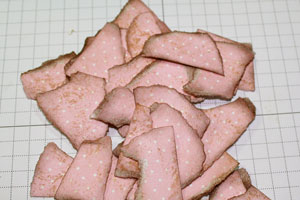
You will end up with a pile that looks like this:
-
Step 3
Rub Mod Podge™ on each piece and adhere to your cardstock.
Overlap the pieces to completely cover the cardstock.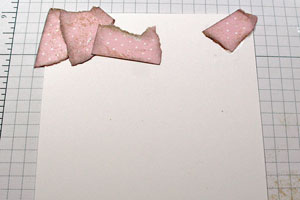
-
When you finish, you’ll get something that looks like this:
-
Step 4
Using your paper trimmer, trim background to desired dimension (mine is 3.75” x 5”).
Then, using your dauber and darker ink, ink around the edges of the background.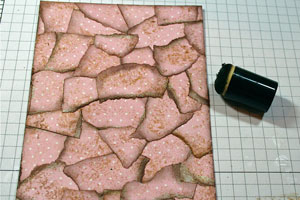
-
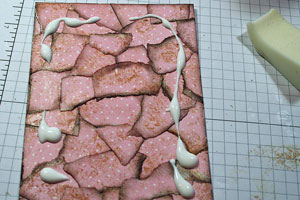
Step 5
Drizzle some Mod Podge™ on top of the background, and smooth out with your foam brush or makeup sponge. Let dry.
-
Step 6
Accessorize and embellish background as desired to create a one-of-a-kind masterpiece (sometimes mistakenly referred to by civilians as a ‘card’).

Video!
Your Turn
You've seen the tutorial, now you try it! We've got a section of the gallery set aside for Faux Torn Mosaic. Try this technique, then upload your artwork to the gallery. Show us your creations!
***Please note - Internet Explorer/Edge is not a supported browser, and will not allow you to see the videos. Please use Chrome, Firefox or Safari to view our tutorial videos.

Questions and Comments
We'd love to get your feedback or questions. Leave your comment below.
But certainly pretty whatever you call it.
I am using Ranger's Blending Tool. I love it! I have several....one for every color group and several for browns (light, medium and dark).
Hugs and smiles
As for the 'Faux' title... you're right Juliet and Blue Spruce. I guess we were thinking of traditional mosaic materials like tiles or stones when trying to put a name to this technique. I'm all for accuracy, and thus happy to have the title changed to 'Torn Mosaic' if the Brass feel like doing so.
Page 1 of 2 pages 1 2 >