Faux Embossing With Die Cuts and Punches
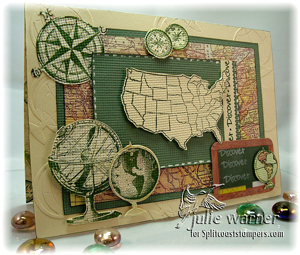
by Julie Warner
Make a panel of embossed-look cardstock with die cuts or punched shapes.
Supplies
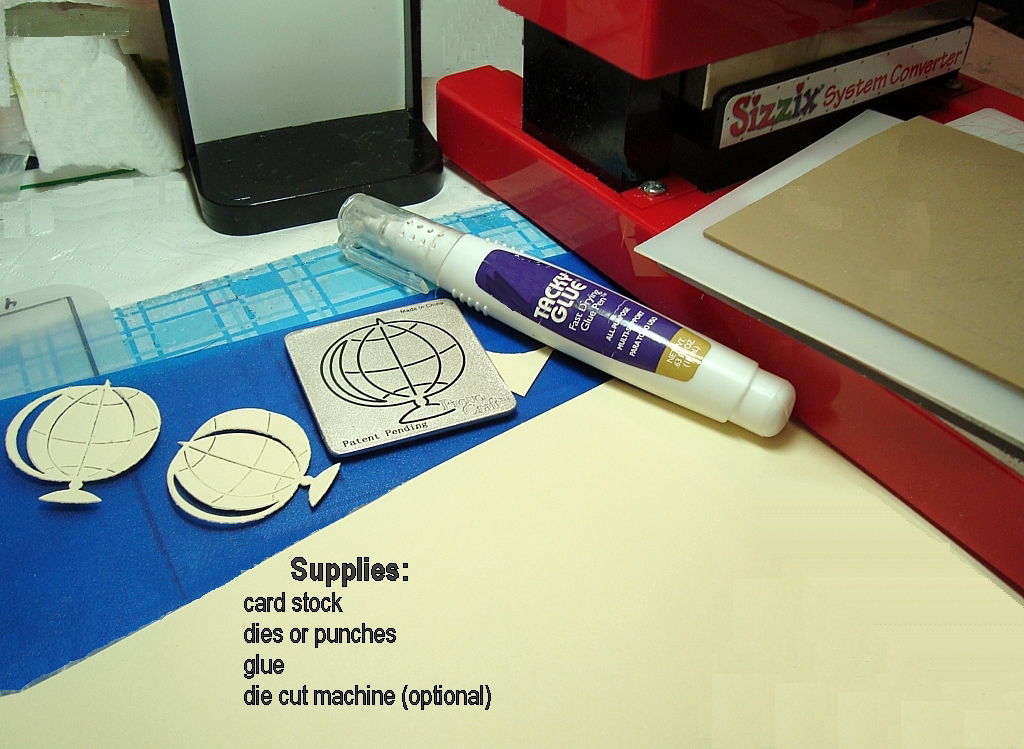
- Cardstock (use the same color for the punch outs and the base)
- Punches or dies
- Adhesive
- Die Cut Machine (optional if you're using punches)
Step-by-Step
-
Step 1
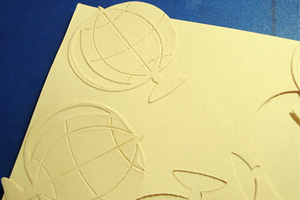
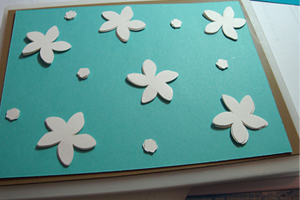
Important: Use the same color cardstock for the die cuts or punches and your cardstock base.
Die cut or punch as many images as needed to cover cardstock. If you are doing a background piece and the center will be covered, you may only want to do around the edges.
-
Arrange die cuts/punches, then apply adhesive to the back side of the die cuts/punches and attach to card base.
-
Step 2
After attaching die cut or punched shapes, flip your base over and use scissors to trim any overlapping pieces from the edges.
-
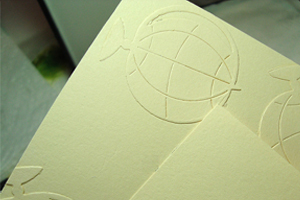
Step 3 (Optional)
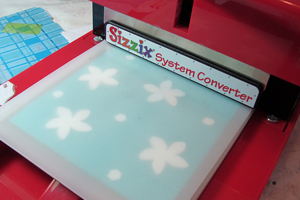
If you have a die cut machine, place your piece on an embossing mat and run it through the machine to make the die cuts blend in and look like an embossing folder was used.
Tip: If you don’t have a die cut machine, place your base piece face down onto wax paper and use a brayer, pressing firmly as you go.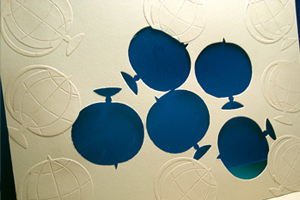
-
Step 4
Finish your card as desired.
-
Step 5
Here's another way to get a dry embossed look using punches or die cuts!
Lightly mist your base cardstock with water and place it on an embossing mat.
Place the die cuts on top in a pleasing arrangement.
Tip: If your die cut or punched shapes are thick, you will probably only need one layer. These pre-cut die shapes were a little thin, so I layered three on top of each other.
-
Step 6
Carefully place a plastic shim over the top and run through the die cutting machine. Here, a Sizzix with the converter in place was used.
-
Step 7
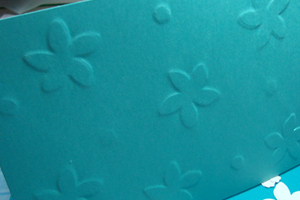
Finished embossed piece.

Questions and Comments
We'd love to get your feedback or questions. Leave your comment below.
Page 1 of 1 pages