Explosion Box
by Beate Johns
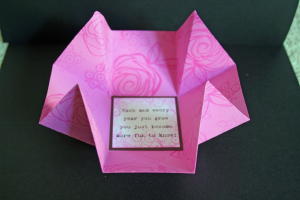
Take the lid off of this box and the bottom folds flat like a card.
Supplies
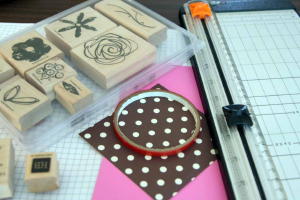
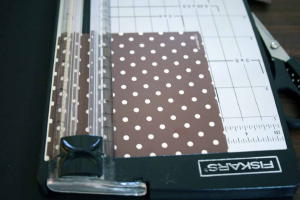
- Paper cutter with scoring blade
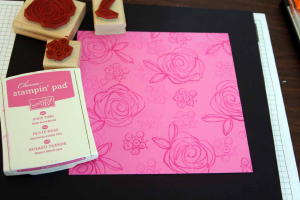
- One 7 1/2" square of cardstock or patterned paper for box bottom
- One 4 1/4" square of cardstock or patterned paper for box lid
- Sticky Strip™
- Additional cardstock for inside message and embellishment for lid (optional)
- Stamps
- Ink
Step-by-Step
-
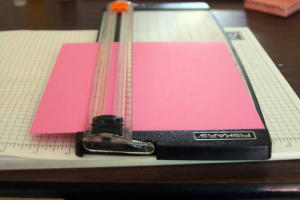
Step 1
Take the 7 1/2" piece of cardstock and score at 2 1/2" and 5" on one side.
-
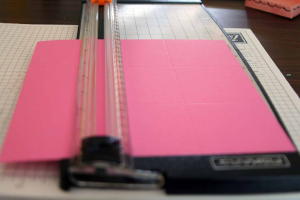
Step 2
Turn the cardstock 90 degrees and score at 2 1/2" and 5". There will be nine 2 1/2" squares scored on your cardstock.
-
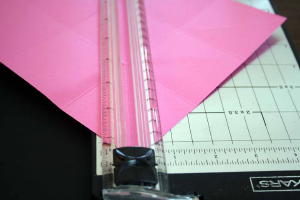
Step 3
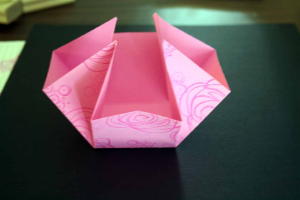
Score the four corner squares diagonally from the outside corner in towards the middle square.
-
Step 4
Stamp the box bottom.
-
Step 5
Prefold all scores. Fold the diagonal scores in towards the middle of the box.
-
Step 6 (Optional)
Add a message or saying to the box center.
-
Step 7
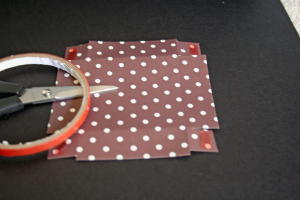
Take the 4 1/4" piece of cardstock or patterned paper and score it at 7/8" on each side.
>
-
Step 8
On two opposing sides, cut the vertical score lines until they intersect with the horizontal ones. That will make the glue tabs.
Optional: Cut the glue tabs down a bit to make sure they won't show when the tabs are taped to the sides of the lid.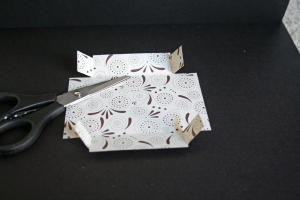
-
Step 9
With the right side of the lid facing up, add Sticky Strip™ to the glue tabs.
-
Step 10
Prefold all scores and adhere glue tabs to the sides of the lid.

-
Step 11
Decorate the top of the lid with cut out image or tag, add a little ribbon, and your box is done.

Video!
Variations
Change the size of the box
Make it bigger or smaller. The size of the bottom cardstock has to be able to be divided by 3. A 9" square would be scored at 3" and 6", a 12" square by 4" and 8".
For the lid the box with a the 9" square bottom would have to have a 5" square, scored 1" all the way around.
The box with the 12" square would have to have a 6 1/2" square, scored 1 1/4" all the way around.
Your Turn
You've seen the tutorial, now you try it! We've got a section of the gallery set aside for Explosion Box. Try this technique, then upload your artwork to the gallery. Show us your creations!
***Please note - Internet Explorer/Edge is not a supported browser, and will not allow you to see the videos. Please use Chrome, Firefox or Safari to view our tutorial videos.
Questions and Comments
We'd love to get your feedback or questions. Leave your comment below.
Good luck!!
Thank you
I want to make an explosion box and I have a questions. I have looked online and seen many that have plastic like strips to adhere to the bottom of the box so objects pop when you open the box. What are these strips made from and where do I get them?
Page 1 of 1 pages