Evergreen Wreath
by Kittie Caracciolo
Use dies or punches to create a miniature paper wreath.
Supplies
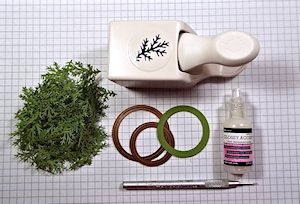
- Cardstock
- Punched or die cut branches (Martha Stewart Branch Punch used here)
- Circle dies (Spellbinders Nestabilities Classic Circles used here)
- Glue (Glossy Accents used here)
- Paper piercer
- Other supplies as needed to complete the project (used here: Impression Obsession Town Builder Die Set, Fiskars Crimper, My Mind’s Eye Cozy Christmas Paper Pad, cardstock, Martha Stewart Crystal Fine Glitter, Cosmic Shimmer Flake and Glitter Glue, ATG Adhesive)
Step-by-Step
-
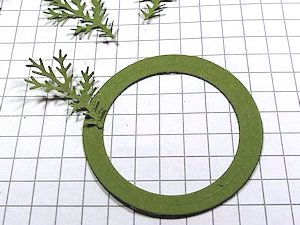
Step 1
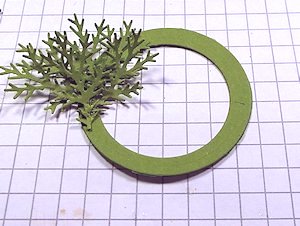
Cut a 2" wreath frame base using two circle dies.
Punch or die cut multiple (approximately 50) evergreen branches.
-
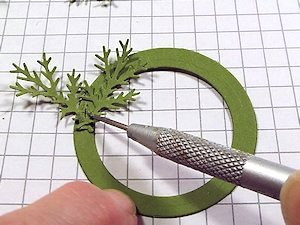
Step 2
Begin by attaching the first branch to the wreath base pointing out to the left.
-
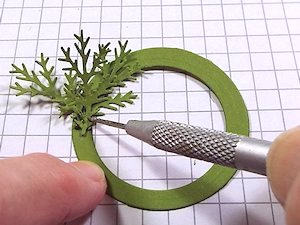
Step 3
Attach the second branch to the base pointing inward to the right.
-
Step 4
Attach the third branch to the base pointing straight up.
-
Step 5
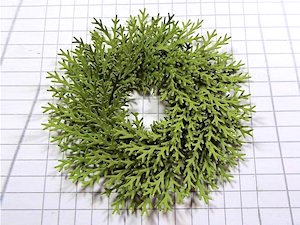
Continue the left, right, center pattern all the way around the wreath base. Place branch sections very close together to create a full wreath.
-
Step 6
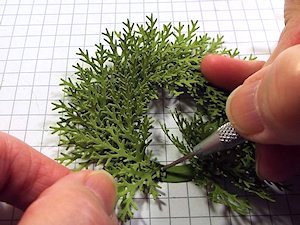
When close to covering the wreath base with branches lift up the top of the first branches you applied to make room to complete filling in the wreath.
-
Step 7
Lift the branches of the wreath with the paper piercer to create fullness in wreath.

-
The wreath is now ready to decorate with small die cuts, flowers, ribbon, etc.
-
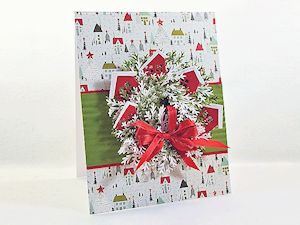
Step 8
Use the completed wreath to decorate a card or other project.
Video!
Your Turn
You've seen the tutorial, now you try it! We've got a section of the gallery set aside for Evergreen Wreath. Try this technique, then upload your artwork to the gallery. Show us your creations!
***Please note - Internet Explorer/Edge is not a supported browser, and will not allow you to see the videos. Please use Chrome, Firefox or Safari to view our tutorial videos.

Questions and Comments
We'd love to get your feedback or questions. Leave your comment below.
And Susie - you crack me up!
http://www.kittiekraft.com/wreath-garden-flowers-and-foliage-tutorial.html
Page 1 of 3 pages 1 2 3 >