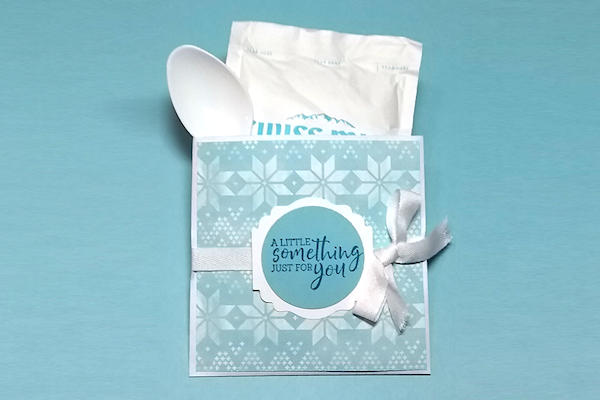
Envelope Gift Pocket
by Twila Davis
Cut pouches from a sealed business envelope to create this gift or treat holder.
Supplies
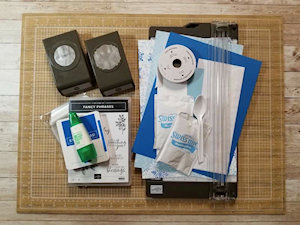
- Business envelope
- Paper trimmer
- Cardstock (Stampin' Up!® Pacific Point, Bashful Blue and Basic White used here)
- Adhesive of your choice (Tombow Liquid Glue used here)
- Patterned paper (SU Story Book Gnomes used here)
- Cello bag
- Filler items (small sachets and flat items, hot cocoa packet and plastic spoon used here)
- Other supplies as needed to complete the project (SU products used here: Pacific Point Ink, Fancy Phrases stamp set, Label Me Lovely Punch, 1 3/4" Circle Punch, White Classic Weave Ribbon)
Step-by-Step
-
Step 1
Seal the long side of a business envelope.
On the long side cut at 4 1/8" from both ends using a paper trimmer, making two pockets. -
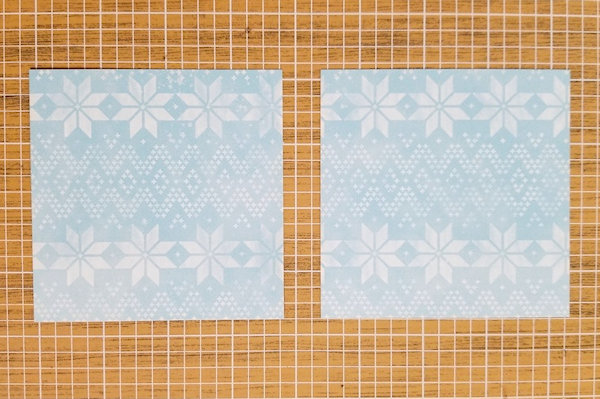
Step 2
Cut two pieces of pattern paper to 3 15/16" square and glue to both sides of one pocket. (Make sure the open end is at the top.)
-
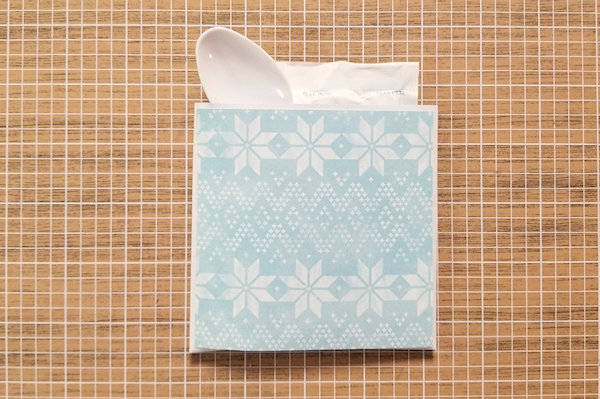
Step 3
Add a hot cocoa packet and a plastic spoon to the pocket, or other flat contents of your choice.
-
Step 4
From coordinating cardstock, stamp your saying and punch it out. Punch another larger background from another coordinating color.
-
Step 5
Cut and tie a 20" piece of ribbon around the pocket, and attach the label on top of the ribbon.
Repeat steps 2 through 5 for other pocket. -
Step 6
Slide the finished pocket into a cello bag and your project is complete.


Video!
Your Turn
You've seen the tutorial, now you try it! We've got a section of the gallery set aside for Envelope Gift Pocket. Try this technique, then upload your artwork to the gallery. Show us your creations!
***Please note - Internet Explorer/Edge is not a supported browser, and will not allow you to see the videos. Please use Chrome, Firefox or Safari to view our tutorial videos.

Questions and Comments
We'd love to get your feedback or questions. Leave your comment below.
Page 1 of 1 pages