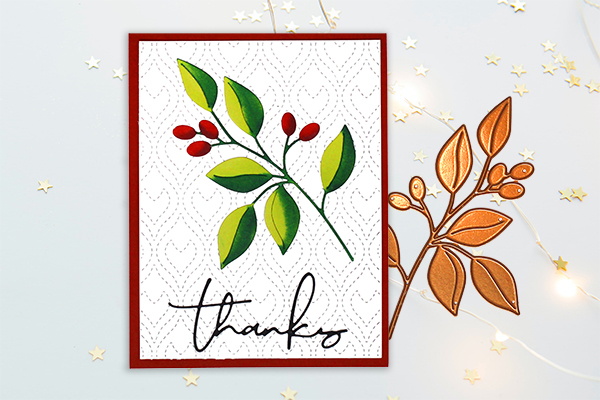
Emergent Color
by Lydia Fiedler
Learn natural looking blending by coloring the back side of your cardstock.
Supplies

- Dies (Crafty Meraki Canopy Leaf die used here)
- Cardstock (80 lb. neutral cardstock used here)
- Alcohol Markers (OLO Markers used here)
Step-by-Step
-
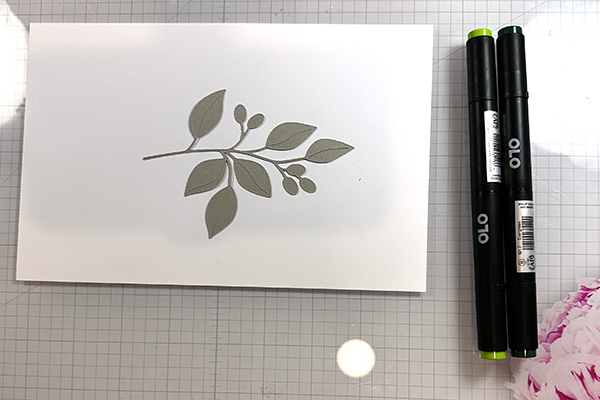
Step 1
Using any shape die, cut a shape from a lighter weight cardstock - 80 lb. cardstock works well - in a light color.
-
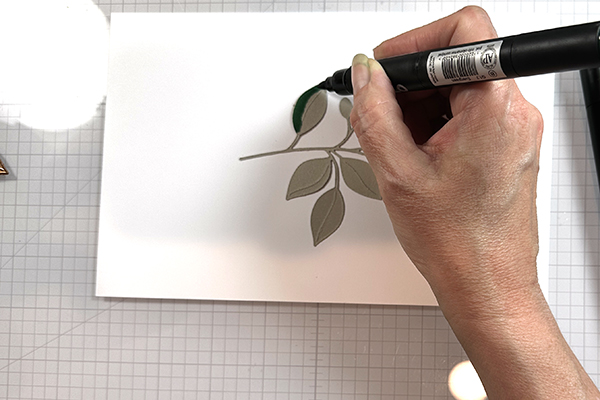
Step 2
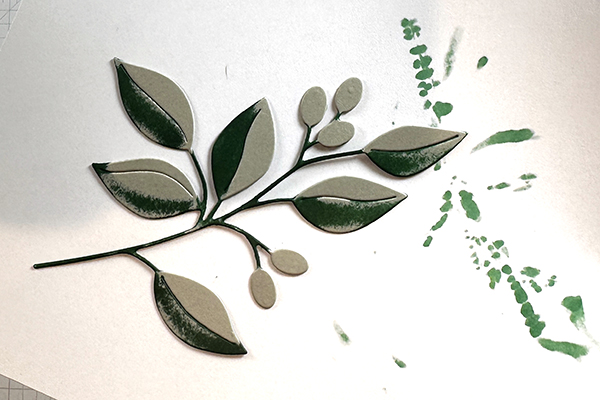
Flip the die cut over, and using the dark shading color alcohol marker, add shading where desired.
-
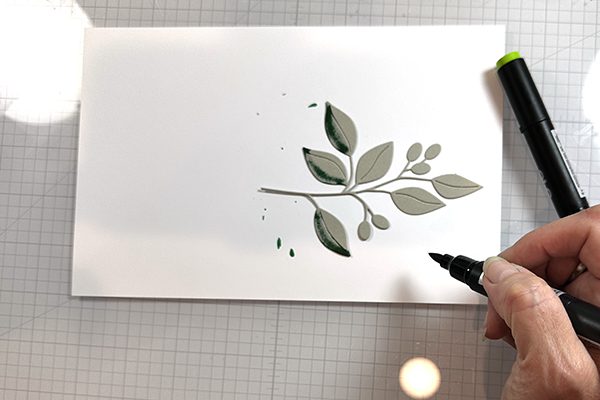
Step 3
As you shade, flip the die cut over to check how the color is emerging, adding more ink on the back if needed.
-
Step 4
Continue coloring until your shading is done. Variation in the saturation of color is desired - leave some areas more unsaturated than others for an organic look.
-
Step 5
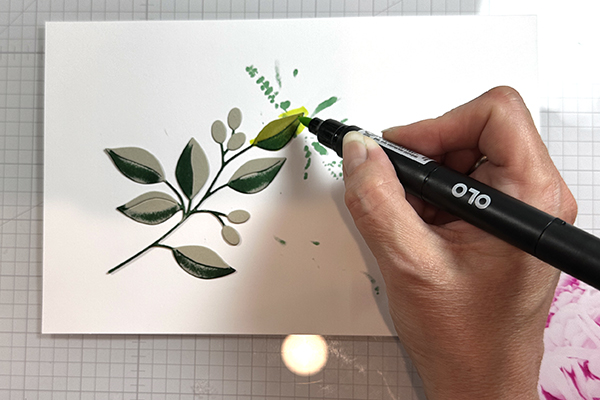
Flip the die cut over to the front, and using your lightest color, color both in the blank areas and over the shaded areas to completely fill them in.
-
Step 6
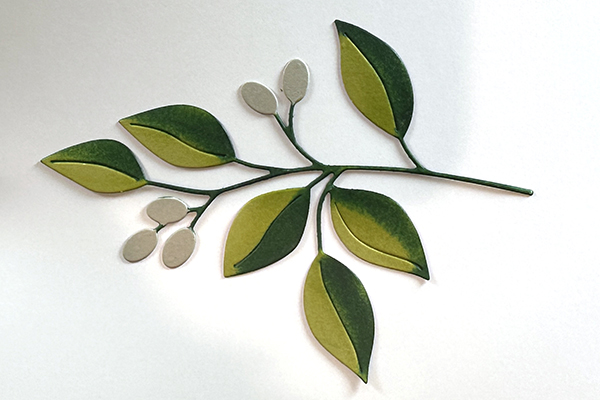
Continue coloring all the light areas until finished.
-
Step 7
Color other elements of the die cut using the same technique in different colors.
-
Step 8
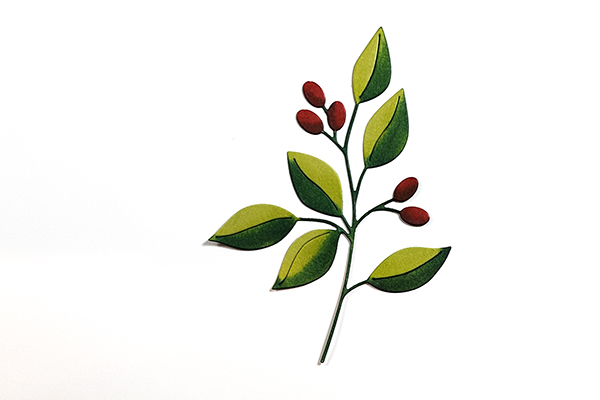
Finish your card.
Video!
Your Turn
You've seen the tutorial, now you try it! We've got a section of the gallery set aside for Emergent Color. Try this technique, then upload your artwork to the gallery. Show us your creations!
***Please note - Internet Explorer/Edge is not a supported browser, and will not allow you to see the videos. Please use Chrome, Firefox or Safari to view our tutorial videos.

Questions and Comments
We'd love to get your feedback or questions. Leave your comment below.