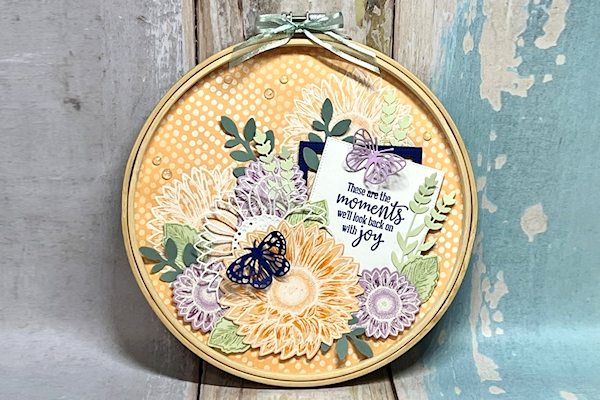
Embroidery Hoop Art
by Debbie Henderson
Create a mini decor piece using die cut shapes in an embroidery hoop frame.
Supplies
- Wooden embroidery hoop, any size (8” used here)
- Pencil
- Scissors
- Patterned papers (Stampin’ Up!® Delicate Desert Designer Series Paper used here)
- Cardstock (SU Starry Sky, Soft Sea Foam, Pale Papaya, Basic White, Soft Succulent, Fresh Freesia used here) Stamped images and die cuts of your choice (SU products used here: Celebrate Sunflowers and Peaceful Moments stamp sets; Brilliant Wings, Sunflowers, and Stylish Shapes Dies; Bough Punch)
- Adhesive (Liquid Glue, Foam Adhesive Strips, Mini Glue Dots, and Stampin’ Dimensionals used here)
- Ribbon (SU Soft Succulent Open Weave Ribbon used here) Other supplies as needed to complete the project (SU products used here: White Embossing Powder, Heat Tool, Opal Rounds)
Step-by-Step
-
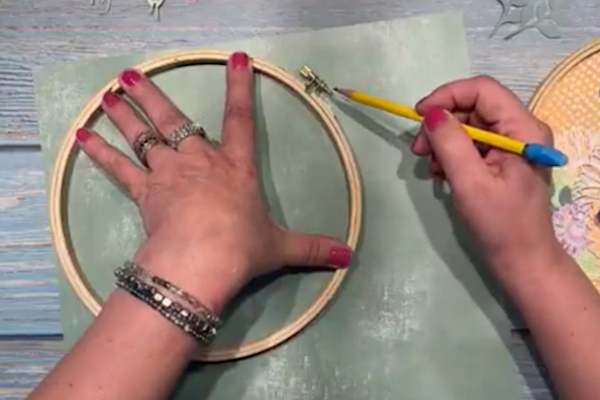
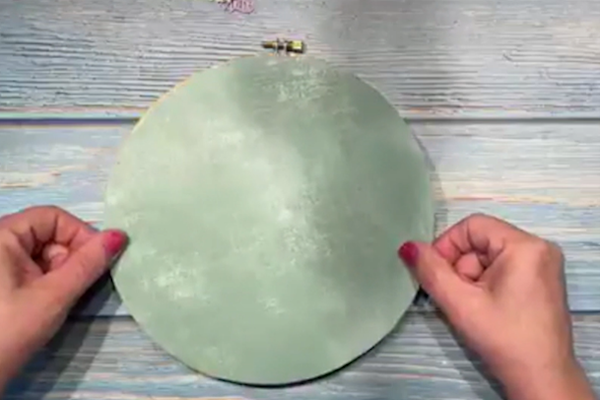
Step 1
Use a pencil to trace the outside of the hoop onto the back side of the designer paper.
-
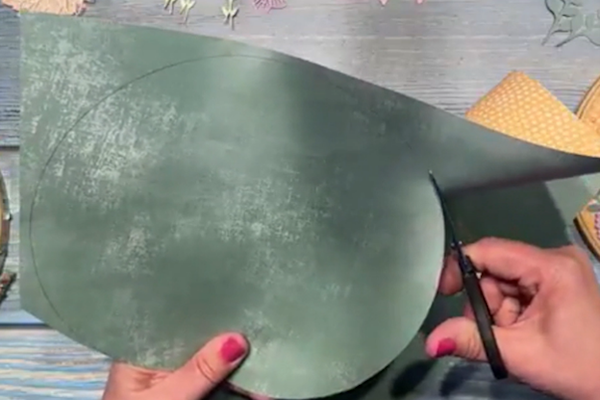
Cut the circle out with scissors.
-
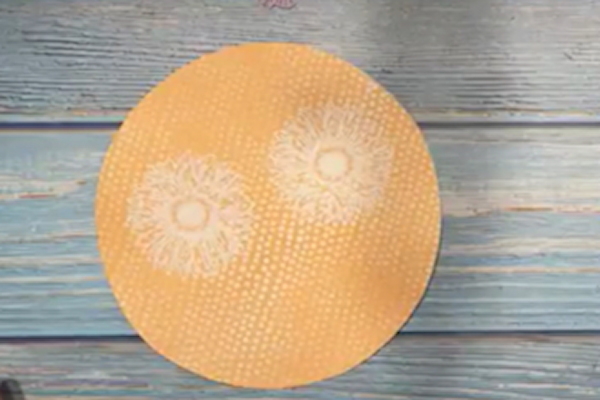
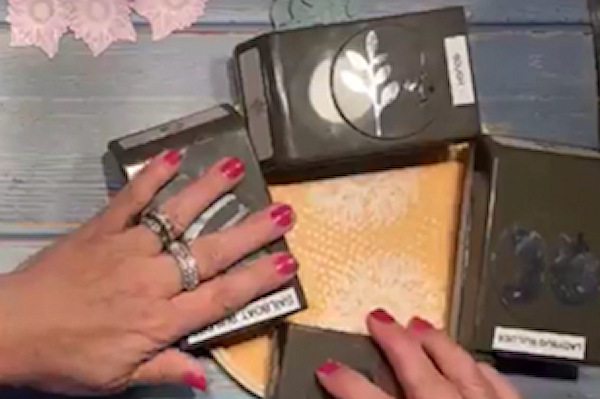
Step 2
Stamp some accent images onto the cut circle to enhance your design. Emboss if desired.
-
Step 3
Apply liquid glue to the back of the wooden portion of the hoop. Press the designer paper upside-down and in place over the glue.
-
Turn the hoop over so the paper is against your work surface. Lay something heavy on top to help the glue dry flat.
-
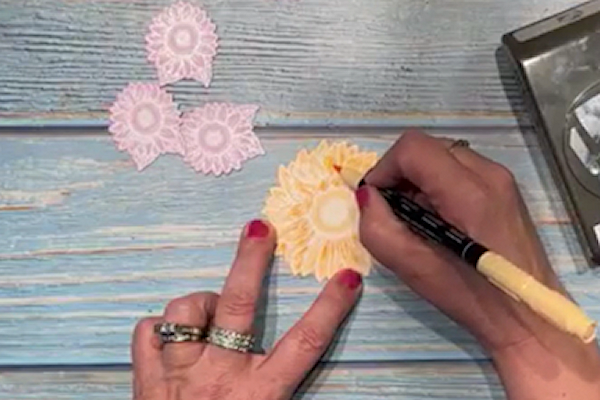
Step 4
Prepare various stamped and die cut images for a vignette in your embroidery hoop frame. (To recreate the sample, Stamp one large sunflower on Pale Papaya Cardstock and three small sunflowers on Fresh Freesia Cardstock with VersaMark Ink. Sprinkle White Embossing Powder on all four images and melt with the Heat Tool. Add colored detail to each flower with the coordinating Stampin’ Write Markers.)
-
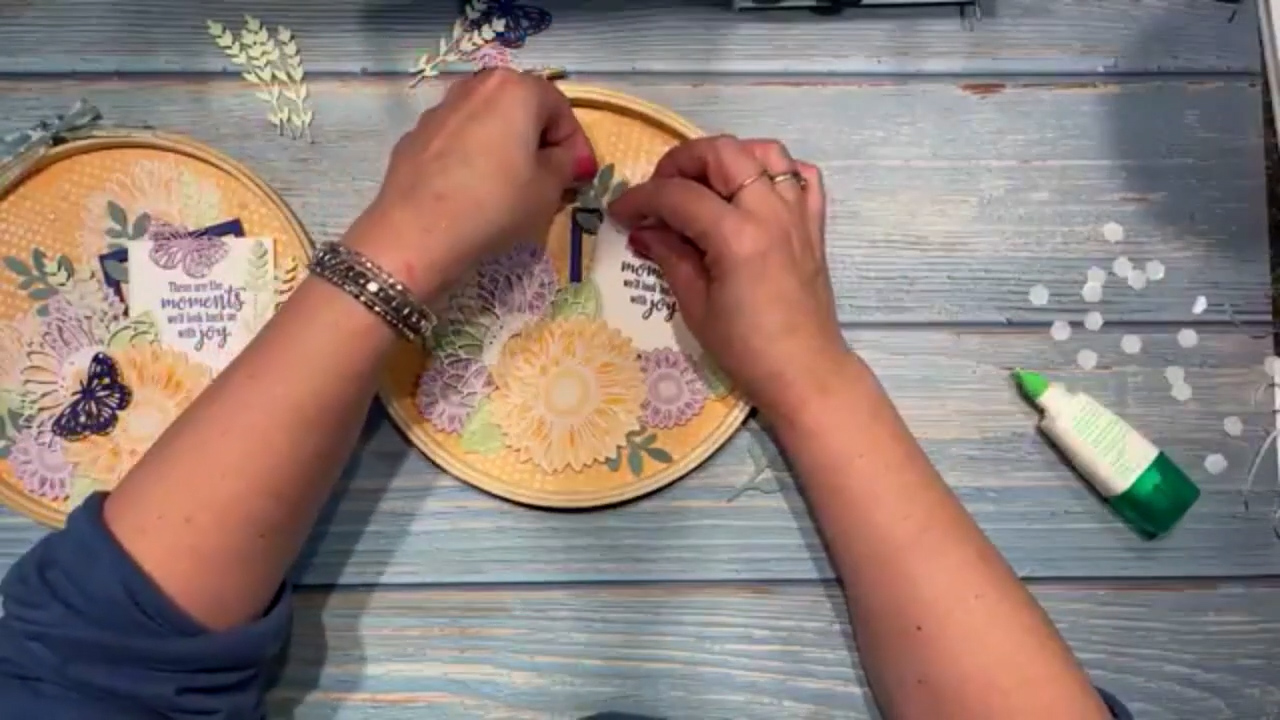
Step 5
Adhere the die cut layers to the designer paper inside the hoop. Create depth by using different types of dimensional adhesives. Add other embellishments to the background and a bow to the clasp at the top of the hoop (either tied around the metal or adhered with a glue dot or hot glue).
-
Step 6
Complete the project.
Video!
Your Turn
You've seen the tutorial, now you try it! We've got a section of the gallery set aside for Embroidery Hoop Art. Try this technique, then upload your artwork to the gallery. Show us your creations!
***Please note - Internet Explorer/Edge is not a supported browser, and will not allow you to see the videos. Please use Chrome, Firefox or Safari to view our tutorial videos.

Questions and Comments
We'd love to get your feedback or questions. Leave your comment below.
Page 1 of 1 pages