Easy Glue Printing
by Kelly Santi
Create an abstract background with a cardboard tool.

Supplies
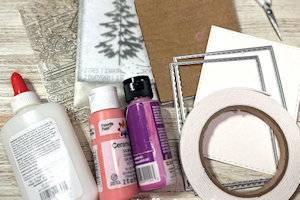
- Heavy weight cardstock (#110 or stronger)
- Acrylic craft paints
- White school glue
- Corrugated cardboard
- Disposable plate for a palette
- Brush/stir stick for mixing
- Other supplies as needed to complete the project (used here: rectangle dies, foam adhesive tape or tape runner, any image/stamped sentiment to add as a focal point)
- Optional for variation: heat gun, shaker card elements such as acetate, shaker filler
Step-by-Step
-
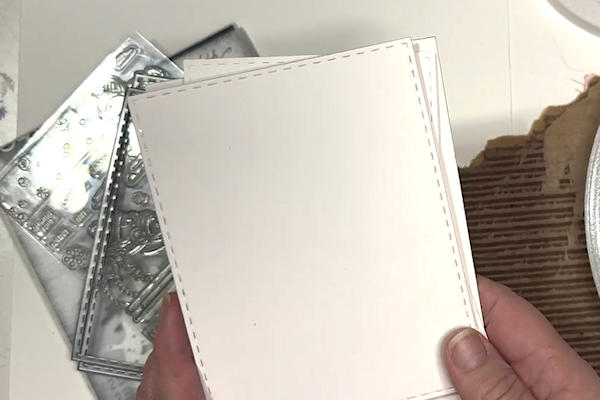
Step 1
Prepare heavyweight cardstock or watercolor paper for your card front. For the sample, rectangle dies were used to die cut the paper. Sizes are 5.25" x 4" for the outer panel and 4.75" x 3.5" for the panel that will be used for the printing.
-
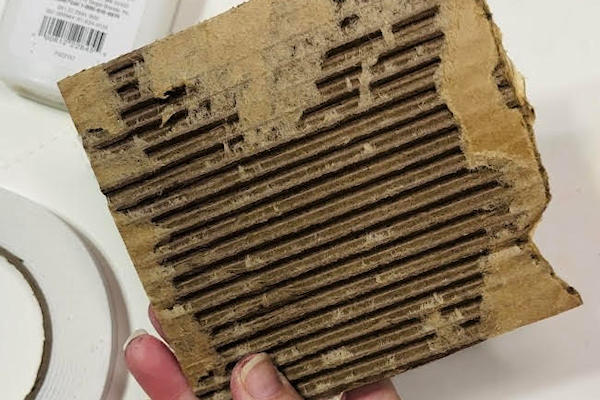
Step 2
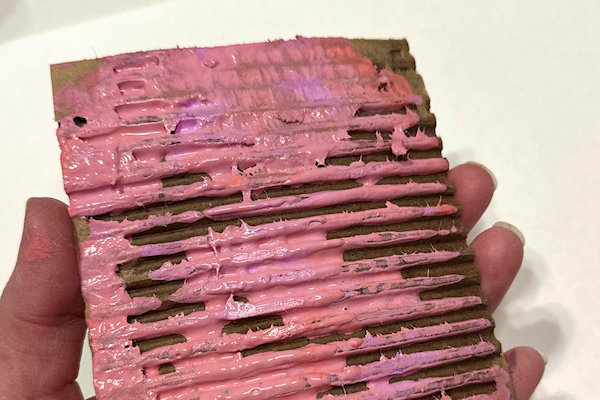
You'll need the cardboard next; make sure it's peeled back to show the corrugated lines. Set that aside for now!
-
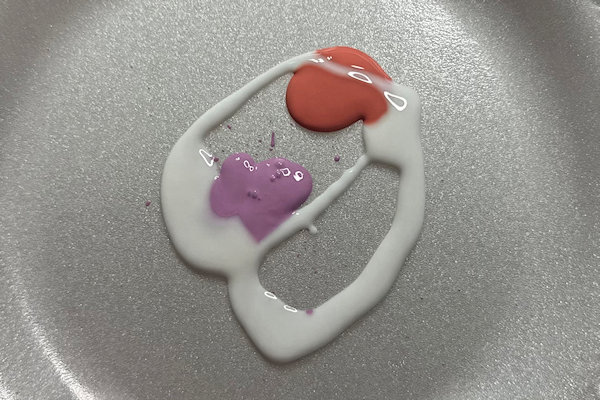
Step 3
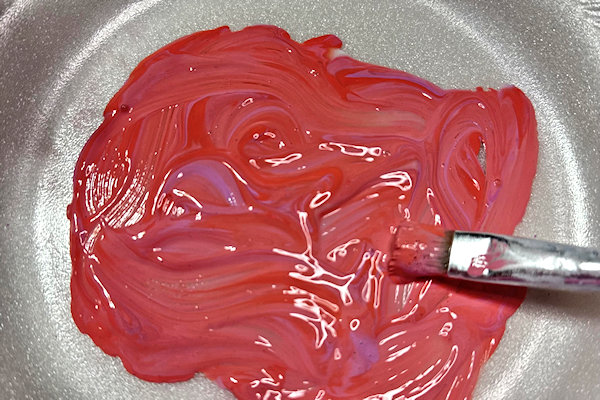
Mix approximately 1 teaspoon of acrylic paint and white school glue together in equal parts. If you use more than one color (as shown here) use an equal ratio of glue to the total amount of paint.
-
Gently blend with a craft stick or paint brush being careful not to mix completely - having a swirl gives it wonderful character!
-
Step 4
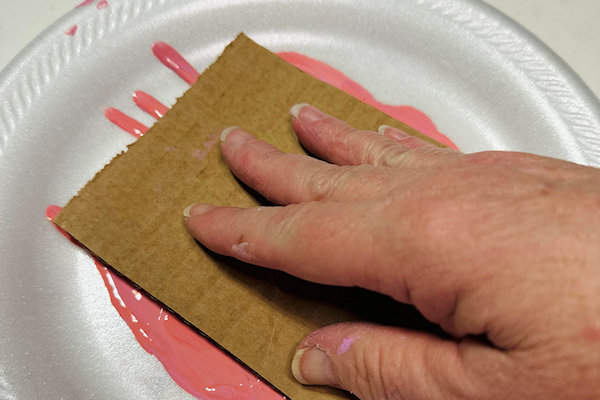
Lightly press the cardboard into the glue/paint mixture until the cardboard is fully covered.
-
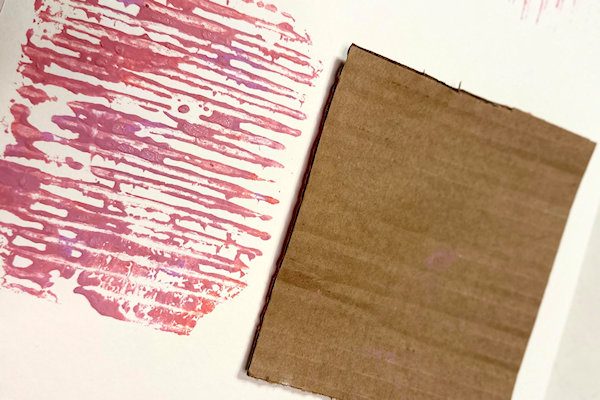
Lift the cardboard panel out of the paint mixture and press onto your cardstock/watercolor paper making sure to keep it still and press from top to bottom. A light hand is good here!
-
Step 5
You can lift the cardboard off and set that wet paper aside and continue the process until the paint/glue mixture runs out. This is a great way to create multiple panels and mass produce card backgrounds. The beauty here is you will never get the same look twice!
-
Step 6
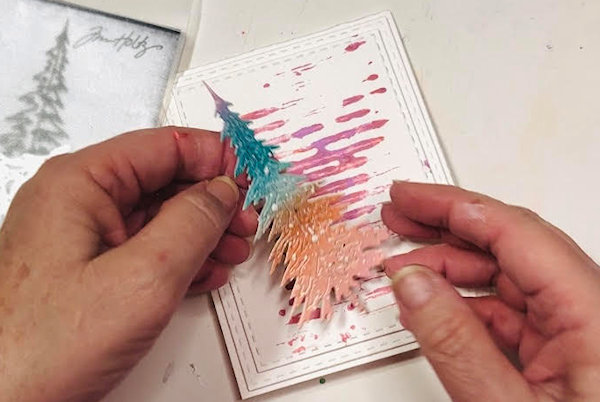
Once the panel is dry, you can start your assembly. Foam tape is nice for dimension throughout the card production, however, tape runners or adhesive tape work just as well.
Use any focal point of a stamped or die cut image and adhere to the front of your card with a sentiment for an added greeting. -
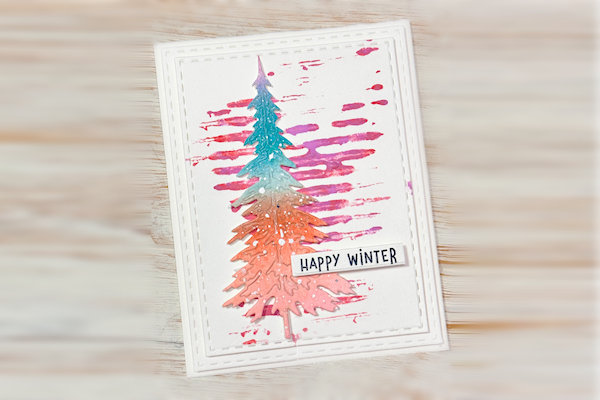
Step 7
Complete the project.
Video!
Variations
-
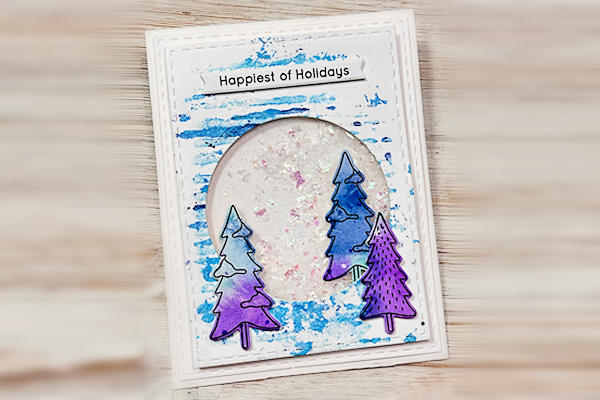
Another way to use this background is to create a shaker element - use a die for a center opening, add an acetate window, fill with any shaker mix and follow the steps for the focal point image and sentiment!
Your Turn
You've seen the tutorial, now you try it! We've got a section of the gallery set aside for Easy Glue Printing. Try this technique, then upload your artwork to the gallery. Show us your creations!
***Please note - Internet Explorer/Edge is not a supported browser, and will not allow you to see the videos. Please use Chrome, Firefox or Safari to view our tutorial videos.

Questions and Comments
We'd love to get your feedback or questions. Leave your comment below.
Thanks,
Susan
@susanbri, I'm thinking it acts as an extender and adds a different finish (semi-gloss) to the paint when it dries. You can try it both ways and see which you like better!
Love this idea!!!
Page 1 of 1 pages