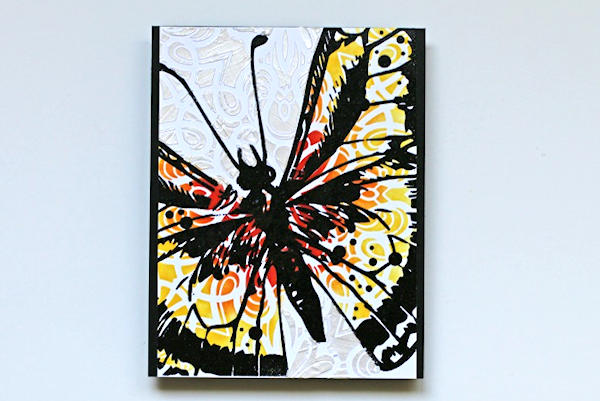
Duo Texture Stenciling
by Sandi MacIver
Use a stencil to embellish inside and outside a stamped image.
Supplies
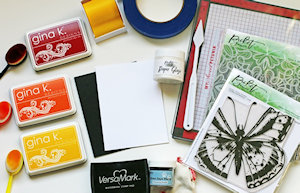
- Cardstock
- Stamp (Picket Fence Studios Swallowtail Beauty used here)
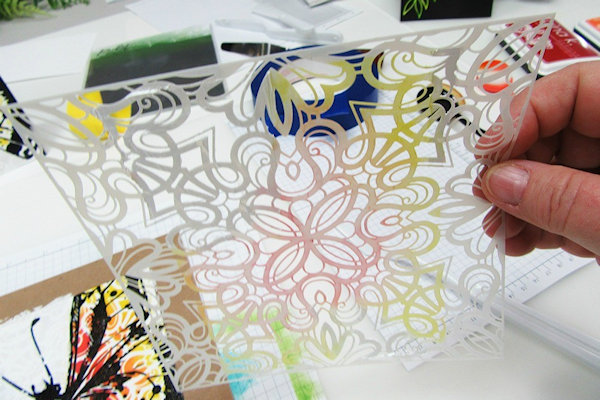
- Stencil (Picket Fence Studios Fancy Flourishes used here)
- Inks (VersaMark (for embossing) and Gina K Wild Dandelion, Tangerine Twist and Cherry Red used here)
- Stamping Platform (optional)
- Heat tool
- Black embossing powder
- Dimensional medium (Picket Fence Studio Paper Glaze – Snowdrop White used here)
- Pointed tip palette knife
- Painter’s tape
- Post it Note Tape
- Blending brushes
- Other supplies as needed to complete the project (Adhesive, hard board, paper trimmer, paper towel, anti-static pouch)
Step-by-Step
-
Step 1
Use a stamping platform to stamp a large image onto heavy cardstock (Neenah Classic Crest 110# cover used here).
-
Step 2
Cover with black embossing powder, shake off the excess and heat set.
-
Step 3
Fix the art piece to a flat surface (thick cardboard).
-
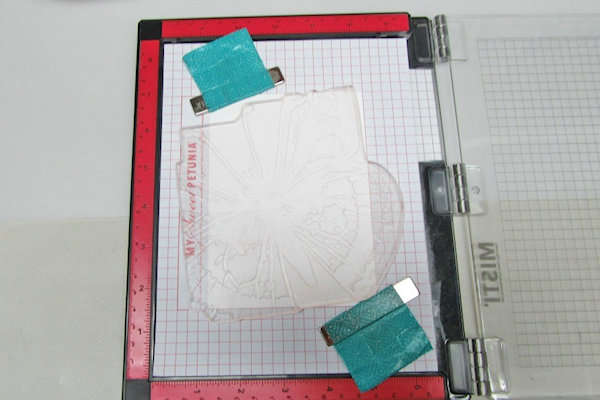
Step 4
Use Post it Note Tape to adhere a stencil over the art piece and to mask the edges of the panel.
-
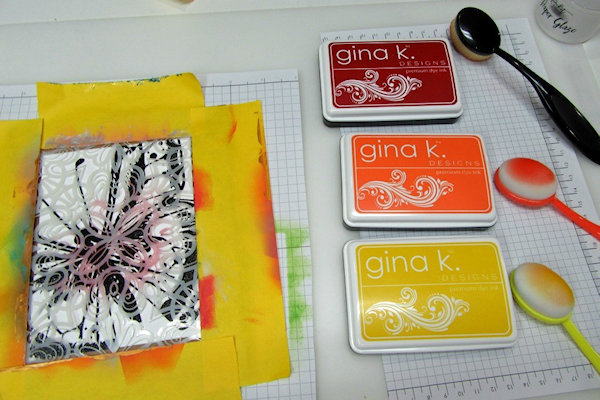
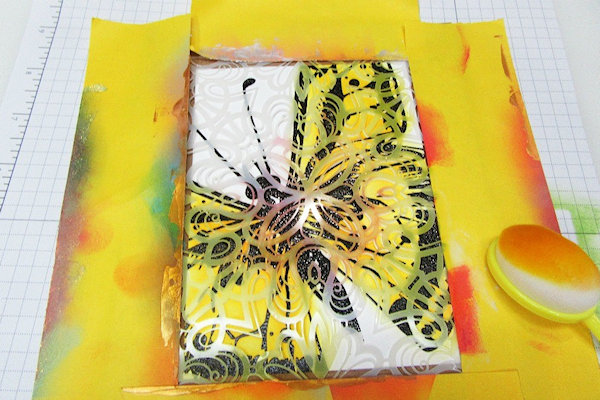
Step 5
Using blending brushes or another applicator, start adding the color through the stencil inside the image. Start with the lightest color.
-
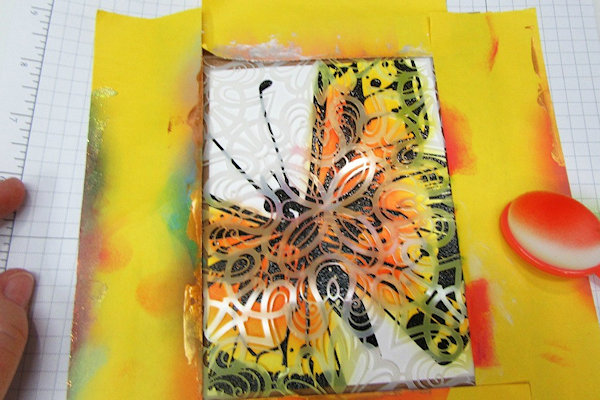
Step 6
Continue layering colors until you are pleased with the effect. For the sample, orange was added from center out about half way, and then the red from the center out about a quarter of the way.
-
Step 7
Use a dry paper towel to wipe off any excess ink sitting on top of the stencil. This is very important, as the texture paste will pick up this color and muddy your background.
-
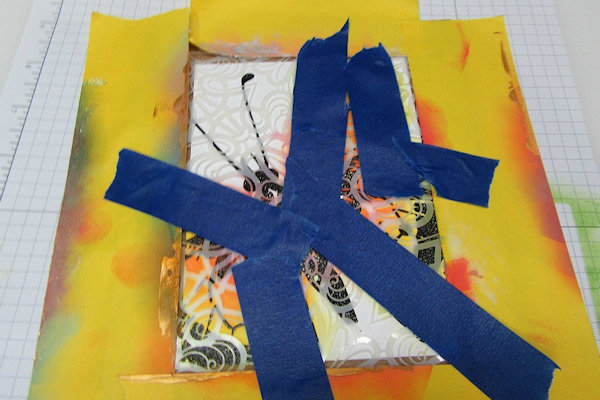
Step 8
Use the painter tape to mask off the edges of the inked areas (butterfly wings here).
-
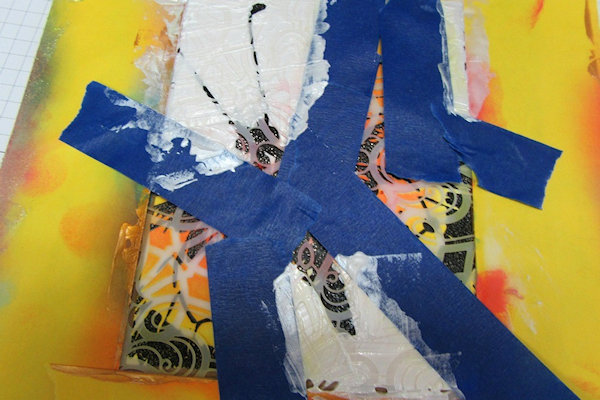
Step 9
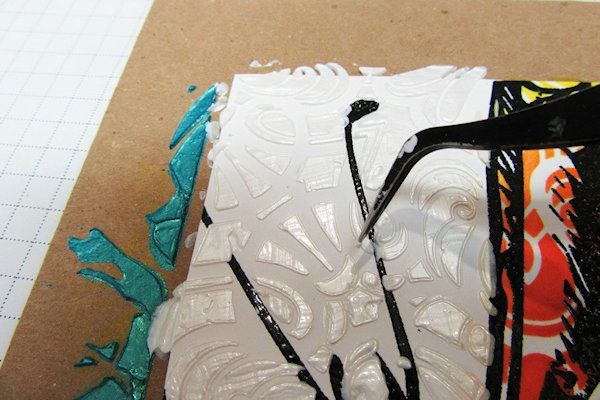
Working with a small amount of paste in a small section at a time, add a smooth flat coat of the paste anywhere the background is showing.
-
Step 10
Remove the tape and the stencil. WASH the stencil and the palette knife immediately.
-
Step 11
Use fine tip tweezers to remove any wet paste sitting on top of the back embossing.
TIP:
This is way easier to do when the paste is still wet, so don’t let it sit. -
Step 12
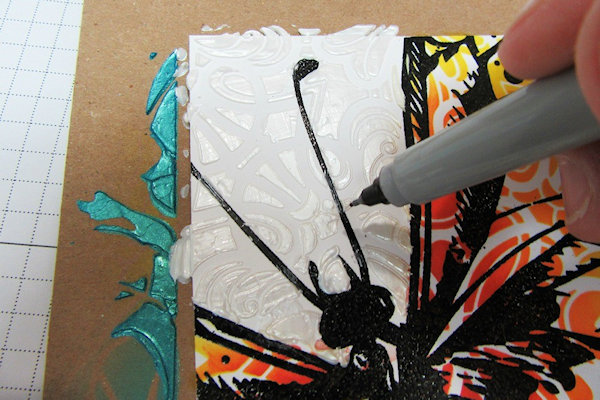
Where necessary, refresh any black embossed lines with a fine black Sharpie.
-
Step 13
Assemble the card as desired to complete the project.


Video!
Your Turn
You've seen the tutorial, now you try it! We've got a section of the gallery set aside for Duo Texture Stenciling. Try this technique, then upload your artwork to the gallery. Show us your creations!
***Please note - Internet Explorer/Edge is not a supported browser, and will not allow you to see the videos. Please use Chrome, Firefox or Safari to view our tutorial videos.

Questions and Comments
We'd love to get your feedback or questions. Leave your comment below.
I am ready to give this a try !
Thank you for this and all other tutorials I have used throughout the years. Very inspiring
Marcia
Page 1 of 1 pages