Dry Emboss Alcohol Resist
by Lori Craig
Create a beautiful glossy cardstock background with an embossing folder and alcohol inks.
Supplies
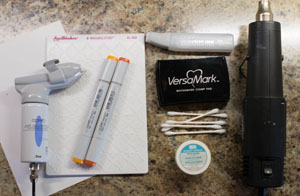
- Embossing folder (Spellbinders® M-Bossabilities™ used here)
- Glossy cardstock
- Embossing ink pad (Versamark used here)
- Embossing powder
- Anti-static pouch
- Heat gun
- Alcohol markers (Copic Markers used here)
- Air brushing system or air spritzer
- Alcohol blending solution (Copic Blending Solution used here)
- Cotton swabs or felt pads
Step-by-Step
-
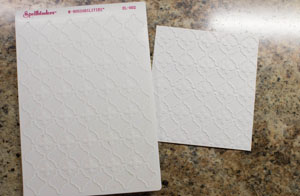
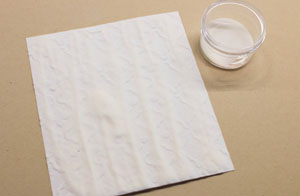
Step 1
Dry emboss a piece of glossy cardstock using an embossing folder.
-
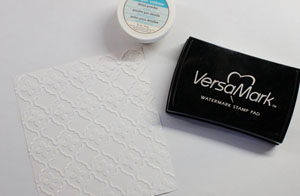
Step 2
Prepare the supplies needed for heat embossing on the embossed sheet of cardstock.
-
Hint:
For dry embossed patterns with a lot of open space, rub an anti-static pouch, like the Embossing Buddy, over the cardstock before proceeding. (Random speckles of melted embossing powder will only contribute to the unique look of the individual piece, however, so this step is a matter of personal preference.)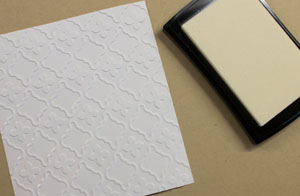
-
Step 3
Gently tap and rub the Versamark pad over the top of the dry embossed cardstock, being careful to keep ink out of the recessed areas.
Tip:
A juicy ink pad will reduce the need for squishing the ink onto the cardstock and help keep it only on the raised areas.
-
Step 4
Sprinkle the cardstock with clear embossing powder. Tap the excess powder from cardstock back into the jar.
-
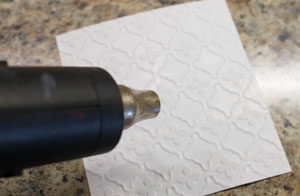
Step 5
Using a heat gun, melt the dry embossing powder to reveal a shiny surface on the raised areas of the cardstock.
-
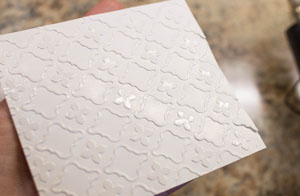
You'll love how shiny the raised areas of your cardstock have become.
-
Step 6
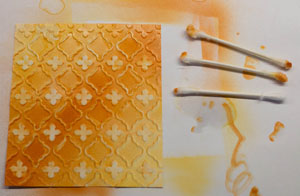
Using an air compressor or spritzer and alcohol marker, gently spray over the cardstock.
Tip:
Removing the cap off of the back end of the marker while airbrushing will help ink flow through the pen and provide a more consistent spray.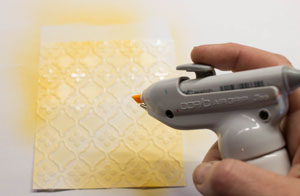
-
Optional: Use more than one color of ink to add interest and depth to the background.

-
Step 7
Apply a small amount of alcohol blending solution to a cotton swab or felt pad. Dab it onto scrap paper to ensure that it's not over-saturated with liquid. The cotton should be damp, not dripping. Gently remove ink from the raised areas to reveal the white surface underneath.
-
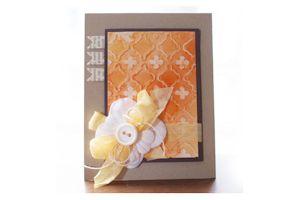
Step 8
Use the finished embossed panel to accent a card or other project.
Video!
Your Turn
You've seen the tutorial, now you try it! We've got a section of the gallery set aside for Dry Emboss Alcohol Resist. Try this technique, then upload your artwork to the gallery. Show us your creations!
***Please note - Internet Explorer/Edge is not a supported browser, and will not allow you to see the videos. Please use Chrome, Firefox or Safari to view our tutorial videos.

Questions and Comments
We'd love to get your feedback or questions. Leave your comment below.
Thank you!
Page 1 of 1 pages