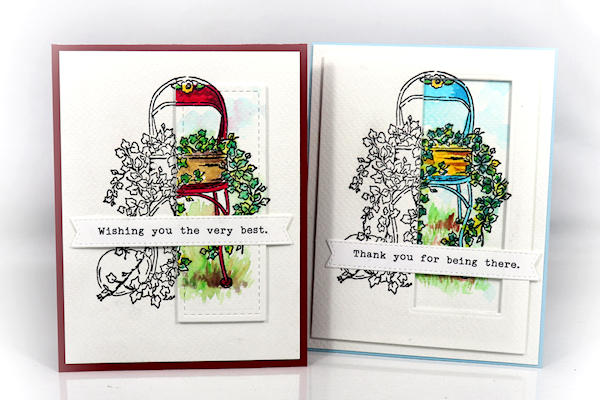
Double Spotlight Stamping
by Dina Kowal
Stamp identical panels, then die cut and layer for two different spotlight techniques.
Supplies
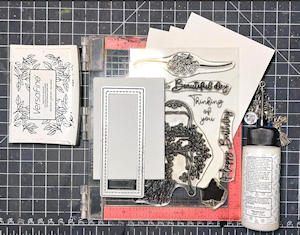
- Cardstock or watercolor paper, cut into 3 identical panels (Fabriano Studio 140# cold press watercolor paper and Prima "Darcelle" paper pad used here)
- Stamp positioner (MISTI used here)
- Stamps (med-lg. image stamp, or a large sentiment - Impression Obsession CL1183 Cottage Ivy Chair clear set and The Stamp Market - Just Checkin In (retired) used here)
- Ink (Versafine and Versafine Clair inks used here)
- Shaped die (Impression Obsession DIE1191 Stitched Slimline Layers and Quickutz Nested Heart used here)
- Coloring medium of your choice (Karin Brushmarkers used here)
- Adhesive craft foam
- Glue (Bearly Art glue used here)
- Die cutting machine
- Other supplies as needed to complete the card (used here: Tonic cardstock, Impression Obsession WP1102 Typewriter Slimline Shorts clear set and DIE1091 Slimline Sentiments Flag die set, Gina Marie Designs matte white enamel dots)
Step-by-Step
-
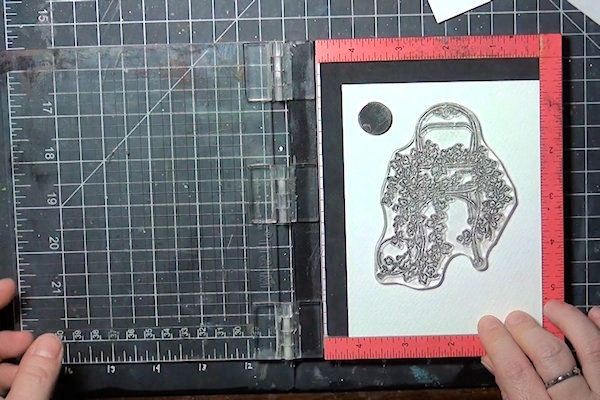
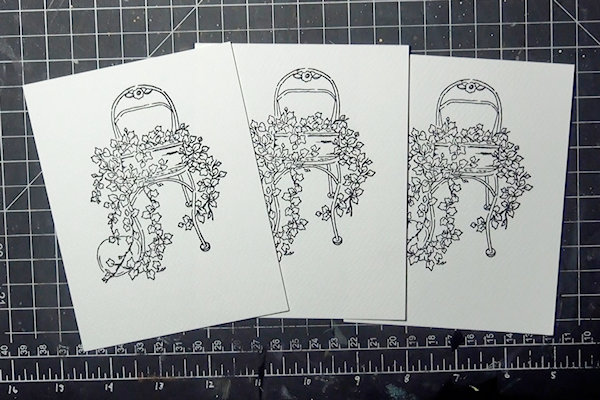
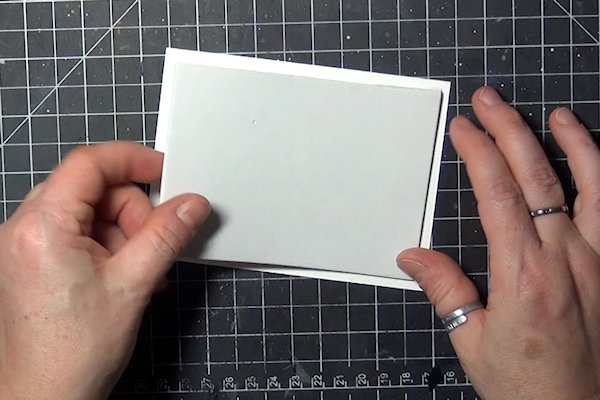
Step 1
Prepare 3 identical card panels, and a medium to large image stamp that can be colored.
-
Use a stamp positioner to ensure the image is stamped in exactly the same place on all 3 panels. Be sure to use an ink that is compatible with your coloring medium.
-
Step 2
On one panel, trim the edges evenly, 1/8” to 1/4" in on all 4 sides.
-
Step 3
Cut a piece of adhesive craft foam slightly smaller than the trimmed panel. Remove the liner to adhere it to the back.
-
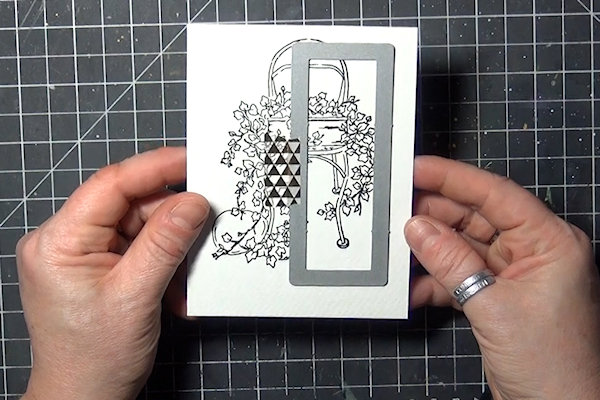
Step 4
Choose a shaped die to create the spotlight area. Tape it into position.
-
Die cut and remove the cut piece.
-
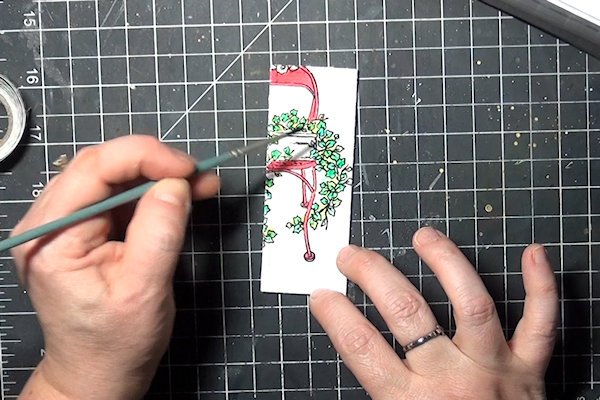
Step 5
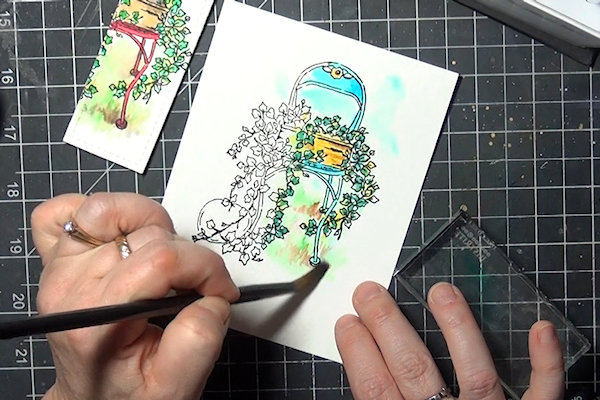
Color the die cut using your coloring medium of choice.
-
Step 6
Select another stamped panel and color approximately the same area (extend the edges of your coloring just past where the other colored panel is cut).
-
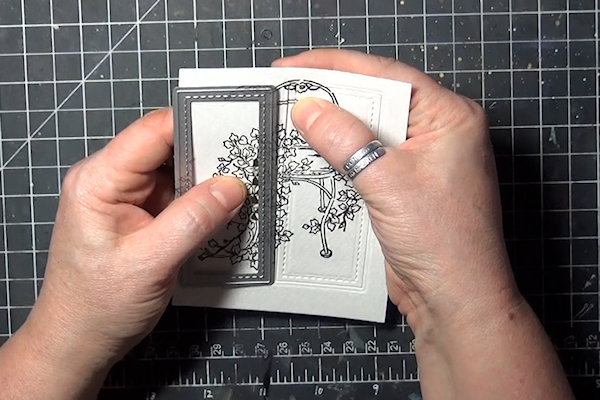
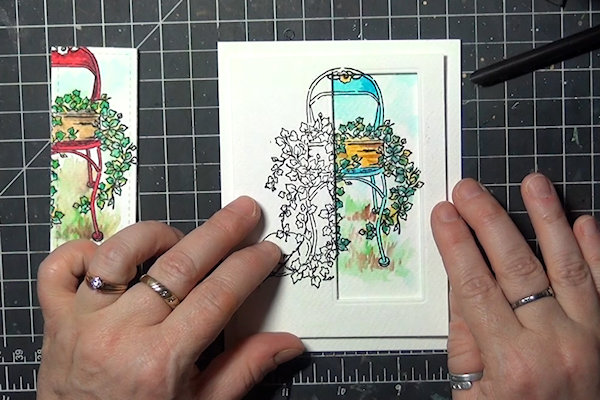
Step 7
Center the panel with the cut-out over the 2nd colored panel and adhere it in place, lining up the artwork on both panels to create a seamless image.
-
TIP:
Lay an acrylic block over the panels while the glue dries to ensure that both layers dry flat. -
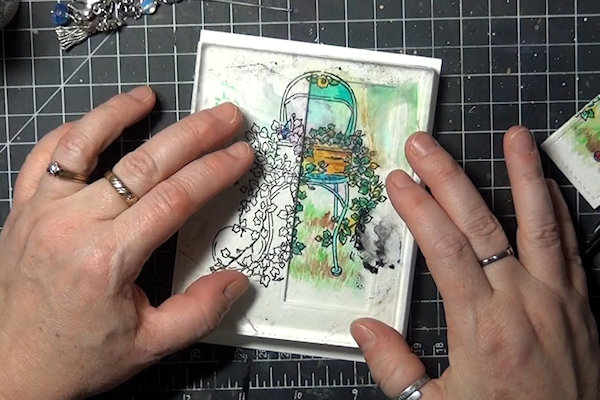
Step 8
Glue the colored die cut piece to the other stamped panel, lining up the artwork on both panels to create a seamless image.
-
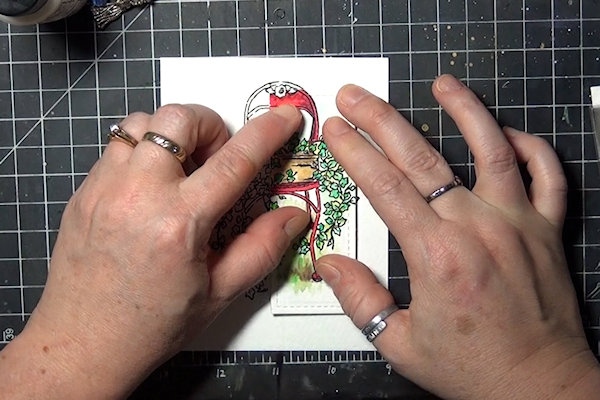
Step 9
Finish the cards with sentiments and/or other embellishments as desired.

Video!
Variations
-
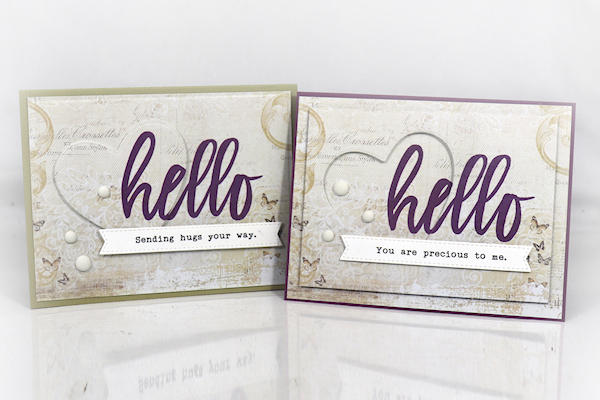
Instead of coloring an image, stamp a large sentiment.
Try stamping on patterned paper instead of plain cardstock for another look.
Your Turn
You've seen the tutorial, now you try it! We've got a section of the gallery set aside for Double Spotlight Stamping. Try this technique, then upload your artwork to the gallery. Show us your creations!
***Please note - Internet Explorer/Edge is not a supported browser, and will not allow you to see the videos. Please use Chrome, Firefox or Safari to view our tutorial videos.

Questions and Comments
We'd love to get your feedback or questions. Leave your comment below.
Page 1 of 1 pages