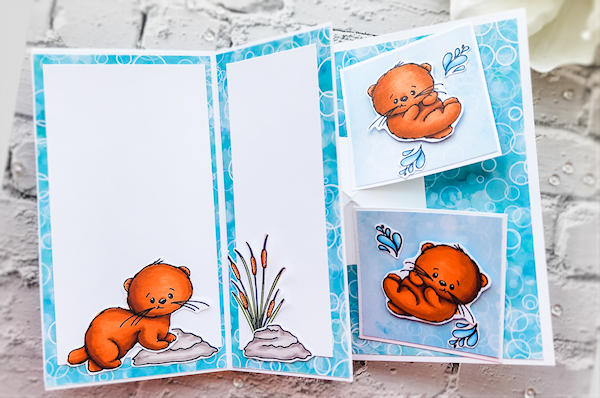
Double Pop-Up Card
by Cristena Bagne
Open this card for the surprise of two pop-up elements.
Supplies
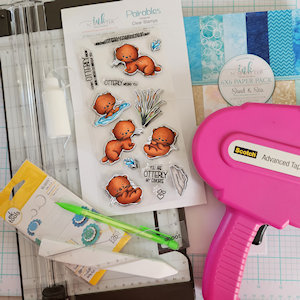
- Cardstock and coordinating papers (white cardstock and Ink n’ Splatter Patterned Paper Sand and Sea used here)
- Ruler and pencil
- Scoring tool
- Bone folder
- Scissors
- Adhesives (tape runner and mono adhesive used here)
- Other supplies as needed to complete the project (used here: foam tape, Copic markers, Ink n’ Splatter Otterly Love clear stamp set)
Step-by-Step
-
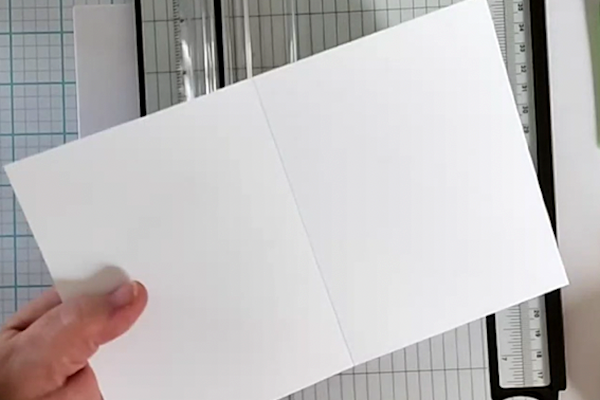
Step 1
Prepare cardstock panels (white cardstock used for sample):
(1) 8 1/2" x 5 1/2" (score on the long side at 4 1/4")
(1) 5 1/4" x 4"
(1) 5 1/2" x 5 1/2" (score at 3" from either side)
(1) 5 3/8" x 2 3/8" (score on the long side at 1 1/4", 2 1/2", 3 3/4", and 5")
(2) 2 3/8" x 2 3/8"
(1) 4 7/8" x 2 5/8"
(1) 4 7/8" x 1 7/8"
Fold and burnish all score lines with a bone folder.
Prepare the following patterned paper layers for the panels:
1) 5 1/4" x 4"
(1) 5" x 3 3/4"
(2) 2 1/4" x 2 1/4"
(1) 5 3/8" x 2 7/8"
(1) 5 3/8" x 2 3/8"
-
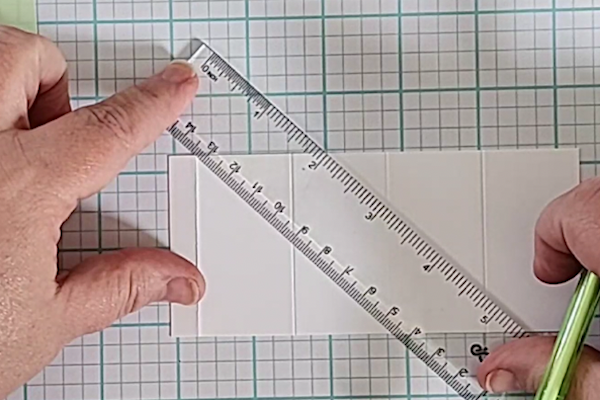
Step 2
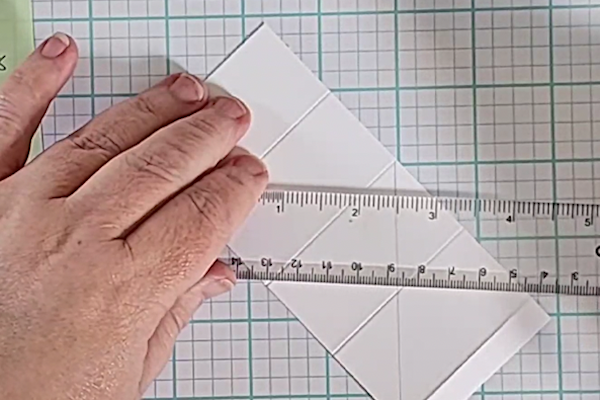
The pop-up mechanism is the 5 3/8” x 2 3/8” scored cardstock piece.
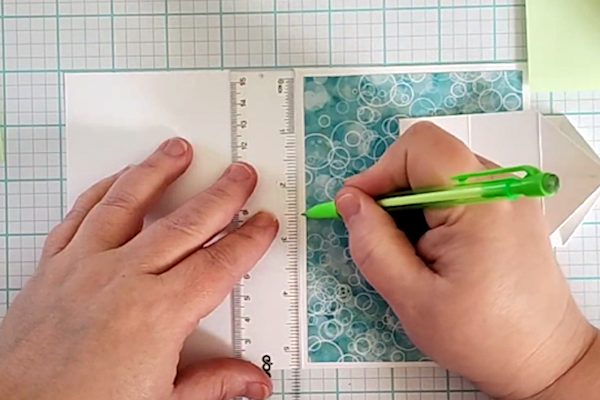
Position your cardstock with the small 1/4 inch scored section on the left side. Use your ruler to make a pencil line from the top left corner of the second scored section over to the bottom right of the third scored section. -
Step 3
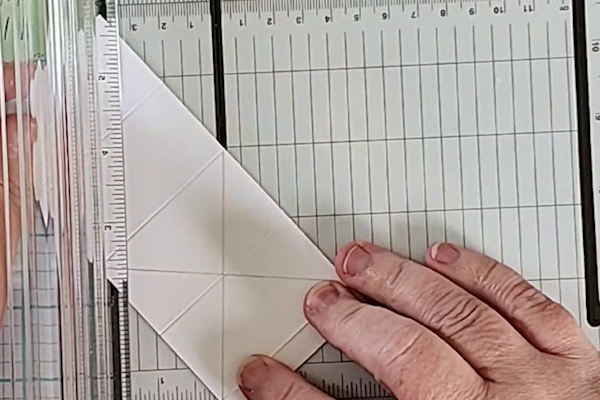
Turn your cardstock the other way and do the same thing but from opposite corners, creating an “X” through the second and third scored sections of the cardstock.
-
Using your scoring tool, score over the pencil marks. Erase the pencil lines, and fold and burnish the score lines in both directions.
-
Step 4
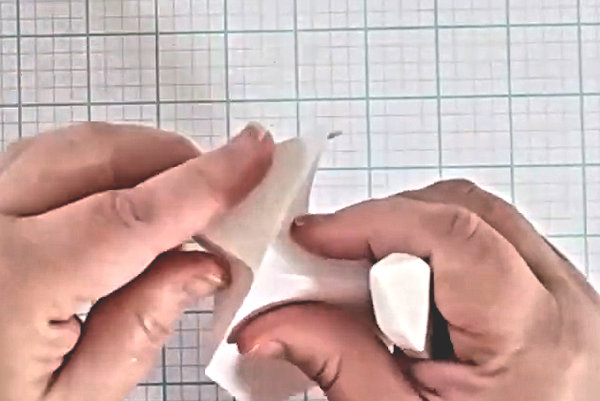
Pinch the sides of the X together and press the mechanism closed.
-
Step 5
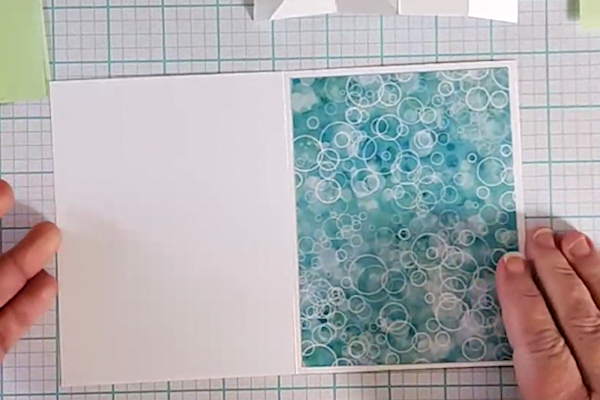
Adhere the 5 1/4" x 4" patterned paper on the inside of the card, on the right hand side.
-
Step 6
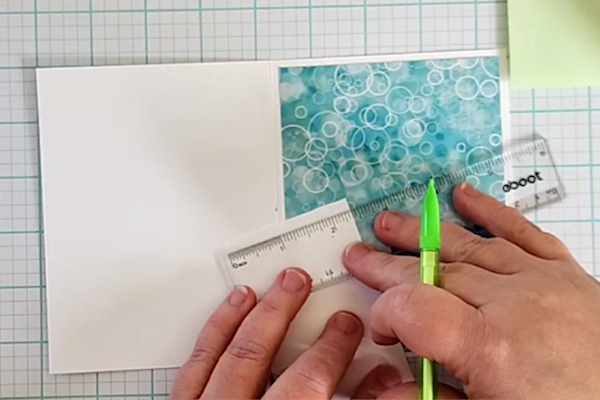
Using your ruler mark the center of the card base score line at 2 3/4".
-
Using your ruler mark the center of the mechanism on the opposite side of the “X” section you scored at 1 7/8".
-
Step 7
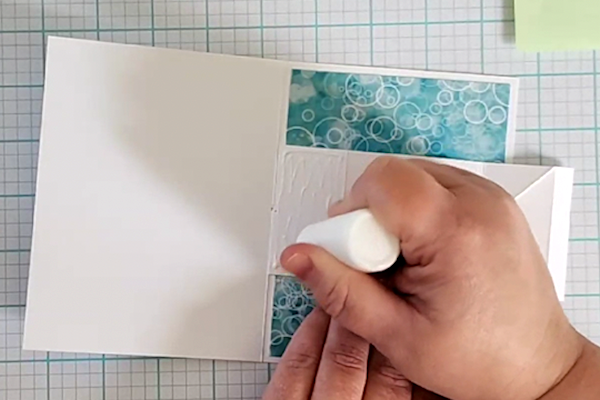
Line up the dots you made to center your mechanism with the card base.
Put glue on the last scored section of the mechanism. -
Flip the card closed to adhere the mechanism left of the fold. Rub the glued piece until you feel it is mostly dry.
-
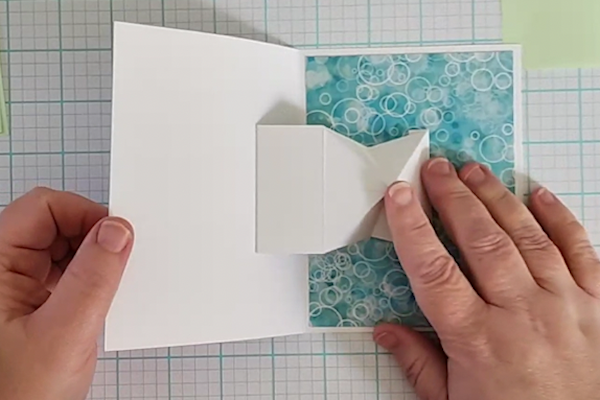
Step 8
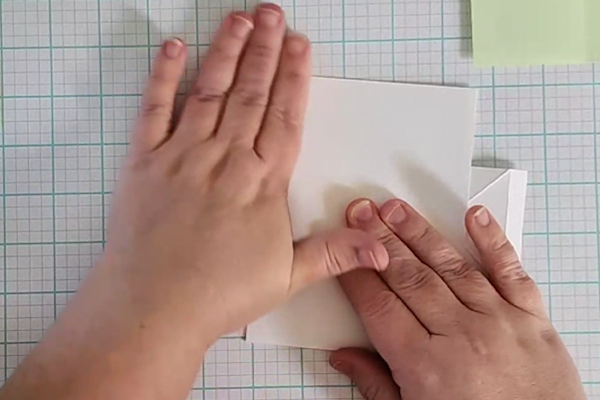
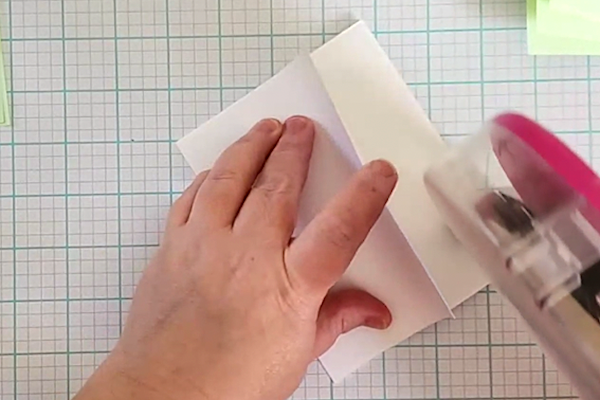
With the mechanism folded to a point, put glue on the 1/4" scored section of the mechanism, which should be facing up.
-
Flip the card closed and rub the glued piece until you feel it is mostly dry. This is how it will look when the card is reopened.
-
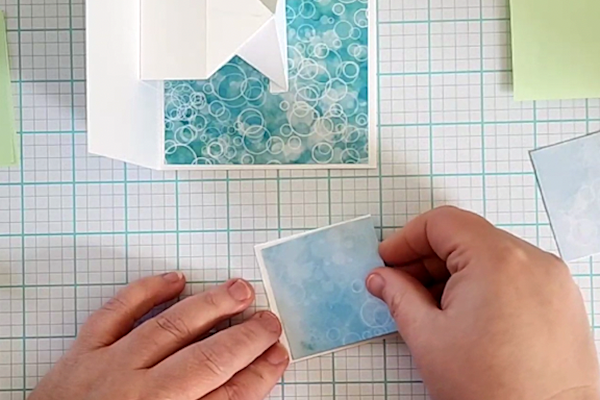
Step 9
Adhere the 2 3/8" x 2 3/8" white cardstock pieces to the 2 1/4" x 2 1/4" pattern pieces together.
-
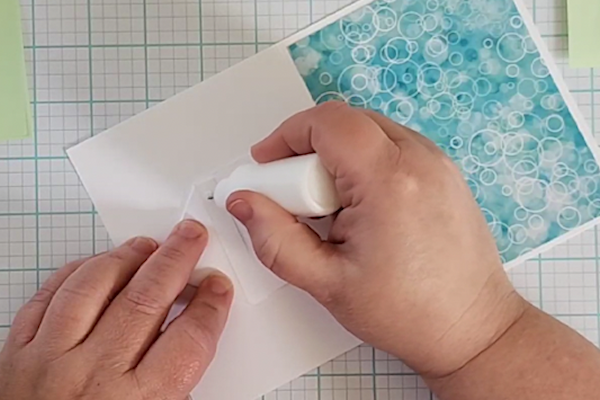
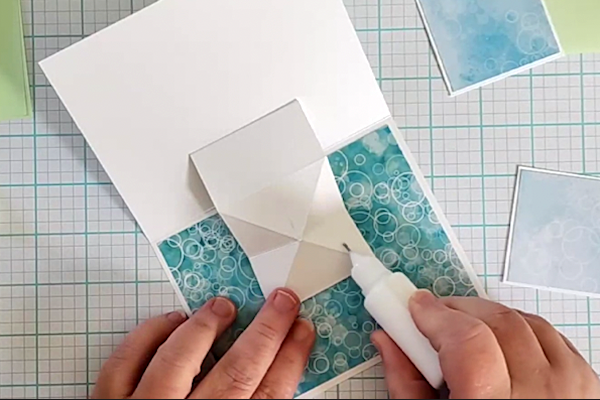
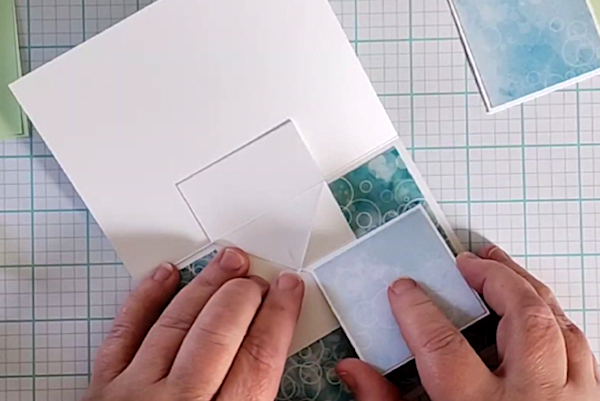
Step 10
Place glue in the small triangle of the mechanism, where the glue bottle is pointing in the photo.
-
Glue the layered 2 3/8" x 2 3/8" squares to the triangle by lining the square with the top of the card and next to the triangle score line, as shown in the photo.
-
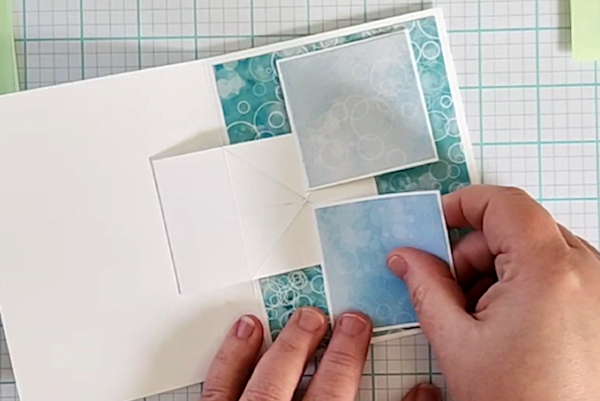
Step 11
Repeat on the opposite side of the mechanism.
-
Step 12
Adhere the 5 3/8" x 2 7/8" and 5 3/8" x 2 3/8" patterned papers to your 5 1/2" x 5 1/2" white cardstock that you scored at 3”.
-
Layer the 4 7/8" x 2 5/8" and 4 7/8" x 1 7/8" white cardstock on top of the patterned paper above.
-
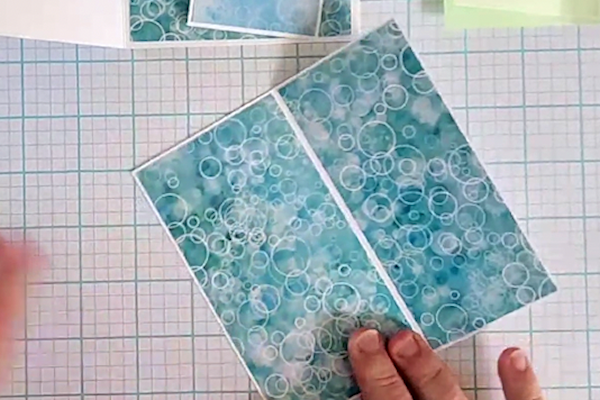
Step 13
Line up the 3” side of the 5 1/2" x 5 1/2" white cardstock with the left inside edge of your card.
-
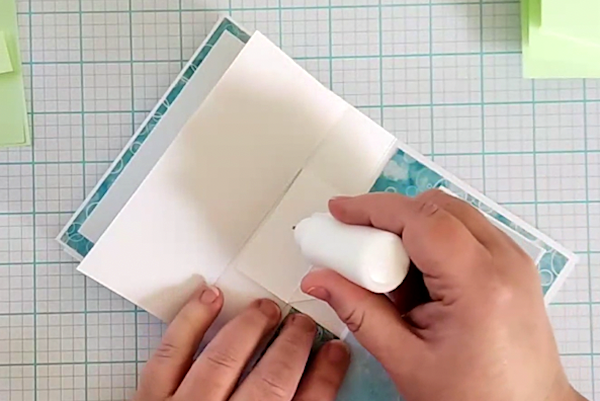
Fold over the 2 1/2" side of the 5 1/2" x 5 1/2" cardstock while still in the card and place glue on the exposed section of the mechanism, including the connected triangle part, as seen in the photo.
Fold it closed and rub the glue until you feel it is mostly dry. -
Step 13
Line up the 3” side of the 5 1/2" x 5 1/2" white cardstock with the left inside edge of your card.
-
Fold over the 2 1/2" side of the 5 1/2" x 5 1/2" cardstock while still in the card and place glue on the exposed section of the mechanism, including the connected triangle part, as seen in the photo.
Fold it closed and rub the glue until you feel it is mostly dry. -
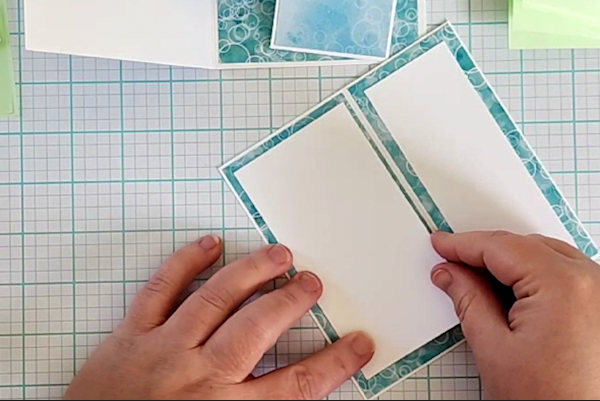
Step 14
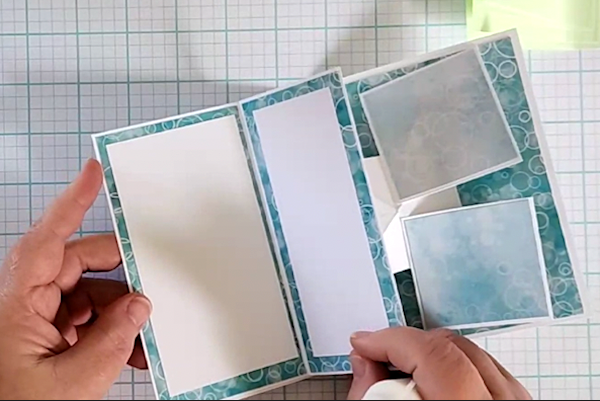
Flip your card to the front side, and lift the front of the card to adhere the 3” side to the left inside of the card, as seen in the photo.
-
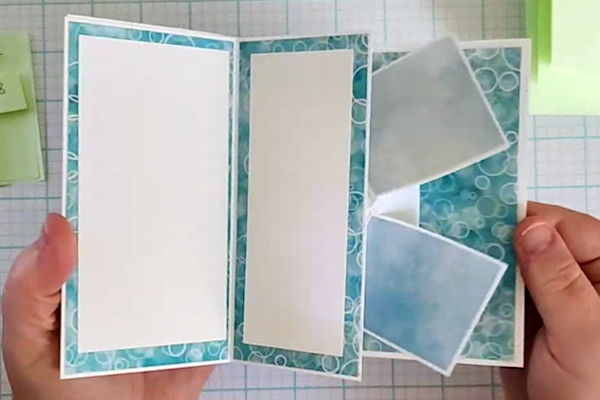
It should open like this when you are finished with this section.
-
Step 15
Time to decorate! Adhere the 5 1/4" x 4" white cardstock and 5" x 3 3/4" patterned papers, and decorate the layer with your choice of stamps and/or dies. Decorate the inside as well if you desire.
-
Step 16
Complete the card.

Video!
Your Turn
You've seen the tutorial, now you try it! We've got a section of the gallery set aside for Double Pop-Up Card. Try this technique, then upload your artwork to the gallery. Show us your creations!
***Please note - Internet Explorer/Edge is not a supported browser, and will not allow you to see the videos. Please use Chrome, Firefox or Safari to view our tutorial videos.

Questions and Comments
We'd love to get your feedback or questions. Leave your comment below.
Page 1 of 1 pages