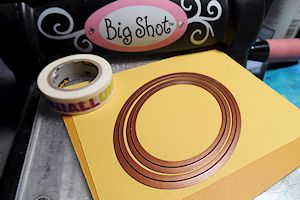
Double Matted Frames
by Dina Kowal
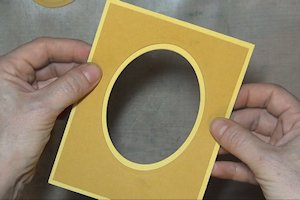
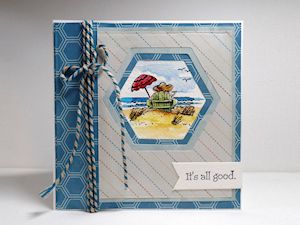
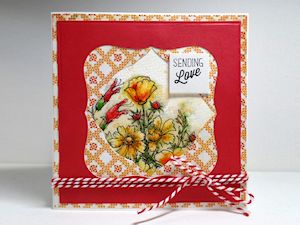
Accent your focal image with a double-matted frame and border.
Supplies
- Cardstock
- Paper trimmer
- 2 or more shape dies which are able to nest together (Spellbinders Classic Ovals, Labels 1 and 3, and We R Memory Keepers Nesting Hexagon dies used here)
- Die cutting machine
- Repositionable adhesive
- Low-tack tape to secure dies when cutting
- Other supplies as needed to complete the project (used here: watercolor paper, Tacky Glue, grosgrain ribbon, Countryside Bouquet digital stamp from Power Poppy, 2Berry Creative twine, Scor-Pal, Embossing Arts beach themed cube stamp, Inchie Art Square, sentiment stamps (Power Poppy, Heart & Soul Rubber Stamp Co.))
Step-by-Step
-
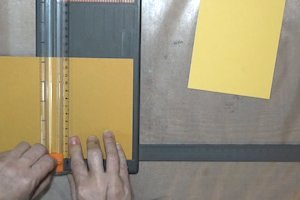
Step 1
For a double matted frame, prepare 2 cardstock layers, one at 4 1/4" x 5 1/2" and one at 4" x 5 1/4".
-
NOTE:
Measurements given are for a standard A2 card, but can be adjusted to any size. Cut largest panel to desired size of base; cut the layering panel 1/4 less in each direction.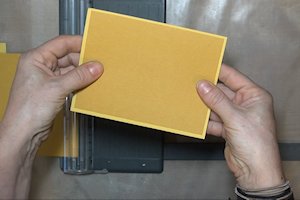
-
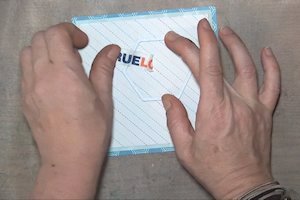
Step 2
Center the smaller panel atop the larger one, and use repositionable adhesive in the center of the panel to keep them together temporarily. An even border should show around the edge.

-
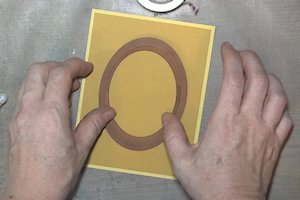
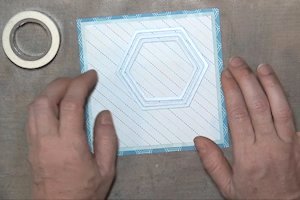
Step 3
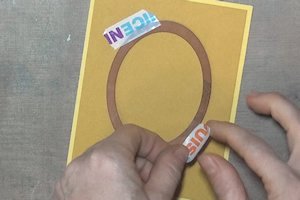
Choose two shaped dies that fit one inside the other. Determine where you will position them on your card.
-
Step 4
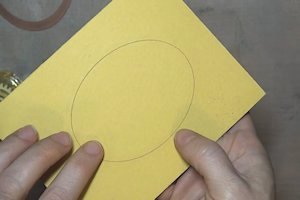
Set the larger die aside. Tape the smaller of the 2 dies in place using low-tack tape.
-
Run the panels through the die cut machine together, cutting completely through both panels at once.
-
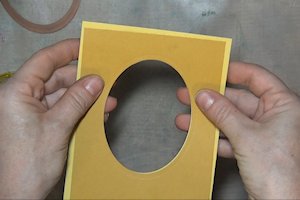
Step 5
Remove the die and cut out portions. These pieces can be used for another project.
-
Step 6
Separate the two panels and set the larger one aside.
Position the larger nesting die around the cut opening on the smaller panel and tape the die in place.
Die cut as usual.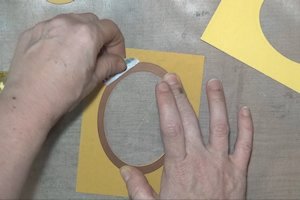
-
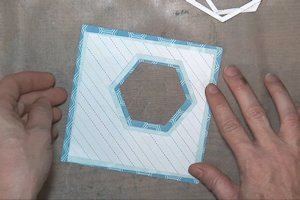
Step 7
Center and adhere the two panels together.
-
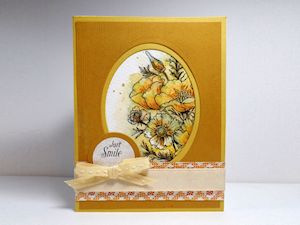
Step 8
Complete the card.
-
Step 9
To add more than 2 matted layers, cut as many panels as your choice of dies. Cut, layer, and temporarily adhere the panels together as above.
NOTE:
IF working with multiple layers, ensure that the die will be able to cut through, and the thickness will not be a hardship for your die cutting machine. Use thinner paper rather than cardstock if cutting through more than 2 layers.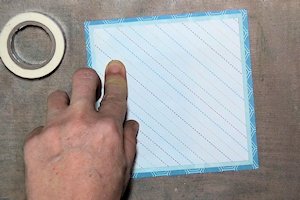
-
Step 10
Ensure that the dies will fit on the card front by laying them out on the panels first.
-
Tape the smallest die in place and cut through all layers of the card front.
-
Step 11
Remove the cutout and the die.
Remove the bottommost layer.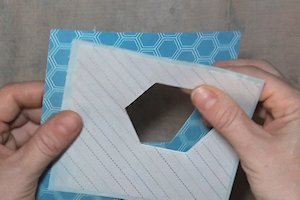
-
Continue to the next largest die, centering it around the opening. Tape in place and die cut.

-
Step 12
Repeat the above step until all panels have been cut.

-
Step 13
Center and adhere the panels together.
-
Step 14
Complete the card.
Video!
Variations
-
Instead of using two similar shapes, choose two different shapes that fit together.
Your Turn
You've seen the tutorial, now you try it! We've got a section of the gallery set aside for Double Matted Frames. Try this technique, then upload your artwork to the gallery. Show us your creations!
***Please note - Internet Explorer/Edge is not a supported browser, and will not allow you to see the videos. Please use Chrome, Firefox or Safari to view our tutorial videos.

Questions and Comments
We'd love to get your feedback or questions. Leave your comment below.
A question, though, about your watercolor image. You indicate that you used a digital stamp. How did you get it to print on watercolor paper? Do you have a special professional-grade printer? I have an HP Officejet and and HP Laserjet, and neither will handle watercolor paper. What's your secret?
Will certainly be using this for some of my cards!!!
Paper Hugs,
Jan
Page 1 of 2 pages 1 2 >