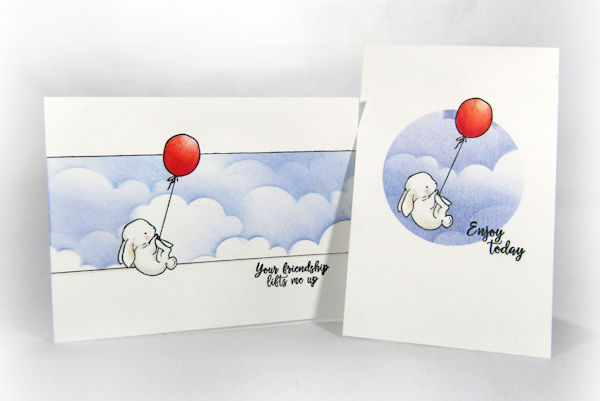
Double Masking
by Dina Kowal
Use two masking techniques on this CAS card.
Supplies
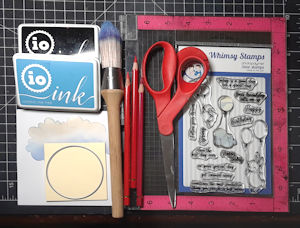
- White cardstock (110# Neenah Classic Crest cover stock used here)
- Outline stamp image (Whimsy Stamps Bunny Balloons clear set used here)
- Paper for masking
- Scissors
- Removable contact paper (Con-Tact® Self-Adhesive Shelf Liner, Clear Matte used here)
- Shaped die (Quickutz circle die used here)
- Masking tape
- Ink (Impression Obsession hybrid inks used here)
- Stencil (optional, istencils BAMS 2036 cloud stencil used here)
- Stencil brush or sponges (Clarity stencil brush used here)
- Coloring medium (optional, Caran d’Ache Pablo colored pencils used here)
- Other supplies as needed to complete the project (MISTI stamp positioner)
Step-by-Step
-
Step 1
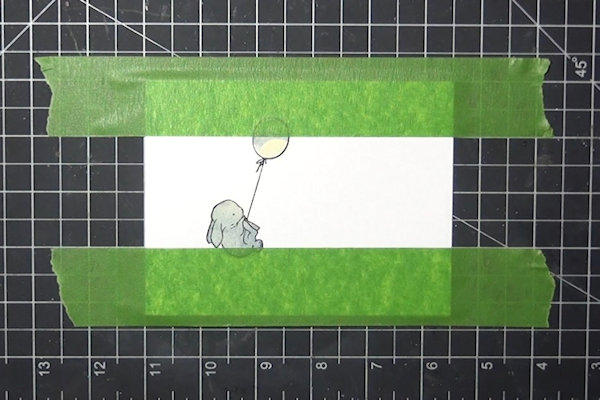
Stamp an outline image on a white cardstock panel.
-
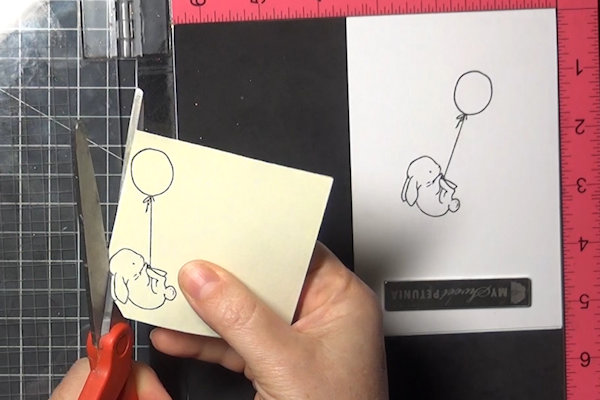
Step 2
Stamp a mask for the image (sticky note used here).
-
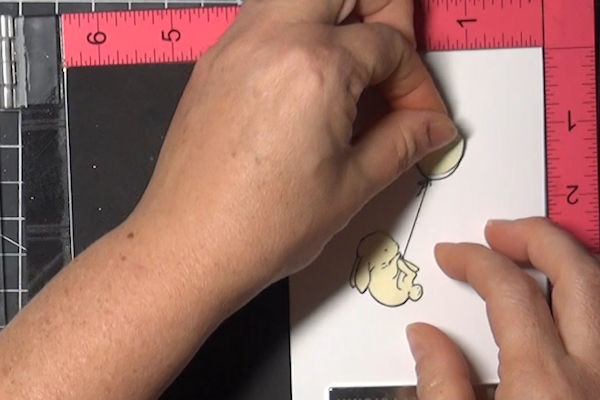
Step 3
Cut out the mask and layer it over the stamped image.
-
TIP:
For a detailed image, instead of cutting a mask, use masking fluid after placing the reverse/mortise mask in step 4 or 5. Follow product instructions and be sure to let the fluid dry completely before proceeding. -
Step 4
For a die cut reverse or mortise mask, cut a piece of removable contact paper slightly larger than the card panel. Lay it over the card and position the die, securing it in place with a piece of tape.
Die cut.
NOTE:
Be sure the contact paper is sticky side down.
-
Remove the liner from the contact paper and position it over the card panel.
TIP:
Remove just a portion of the liner to start – determine placement and begin to adhere it, then remove the remaining liner. -
Step 5
If using removable tape to mask off the background, use a grid mat to help with straight placement.
-
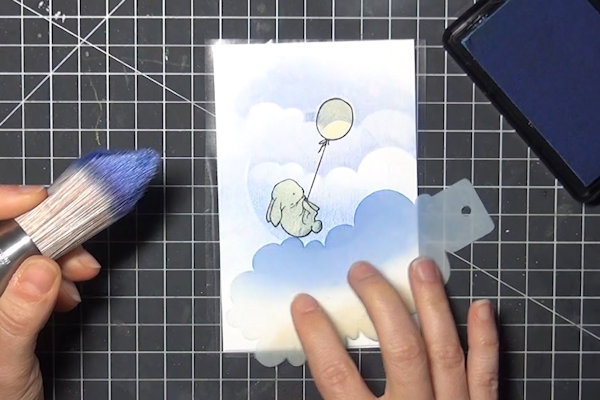
Step 6
Fill in the background using sponged or brushed ink.
Stamp or stencil if desired, or use a pen to trace the edge of the second mask. -
Step 7
Remove the masks. Color the stamped image, if desired.
-
Step 8
Complete the project.


Video!
Your Turn
You've seen the tutorial, now you try it! We've got a section of the gallery set aside for Double Masking. Try this technique, then upload your artwork to the gallery. Show us your creations!
***Please note - Internet Explorer/Edge is not a supported browser, and will not allow you to see the videos. Please use Chrome, Firefox or Safari to view our tutorial videos.

Questions and Comments
We'd love to get your feedback or questions. Leave your comment below.
Page 1 of 1 pages