Double Door Pop-Up Card
by Vy Tran
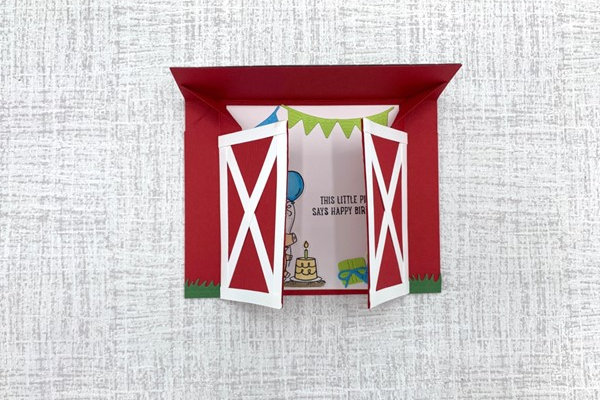
Make a card with doors that open when the top is lifted. This card is decorated to create a barn scene.

Supplies
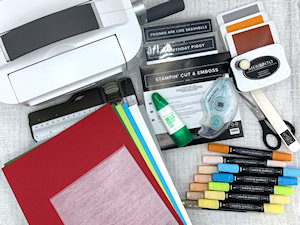
- Cardstock (Stampin’ Up!® Basic White, Garden Green, Parakeet Party, Real Red, Smoky Slate, Tahitian Tide cardstock used here)
- Stamps (SU This Birthday Piggy and Friends Are Like Seashells stamp sets used here)
- Dies (SU Playful Piggy die set used here)
- Wood grain stamp or embossing folder (SU Timber embossing folder used here)
- Ink (Memento Tuxedo Black and SU Cajun Craze, Pumpkin Pie, Smoky Slate inks used here)
- Adhesive (SU Stampin’ Seal, Tombow Multipurpose Liquid Glue used here)
- Die cutting machine
- Trimmer
- Scissors
- Scoring tool/bone folder
- Other supplies as needed to complete the project (SU Blends Markers, sponge dauber used here)
Step-by-Step
-
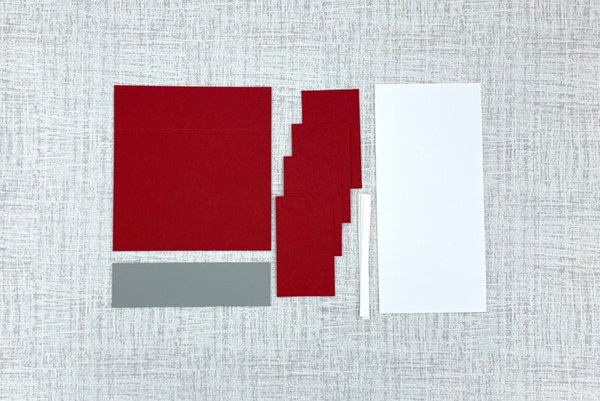
Step 1
Prepare cardstock pieces:
Cardstock for base:
5 1/2” (W) x 5 3/4” (H), scored at 4 1/4” along the long side
Cardstock for doors:
FOUR 2” (W) x 3 1/2” (H). Dry emboss with embossing folder if desired
Cardstock for door decoration:
TEN 1/4” (W) x 4 1/4” (H)
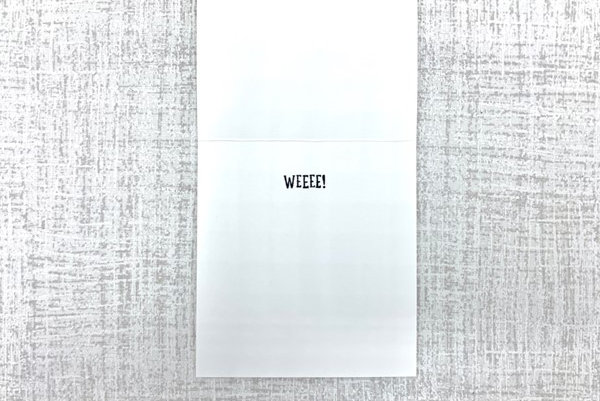
Cardstock for message panel:
3 3/4” (W) x 8” (H), scored at 4” along the long side
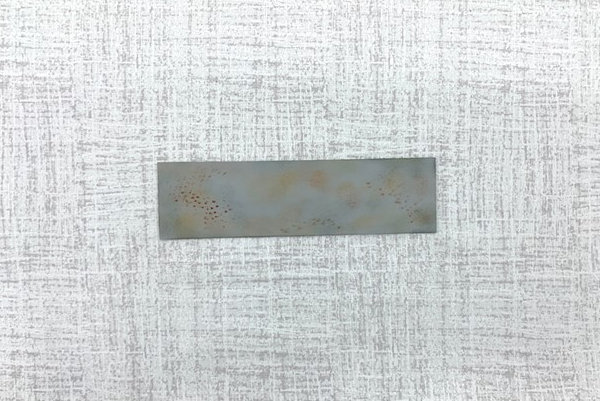
Cardstock for roof:
5 1/2” (W) x 1 1/2” (H) -
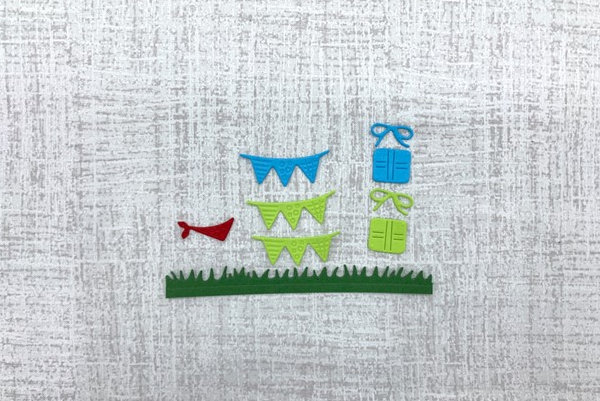
Step 2
Die cut pieces for decoration as desired.
-
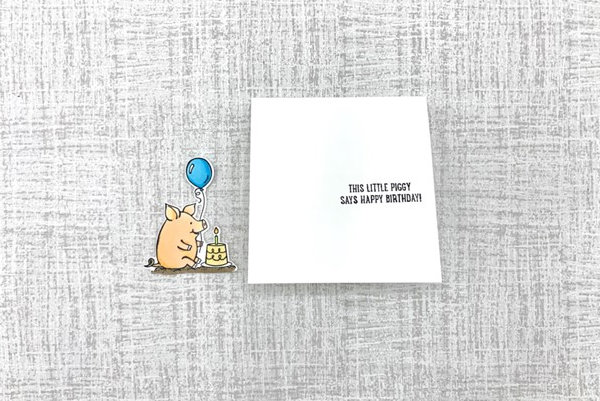
Step 3
Stamp and color images and sentiments for the message panel.
-
-
Step 4
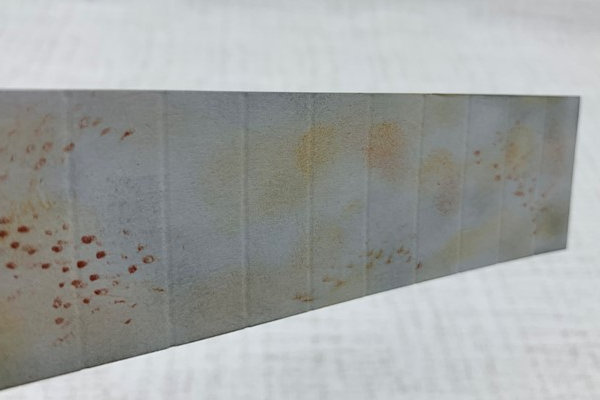
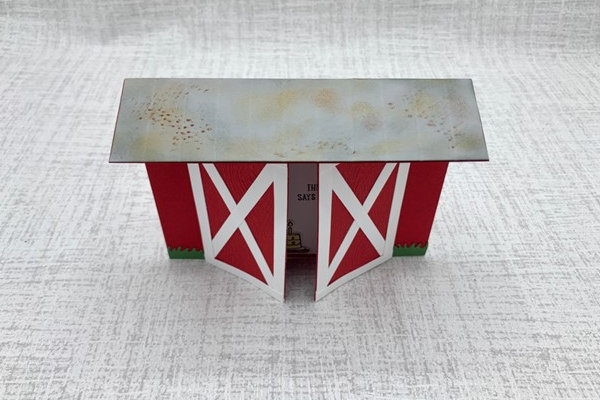
To create the roof:
Sponge on inks and use a speckled stamp to create a distressed and rusty look. -
Score at every 1/2” along the long side to create a corrugated look.
-
Step 5
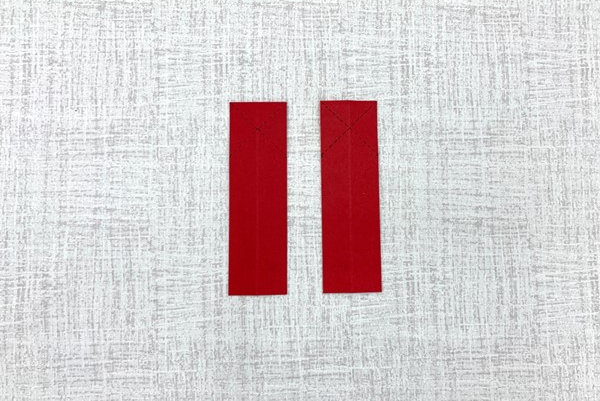
To create the pop-up mechanism:
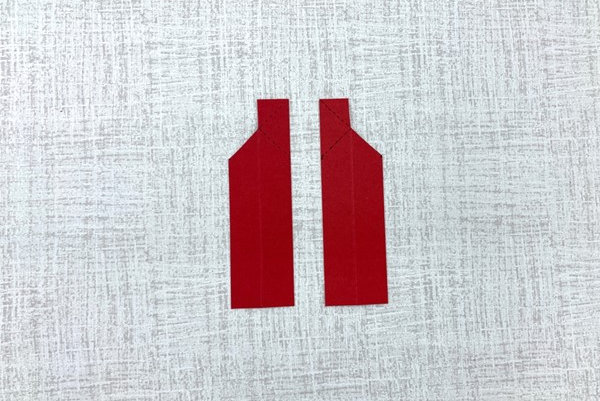
Cut TWO pieces of cardstock that are 1 1/2” (W) x 5” (H), scored at 3/4“ along the short side. Make marks along the long side that are 1 1/2” from the top edge and create diagonal score lines from the top corners to the opposite mark (dotted lines in photo). Fold score lines in both directions and reinforce with a bone folder. -
Cut along part of the diagonal score line and the center score line as shown.
-
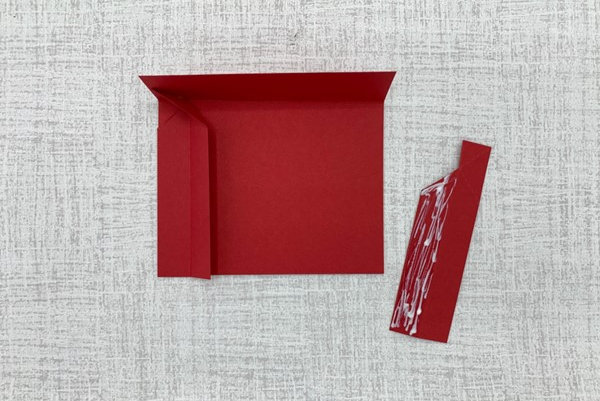
Step 6
To adhere the mechanism to the card base:
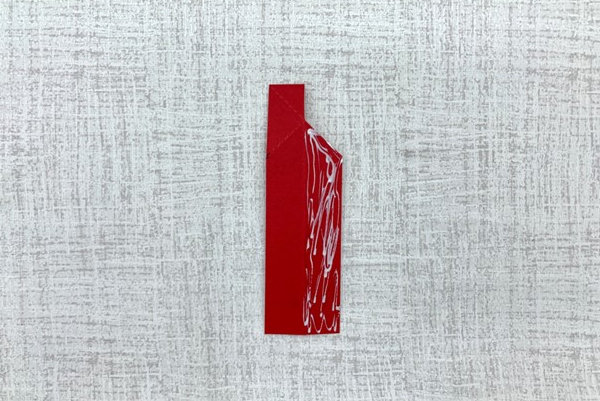
Put adhesive on the back of one of the mechanism pieces, only under the side that has the section cut out. -
Fold down the top triangles of the mechanism piece and align it so that the point at the top is up against the crease of the card, and the side edge is aligned with the edge of the card. In this picture, the glue is under the left side of the mechanism when viewed from the top. The right side is free to move.
-
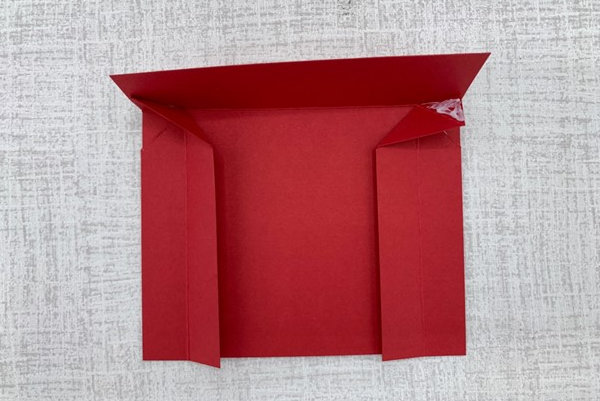
Step 7
To adhere the mechanism to the top flap of the card:
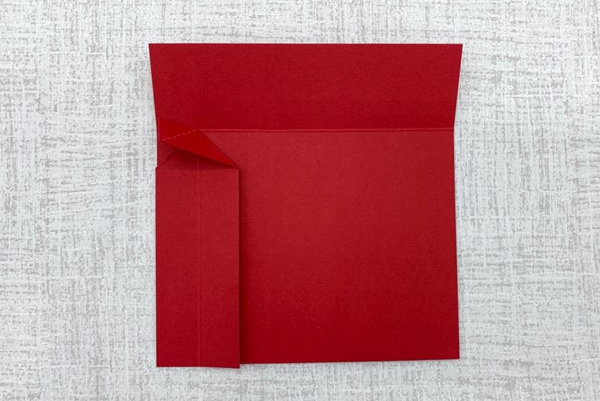
Keeping the top triangles of the mechanism folded down, place adhesive only on the smallest triangle on the side. -
Fold down the card base flap on top of the exposed adhesive. When you open the flap, the mechanism should move with it.
-
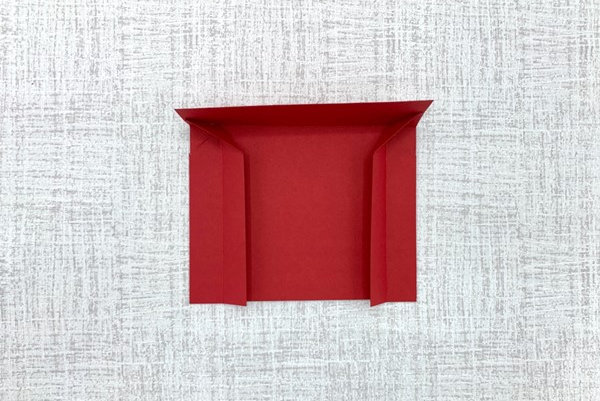
Step 8
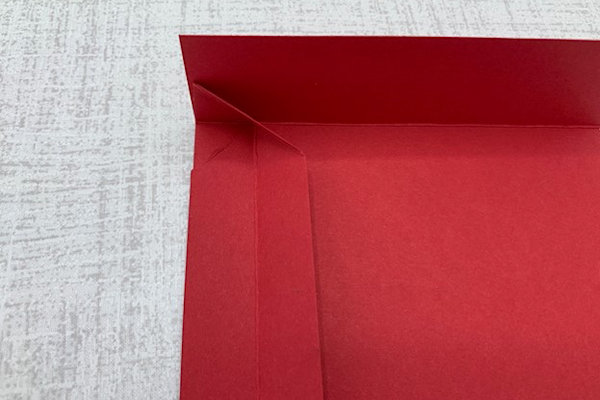
Adhere the remaining mechanism piece on the other side, in the same way.
-
-
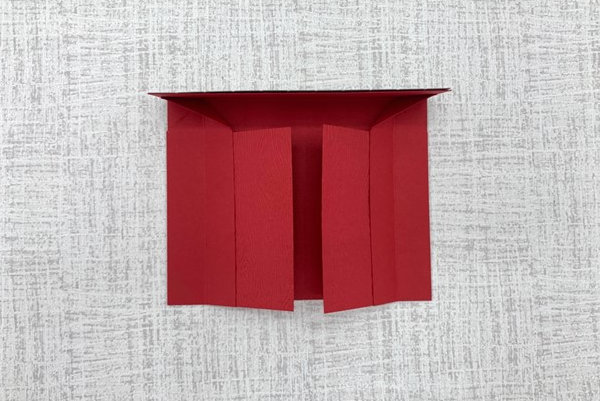
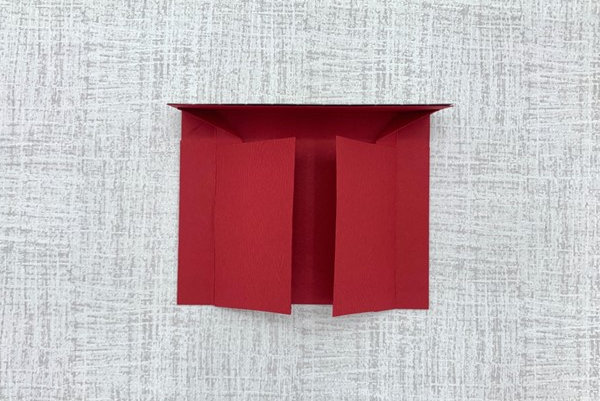
Step 9
Check to make sure both mechanism pieces move when the top flap is opened.
-
Step 10
Adhere the roof to the card base flap.
-
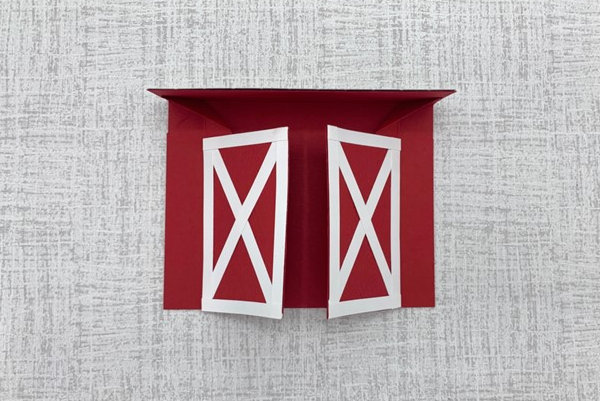
Step 11
To adhere doors to the free side of the mechanisms:
The inside doors should be adhered to the underside of the mechanism. -
The outside doors should be adhered to the top of the mechanism. Make sure they do not cross over the side or diagonal creases, or else the cardstock will bunch up as the doors open.
-
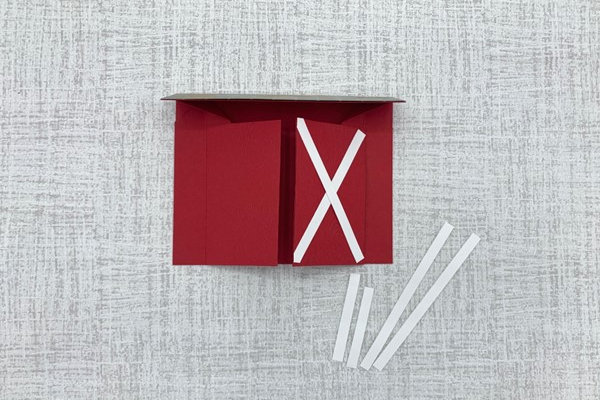
Step 12
Trim off any overhang from the mechanism and door pieces. Then use the thin strips of cardstock to make an “X” pattern on the doors and around the edges of the doors, trimming as necessary. Each door will use 5 strips, with the last one cut in half for the top and bottom edges.
-
-
Step 13 (Optional)
Adhere grass die cut to the outside of the card, trimming as necessary.
-
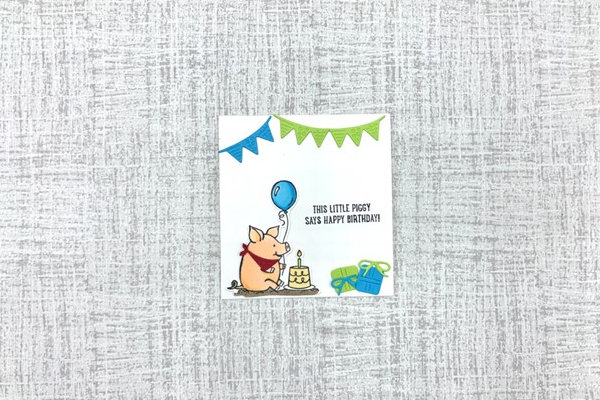
Step 14
Decorate the inside/message panel with die cuts.
-
Step 15
Adhere the message panel to the cardbase, centering it in the space behind the doors.
-
-
Step 16
Complete the project. The card will fold flat to fit in an A2 envelope, but may require extra postage for thickness.


Video!
Your Turn
You've seen the tutorial, now you try it! We've got a section of the gallery set aside for Double Door Pop-Up Card. Try this technique, then upload your artwork to the gallery. Show us your creations!
***Please note - Internet Explorer/Edge is not a supported browser, and will not allow you to see the videos. Please use Chrome, Firefox or Safari to view our tutorial videos.

Questions and Comments
We'd love to get your feedback or questions. Leave your comment below.
Your directions are very clear and well done.
Thank you!!
Thank you for such clear directions.
Page 1 of 1 pages